[Plugin] GKWare Cabinet Maker
-
I'm pleased to announce a major CabMaker release version 3.0.102 in conjunction with a major release for CutMaster 3.0.1.60.
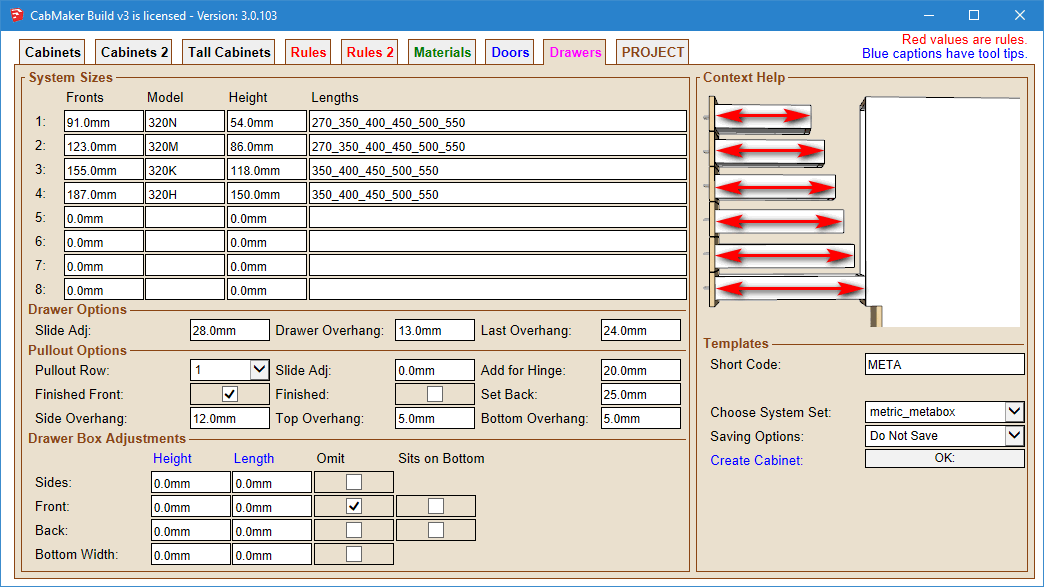
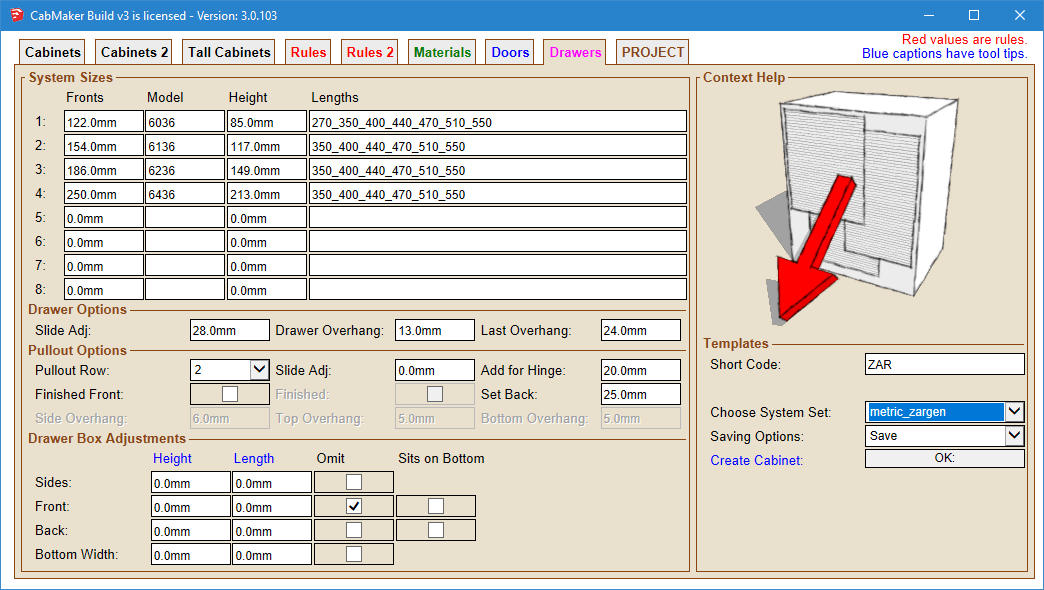
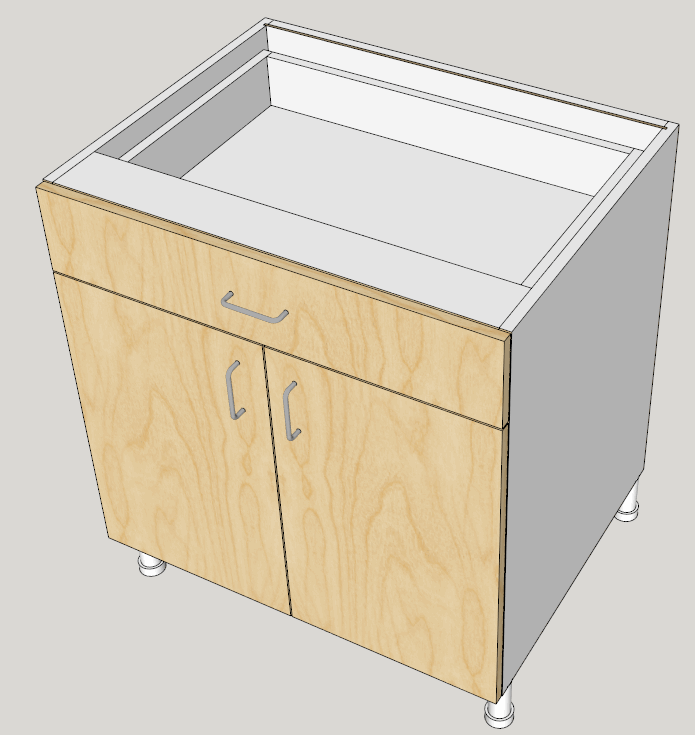
This includes the Drawer / Pullout subsystem. I now support Blum metabox, Grass, Zargen, DynaPro etc.
You may have choose a Drawer system at the Project level or override it at on a per cabinet basis. You can also choose a Pullout system at the Project level and it does not have to be the same system as Drawers.Here is the template for the Metabox
And here it is for the Zargen
-
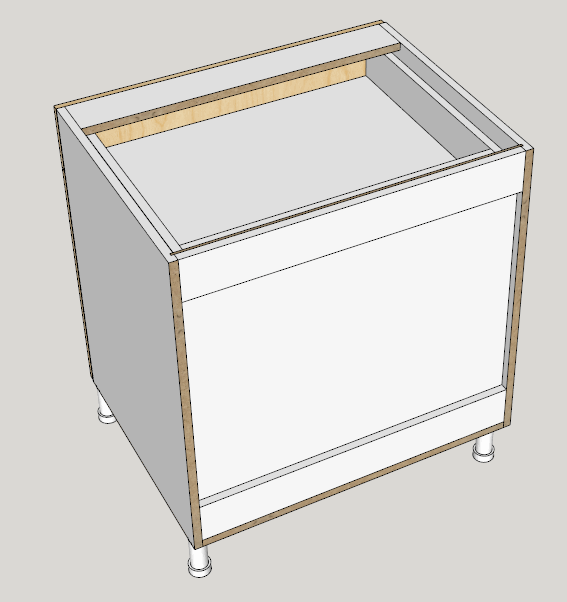
The new release also has many smaller features such as edging more or less of the RAW exposed edges.
The Skins entry area controls how much of the cabinet is edged.
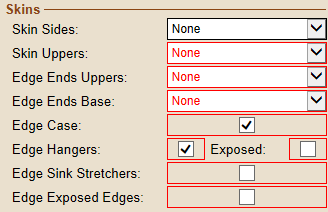
These settings give you a cabinet with as little extra edging as possible allowing you to control costs.
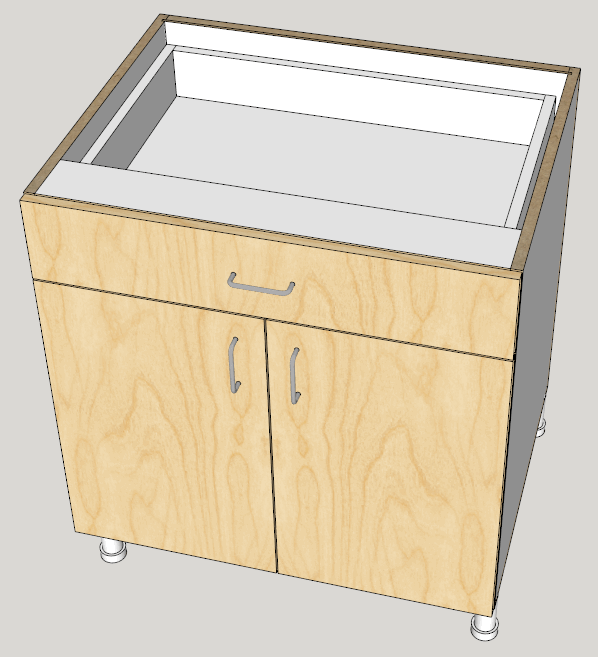
You can edge just the top of the side panels and if you want you can edge the top edge of the hanger (nailer strip)
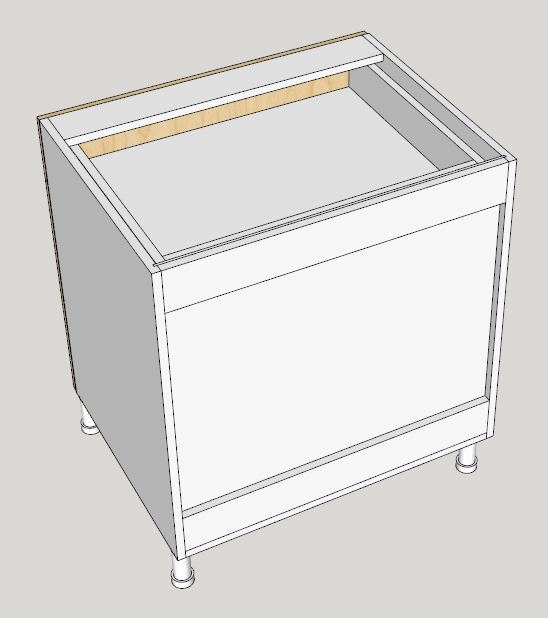
Here is the backside of the cabinet with the same settings.
In high humidity areas you may need to edge all exposed raw edges which will seal them against panel swelling caused by wicking.
-
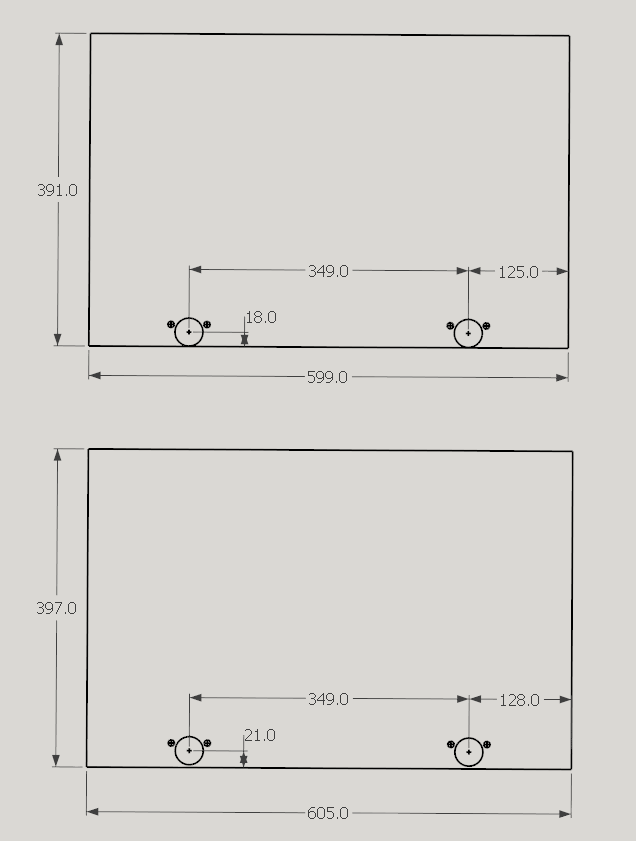
CutMaster reads in all the parts including edging information and adjusts the part dimensions based on the thickness of the edging. All drilling and grooving details automatically compensate.
The top door has 3mm edging on all 4 edges.
The bottom door is full size (edging thickness set to 0)
-
CabMaker 3.0.102 is now available in 2 flavors. CabMaker Design (formally Pro) and CabMaker Build (formally Gold)
Version 3.0.102 – Dec 9, 2017
- Changed CabMaker Pro to CabMaker Design and CabMaker Gold to CabMaker Build.
- There is a new Drawers Tab for the new Drawer / Pullout Sub System.
- Updated reports to provide CutMaster with information for new Drawer / Pullout Sub
System. - Added “Edge Exposed Edges”.
- Now including Jquery within cabmaker. CabMaker is no longer going to the internet
every time. - Fixed Integrated kicks when dadoing Sides for Fixed Shelves.
CutMaster 3.0.1.60 is now available in 2 flavors. CutMaster Plan (formally Pro) and CutMaster CNC (formally Gold)
Version 3.0.1.60 Dec 9, 2017
- Modified the layout of Options.
- You can now have multiple Drawer / Pullout Subsystems.
- Added more parameters to allow configuration of Zargen, Metabox etc.
-
What about DxfConfig ?
-
I haven't had anyone requesting updates to dxfconfig. I think it has outlived its usefulness. Since Cutmaster is now showing immediate changes to drilling and grooving options it is now in the work flow.
Create 1 cabinet. Click reports. CutMaster Pops up, import and optimize. Then go into CNC options and play around. You can now save your choice and see the results immediately on screen.
You can also now click on a part and everything is synchronized. Right click on part and choose CAD and view the DXF (after you have clicked DXF button)
-
Prior to CabMaker 3 CabMaker was going to googleapis for the JQuery library. Earlier Windows would just cache it and wouldn't have to make an internet call - just once - the very first time. With many Windows security updates Windows no longer caches the library. This meant the CabMaker would make a call out to the internet EVERY time the dialog box opened.
With CabMaker 3 the Jquery is shipped with the install and now NEVER needs to grab the library over the internet.
-
I am looking into an alternative licensing strategy which will include a hardware dongle. Please provide me with feedback on what you think of this option.
It will allow you to run CabMaker on as many computers as you want - providing that the dongle is connected to the computer.
This strategy means you will never have to connect to the internet.
-
I strongly support this option.
Your software will become more reliable for cabinet making business. -
I am also considering creating an install package (Windows only) that will correctly install CabMaker without the bad side effects of the Extension Manager.
Download cabmaker 3 installation package
Right Click and choose "Run as Administrator"Choose which version of Sketchup that you want it installed in SU 2016, SU 2017 or SU 2018 and it installs and preserves your previous templates.
-
@garry k said:
I am looking into an alternative licensing strategy which will include a hardware dongle. Please provide me with feedback on what you think of this option.
It will allow you to run CabMaker on as many computers as you want - providing that the dongle is connected to the computer.
This strategy means you will never have to connect to the internet.
I hate the dongle option, I make it a point to never own software with this option...I think this would be a step backwards for an otherwise great plugin...just my point of view
-
I agree. I couldn't say it any better.
.... joe
-
Sorry I wasn't completely clear. I am simply offering the Dongle as a second OPTION. Users that choose not to have the Dongle will continue with once a week license authentication over the internet.
However there are users in parts of the world who have very poor internet connections. It is this group of users that the Dongle is targeting.
-
Dear,
I have tried to use trial version.
At first I met to message below;
"undefined method 'each_pair' for nil:NiClass"
How can I solve this problem? -
Essentially some panel is ending up with 0 width or 0 height. Please rub Ruby Console before trying to create a cabinet and then email me directly with the information that is in the Ruby Console. It will give us an indication to where the problem is.
-
HEllo,
I'm a cabinet maker and a newbie regarding this plugin, but I've spent several hours on it to try to see if it could work for me. So I already have 2 questions:
- IS there a way to prevent modifications to "disappear" when i update something with the edit windows? I know I should try to use the edit tools as much as possible, but I guess it is not always doable. For example, I did this with a tall cabinet. I looked for a while and I think this is not doable in edit mode.
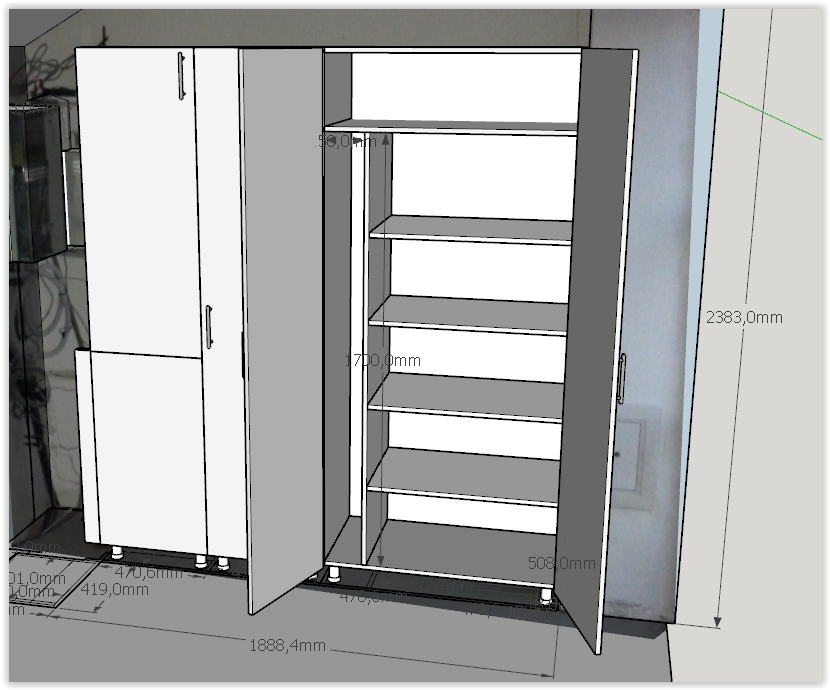
but now, if i open the edit mode to change a little thing, it will re-asign the cabinet type template and my vertical divider will be back in the center, from bottom to top, my shelves shortened to havf the cabinet and my larger fixed shelve (that i copied from the top) will disappear. I started with a tall cabinet with a "left closet" type.
And now I want to move one of my handle (heigth). But when i see how this is handled by the plugin, it seems to me I'll have the same problem.
- Is there a way to make real flush back? I did it selecting "back dado: 18mm", "slide in" and "extend back upper". But maybe there is another way? It is not perfect, because doing it my way the sides will be to deep. The plugin consider that I will make a groove, but I wont.
best regards,
- IS there a way to prevent modifications to "disappear" when i update something with the edit windows? I know I should try to use the edit tools as much as possible, but I guess it is not always doable. For example, I did this with a tall cabinet. I looked for a while and I think this is not doable in edit mode.
-
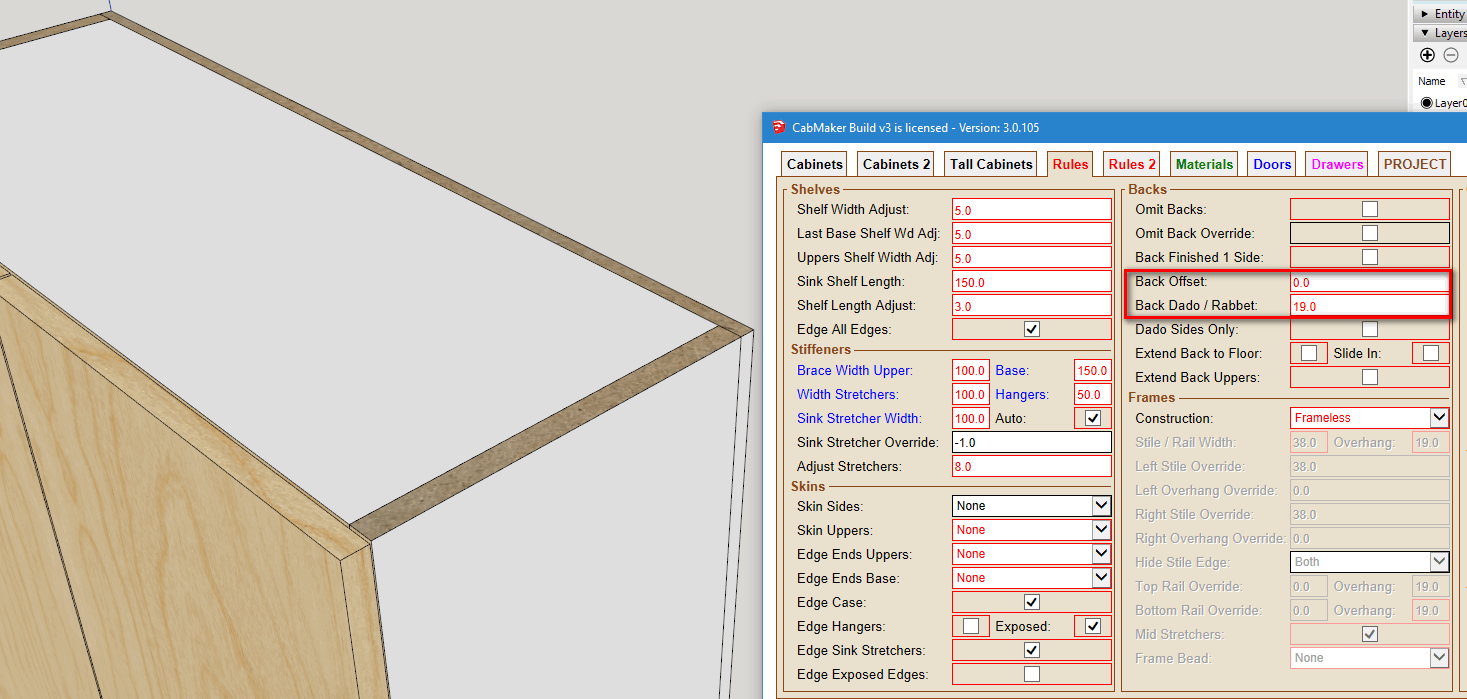
Let's first set up a plant on back. The solution is to set the back offset to 0 and to set the dado depth to the same value as the thickness of the sides.
Here I have 19 mm sides and a 12 mm back.
-
Next let's set up the overall dimensions for my example.
I want a cabinet 1800 tall, 300 deep and 800 wide with 2 doors and I want to raise the handles 750 from the bottom edge of the door.
Choose Tall, Base cabinet and set the overall dimensions.
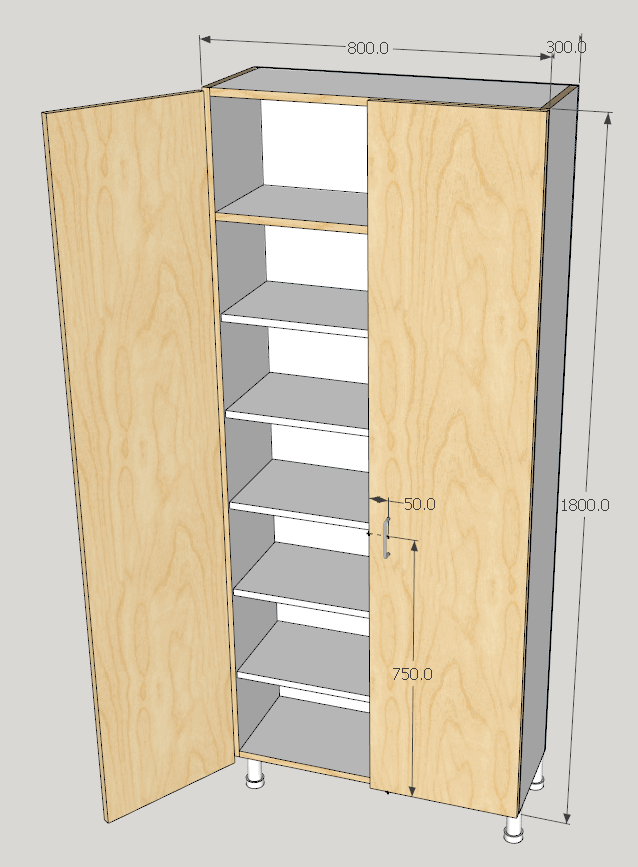
In the tall section I will use the Middle section because you can adjust the handle height and add shelves.
Set the Top section height to 0 and set the mid section height to the full 1800.
I want 5 adjustable shelves spaced 230 apart and a top fixed shelf with a 1475 spacing.
6 openings of 230 + 5 shelves @ 19 thick
(6 * 230) + (5 * 19) = 1475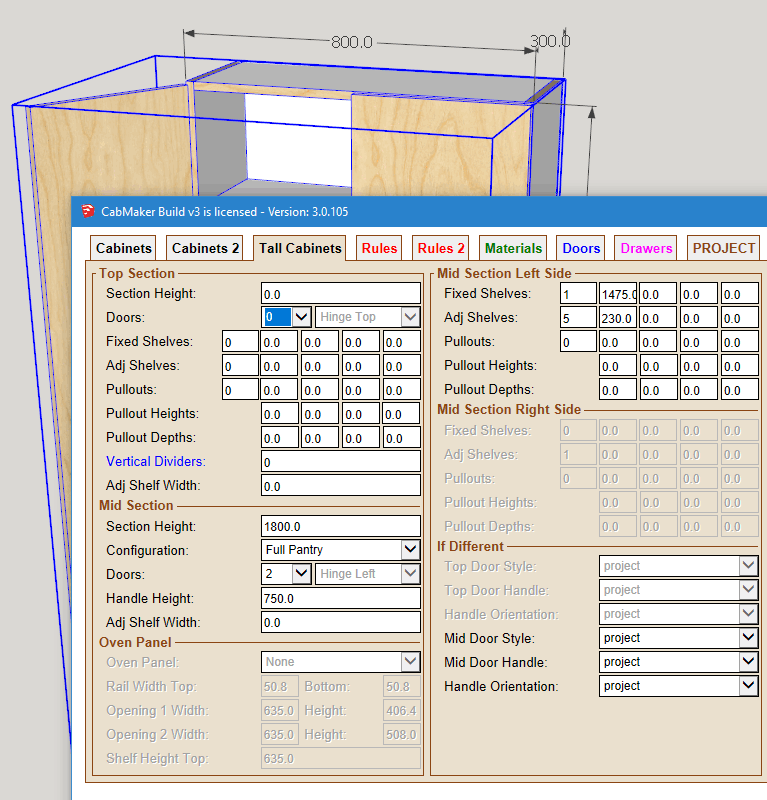
-
Next select 1 of the adjustable shelves and copy it. Then click outside of the cabinet and get all the way out of all components. Paste the shelf somewhere so you can work with it.
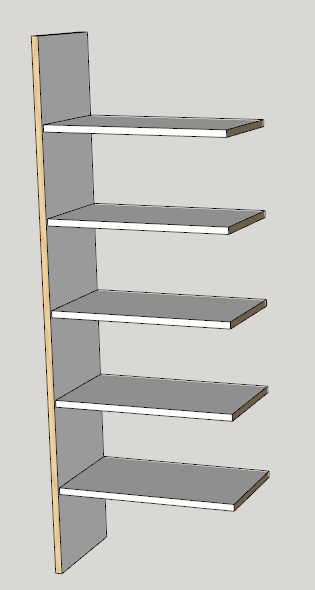
Now edit the shelf and change it's width by 250. Then choose move and press Control key (so we are making a copy). move upwards a bit and type 249 (230 + 19) and press enter key then immediately press *4 and then the enter key. This simply makes 4 copies with equal spacing.
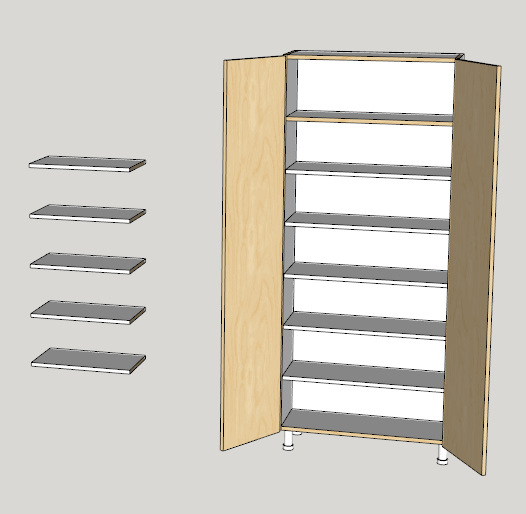
Next create the fixed partition. We know that the partition is 1475 high and 288 deep (300 - 12) and 19 wide. Starting at the bottom back left corner of the bottom shelf make a rectangle.
Type in 1475,288 to get the measurements correct. Then push pull it 19 and paint the front edge. Turn it into a group or component.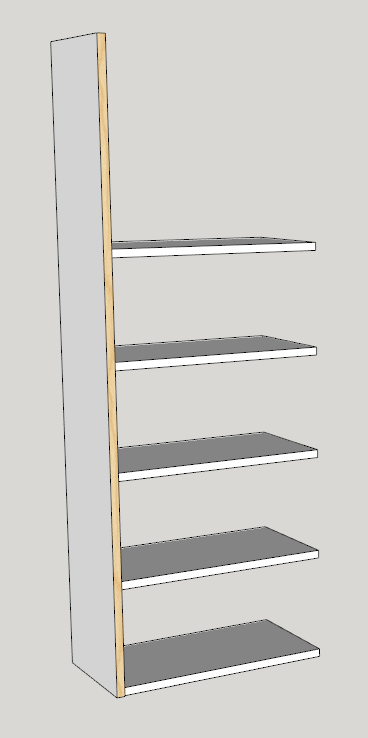
Next select and move the partition downwards by 230 and then move it away from the shelves by 1/2 the shelf gap which is 1.5 in my case.
Select the partition and all 5 shelves and make a group.
-
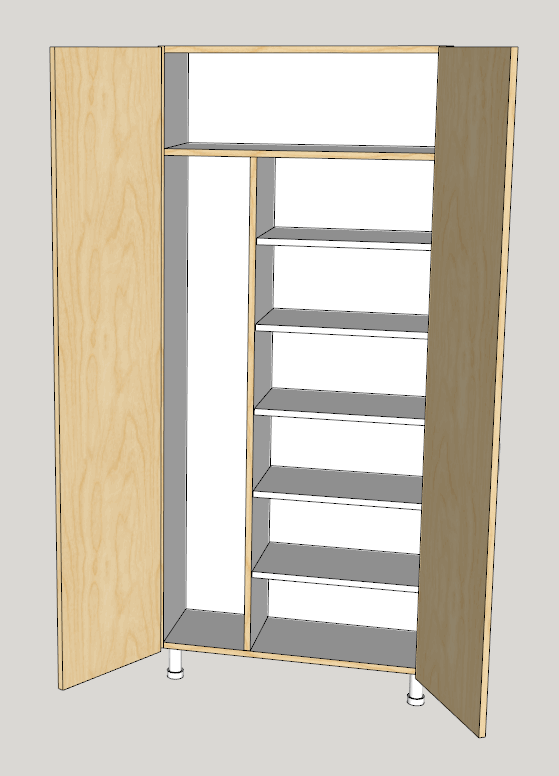
Edit the cabinet and change the number of adjustable shelves for the middle section to 0. Then move the sub assembly over. It is 250 mm from the inside left (the exact amount of the change to the shelf width).
Since the sub assembly is outside of the cabinet it won't be deleted when you edit the cabinet. This is just a work around but the plugin can get you close.
Hello! It looks like you're interested in this conversation, but you don't have an account yet.
Getting fed up of having to scroll through the same posts each visit? When you register for an account, you'll always come back to exactly where you were before, and choose to be notified of new replies (either via email, or push notification). You'll also be able to save bookmarks and upvote posts to show your appreciation to other community members.
With your input, this post could be even better 💗
Register Login


Advertisement