Repeating last action
-
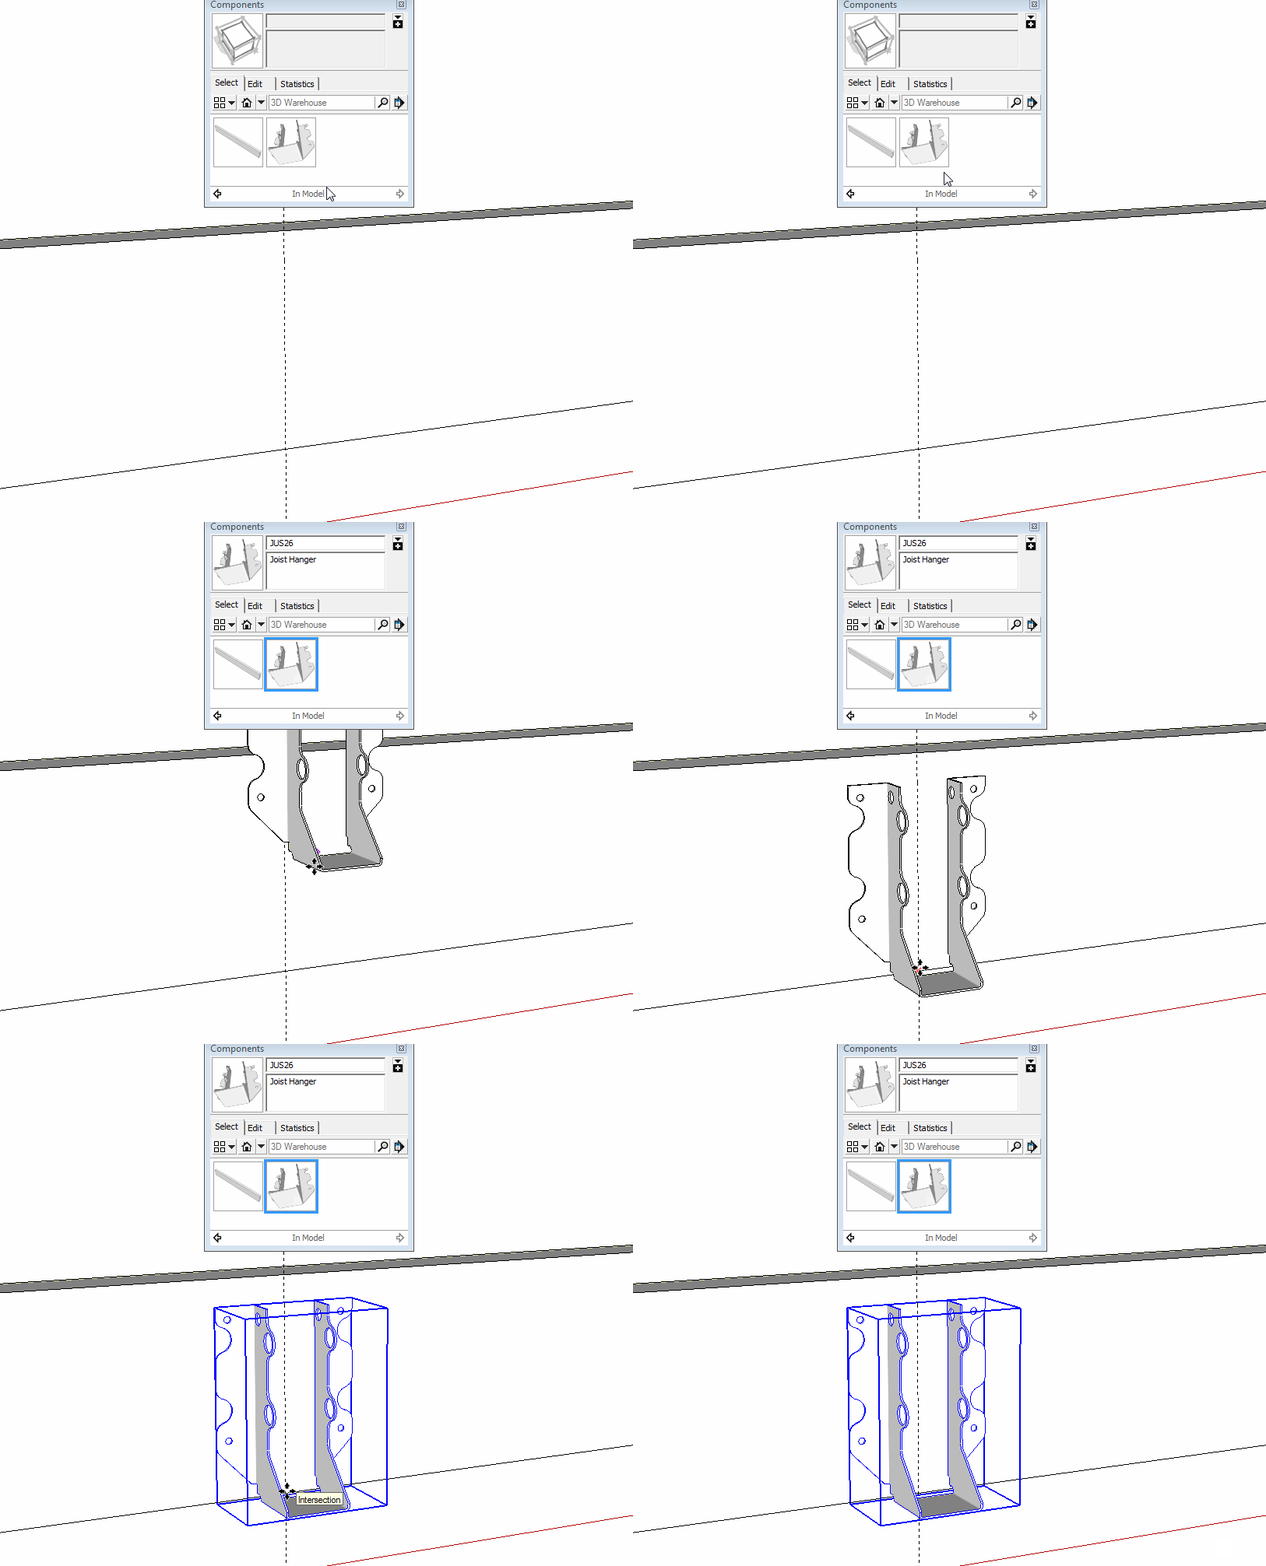
I thought I had posted this question, but made a mistake. I'm looking for a shortcut, keyboard or otherwise, to be able to repeat the last action I took. For example, in aligning a joist hanger even with the face of the joist that it will be mounted on, I was able to change format and increments to move the hanger .010" at a time. But it would be nice to be able to just use a shortcut to repeat that .010" move until the alignment is right. I was having to move the hanger a bit, type in 010, and hit enter each time I needed to move it.
I know I could select "glue to " vertical surface" in Model Info, File, but I may have a use for a repeat shortcut in the future. Does anyone know of such a shortcut for repeating last action? Thanks.
-
There isn't a keyboard shortcut to do what you want to do but I wonder why you wouldn't just put the joist hanger where you need it to be in the first place. Moving it in increments as you suggest would be tedious and time consuming.
Assuming you've got a joist hanger component, you could set the component's origin (which is also its insertion point) in a logical place to make inserting it easier. And since joist spacing is generally regular, you can use Move/Copy to make a linear array of copies of the hanger.
-
To follow Daves suggestion, you should have a look at the great inferencing system which will help you to position your objects: http://help.sketchup.com/de/article/70143
-
Repeat Command was nice in autocad, we have a similar plugin in SU. COPY/ROTATE/REPEAT but it doesn't replace the repeat command. Since it only works for copying and rotating.
Repeat Command was available on the arrow keys and the mouse and was handy more than you think. It was always there for you once you knew to think about it.
-
@krisidious said:
Repeat Command was nice in autocad, we have a similar plugin in SU. COPY/ROTATE/REPEAT but it doesn't replace the repeat command. Since it only works for copying and rotating.
What have you been smoking Kris?

You've forgotten about making linear arrays with Copy/MOVE/Repeat? That works in a straight line.
-
It's worth noting that Glue To isn't really designed as a Snap to function, although it does do that. Glue to is more about actually gluing one component to anther so they move around together until you physically unglue them.
-
No, I realize you can do those things with copy and rotate, arrays are nice too... But the Repeat Command is for any command, like if I'm doing square footage, or checking dimensions, it's for anything and for everything. It just repeats whatever the last command was and in the mouse mode repeat you get a list of previous commands.
-
-
I never said a repeat function wouldn't be useful but for trying to accurately place a joist hanger, repeating a move operation in steps is a pretty lousy way to do it when it can easily be place accurately the first time it is moved.
-
Oh of course. I always use arrays when I can. More dependable than setting manually each anyway.
-
I think I didn't use a very good example by talking about the joist hangers. I was talking about the initial placement of the first hanger after downloading it from 3D warehouse. But I got it done. I'm more interested in the general principle of "Repeat last action", no matter what that action was. I found a previous thread that explains what I'm getting at a little better than I did. http://sketchucation.com/forums/viewtopic.php?f=10%26amp;t=8427
-
Even the placement of the initial component shouldn't require that you move it in tiny increments to place it.
Unfortunately, often authors of components you find in the 3D Warehouse haven't bothered to make them easy to insert with precision. But you can modify the component to make it easily inserted.
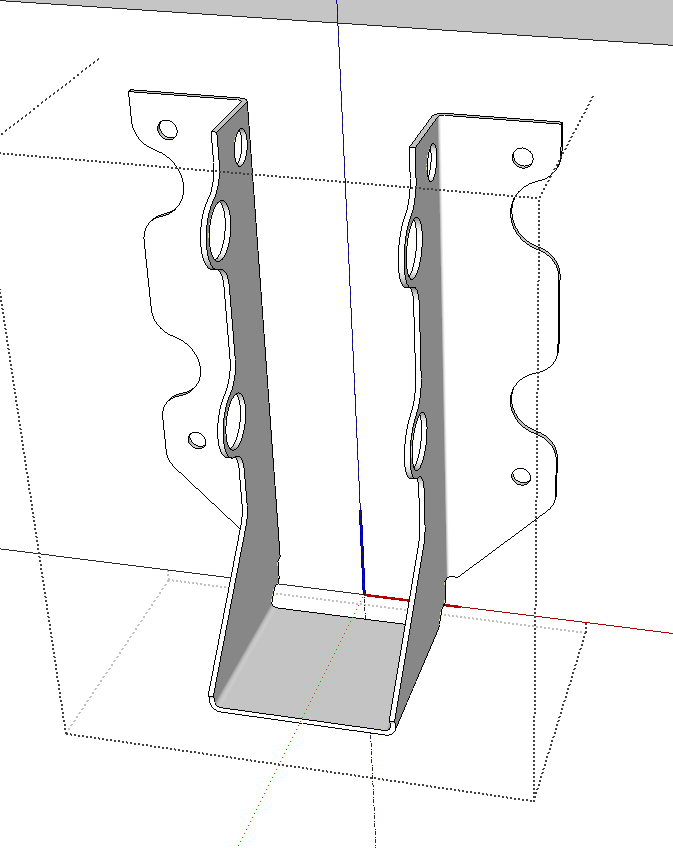
This is a joist hanger I drew some time ago. I adjusted the location of the component origin and axes so it could be dropped easily where it is needed without screwing around adjusting its location.

It's also worth learning how to use the Move tool correctly. Although you can grab an entity anywhere with the Move tool, it is best to grab it by a point that will correspond to a point at the destination. That will beat trying to nudge the component into place.
-
Great idea, Dave. How would I go about adjusting the location of the component origin and axes if I have a component that needs it? Thanks.
-
You can have a look at Daves blog post about this topic here:
http://www.finewoodworking.com/item/41609/component-insertion -
Take a look at this thing I did a few years ago. It should give you some ideas. The key thing is to position the component origin at the same point you'd use as a reference in placing the real object.
For the joist hanger I placed the origin so the inside of the hanger, where the joist would sit, is level with the bottom of the rim joist or beam and at its center. It would correspond to a pencil mark on your real rim joist or beam for centering the joist.

Edit to add: Cotty, you're quick!

-
@chessnut2 said:
Great idea, Dave. How would I go about adjusting the location of the component origin and axes if I have a component that needs it? Thanks.
Right click on the component and select Change Axes then click the relevant location and directions.
-
@dave r said:
Edit to add: Cotty, you're quick!

Because the question was for you, I thought I can answer with your answer

-
before you ask... Turning on component axis will help know where the axis is one comps you didn't make or forgot where you put it.
-
Another note that doesn't really address "repeating last action" request. There IS a "nudge" plugin at sMustard. I believe that's the one I've used, though I don't have it loaded now and don't recall paying for it... I think some people doing more intricate or free form models use it more. Since I do more rectilinear work there always seems to be good points to snap or align to.
-
Thanks to all for the helpful suggestions. I have saved all of them and am looking forward to trying them out (if I can ever catch up with my yard work). This has been a very positive first experience in this forum, and I appreciate the patience and helpfulness you've shown to a Newbie at sketchup. Thanks. Jim
Advertisement


