How do I remove dimensions from my drawing
-
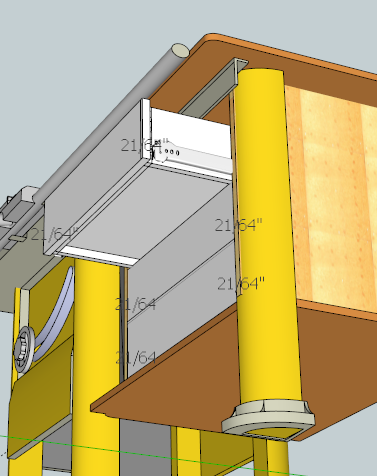
My drawing is made from several drawings (copy-n-paste) and during the process of creating it some dimensions have appeared and I cannot remove them (to my knowledge they are not in the drawing I copied from). In the attachment below note the dimensions 21/64", I have not been able to select them. As I understand I should be able to double-click on a dimension and then just press the delete key to remove it. I have tried numerous times to double-click on the dimension but so far I have not been successful. I've clicked Window > Model Info > Dimensions > Select all dimensions but the dimensions are NOT selected.
-
It's hard to be specific without seeing the actual model.
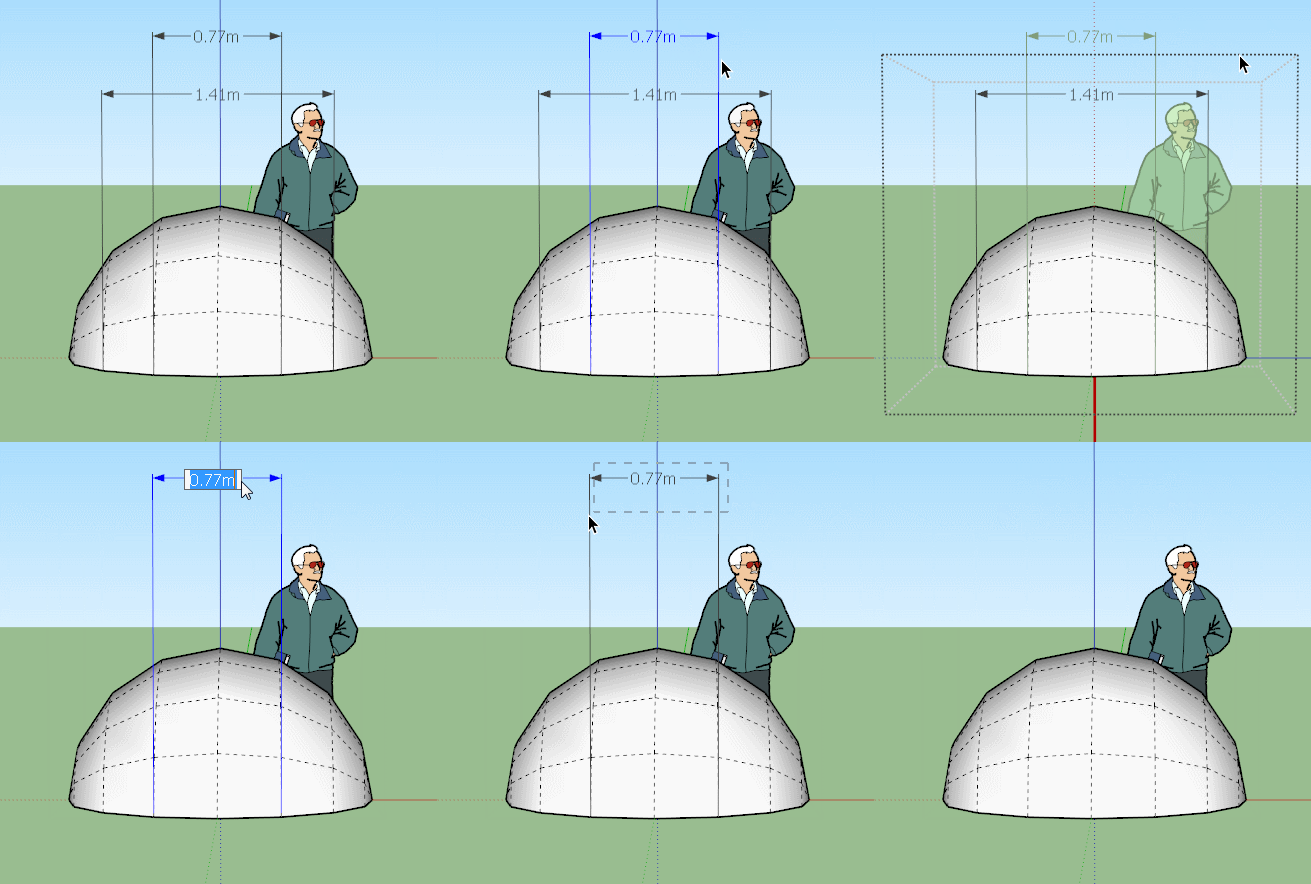
But check that you are in the right context. If the dimensions are within a group or component you need to enter the group then click on it.
If it outside a group double click will get you into edit mode of the text.
If it's none of these things it must be something else.
-
I think I understand what you are saying and I believe the measurement is part of a group. I've gone into the group but still I cannot select just the measurement.
I've attached my file. Can you please look at it and tell me what the heck I need to do.
JGT DeWalt Table Saw with Outfeed.skp -
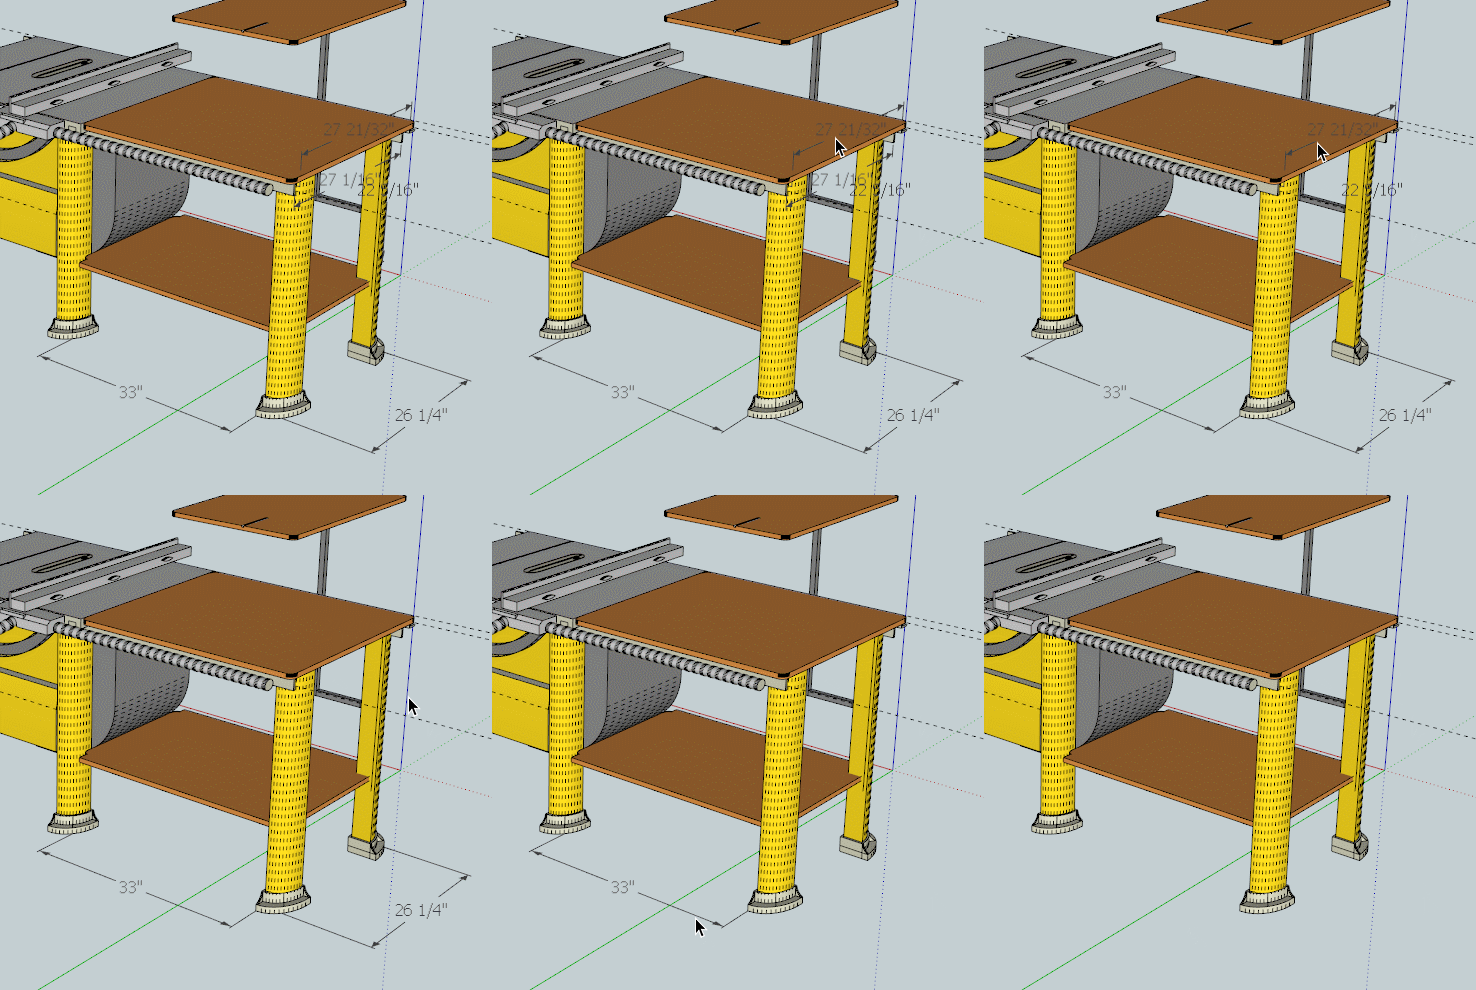
None of the measurements are within groups.
Single click so it turns blue and hit delete.
-
Darn, let try this again. An early version of the file was uploaded.
JGT DeWalt Table Saw with Outfeed.skp -
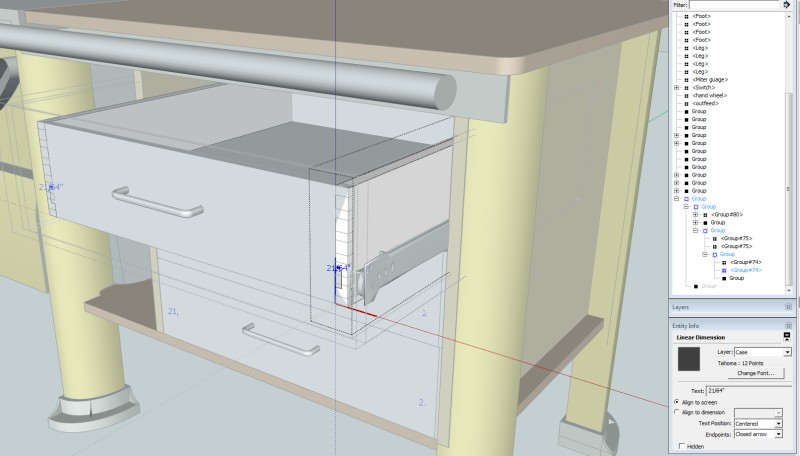
Ever tried using the Outliner? (window-outliner). Its very easy to track your problem. The dimension is embedded in a component named group#74
-
As Kaas points out, The dimensions are buried way down in the nesting, you need to dig down to get to them.
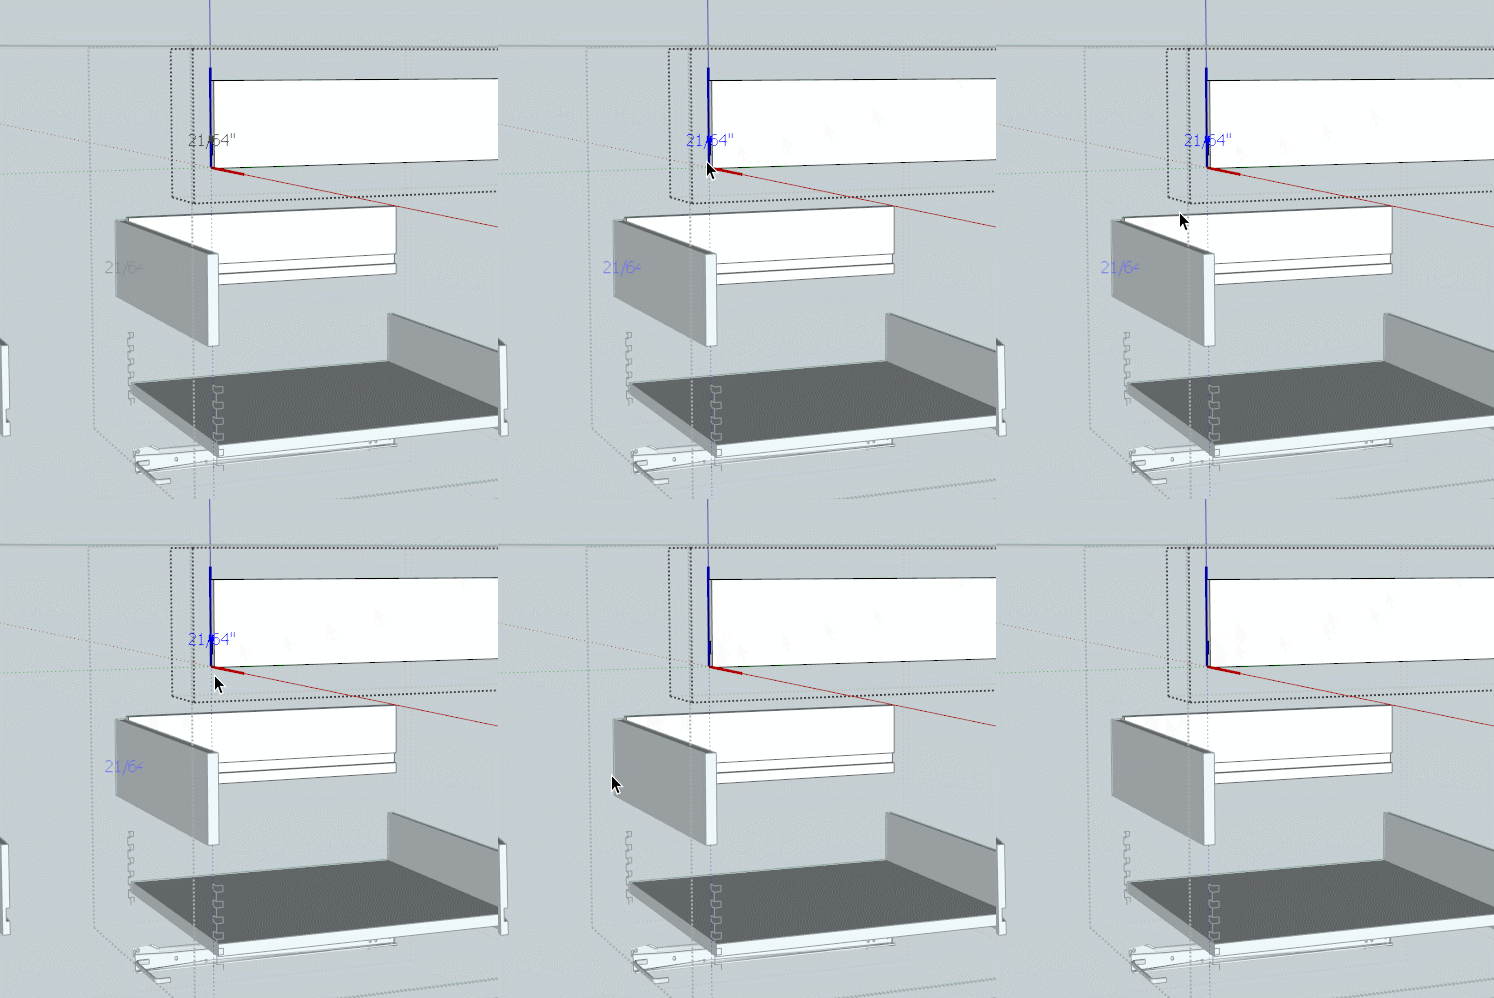
There is another issue also, you have a layer other than Layer0 set as the active layer. You shouldn't do that as the raw geometry gets screwed up. All raw should be on layer0 and only move groups and components to other layers. So if you have 'case' set as the active layer and you paste something into it, it's geometry becomes confused. -
Much thanks!!!! I have success.
I had never used Window > Outliner, I did not even know it existed (Dumb User!!) Very powerful tool.
I had changed the active layer in an attempt to find where the darn measurement was and forgot to change it back. Also I did not realize that this would create problems (another dumb user error).
Box - how did you create the neat gif? -
I just use a simple screen capture that saves as a gif.
There are quite a few around, I prefer Gifcam.
http://blog.bahraniapps.com/gifcam/ -
I think the main reason you're having so much trouble getting at those dimensions to delete them is because the excessive nesting makes it so hard to get at the entities you're after.
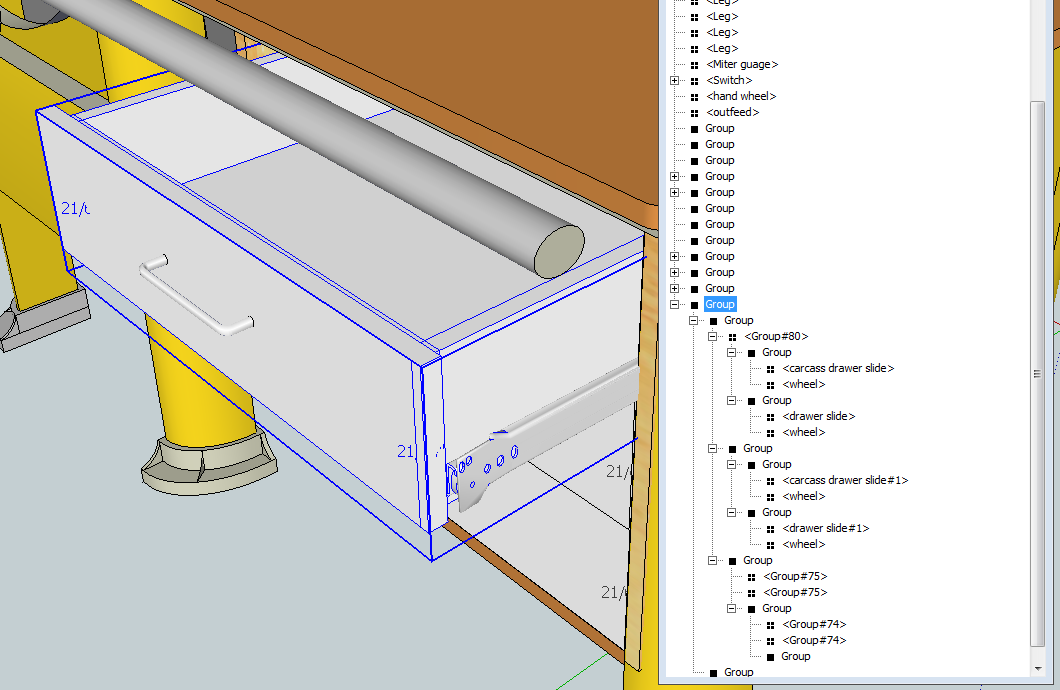
This one drawer surely doesn't need to be as complex as the Outliner shows it is. It also doesn't help that you've used groups throughout. So you can't tell which part is which group.
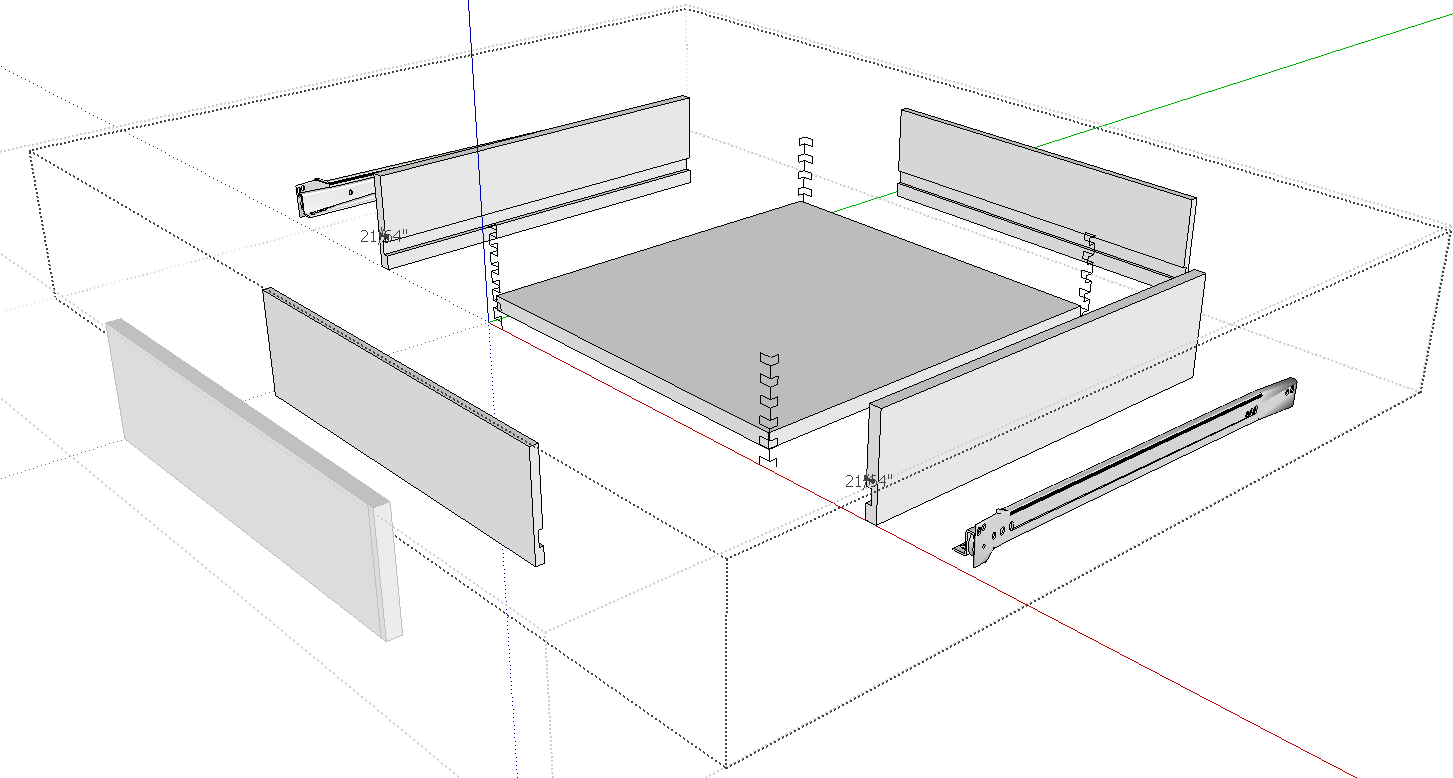
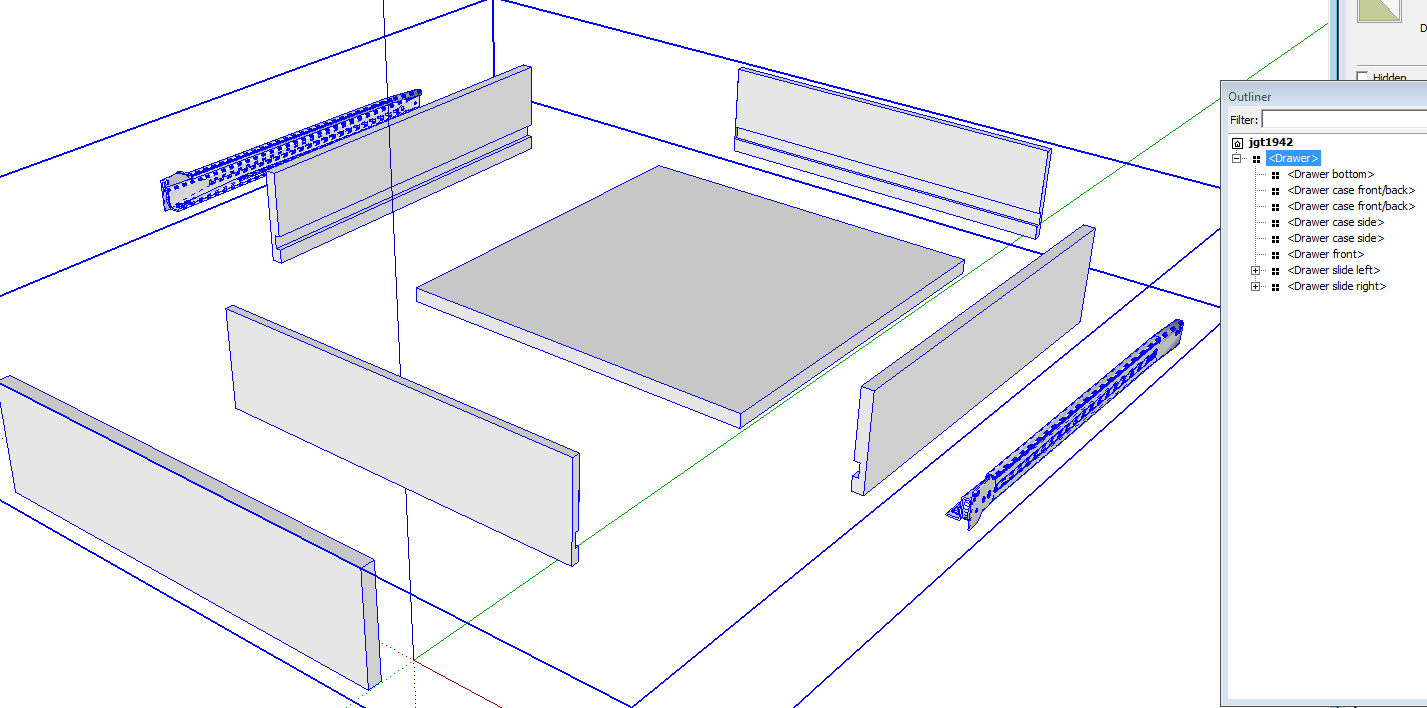
Here's an exploded view of that drawer. You can see that the box joints are just a bunch of lines but the joints never got cut. I expect it's because you didn't drill down deep enough to get to the geometry of the parts that need the joinery.
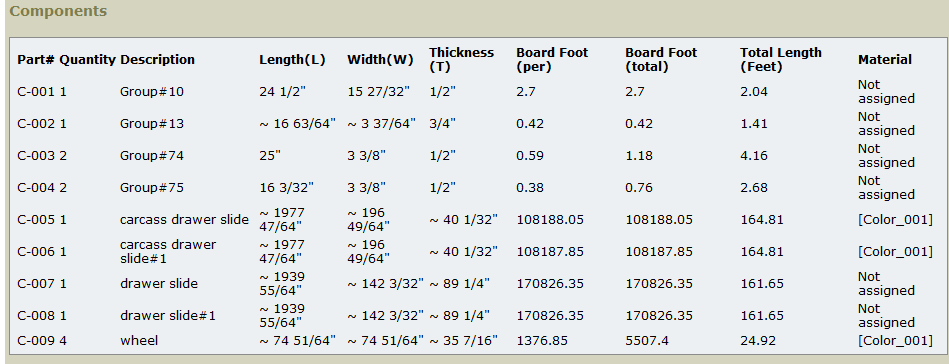
Here's a screen shot of a cutlist for that drawer. You can see it's not especially useful because you don't know what parts are what. Do you really want the dimensions to be as they are? Some of those are going to be difficult to cut in the shop.Here's a simplified version of your drawer.
As you can see, it would be much easier to work with when you want to make any changes.
I also found quite a few edges off axis in some of the parts so correct the dimensions will be a bit of a challenge. I would just redraw the parts.
-
I redrew the drawer and added the box joints. In the process, I discovered why you have so many approximate dimensions.
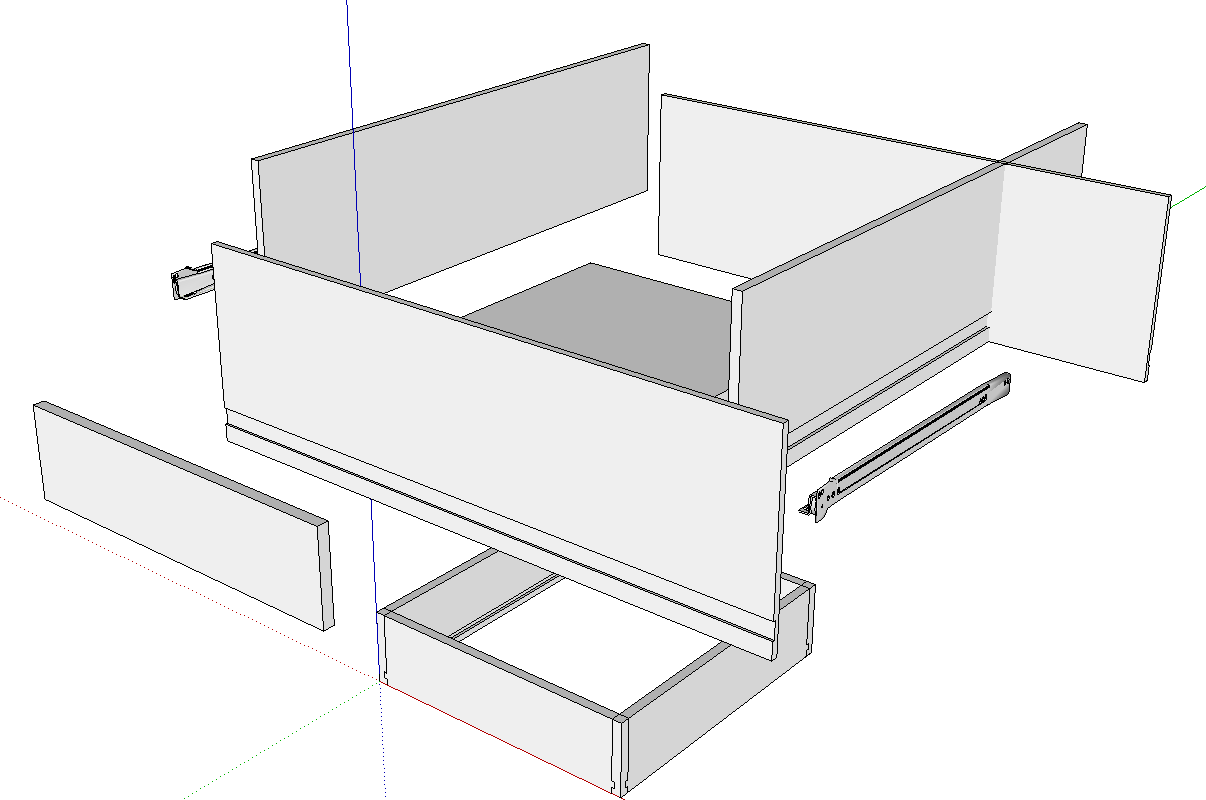
It appears that you scaled the drawer from a larger one. I drew new components and used those to replace the ones you drew. Strangely, the parts had been rotated strangely because the grooves are on the outside of the parts. You can see my new components down on the ground plane. Yours are the tall ones with their drawer bottom grooves on the outside. Scaling is often not the right way to resize parts like these because it also impacts dimensions you don't want to change.
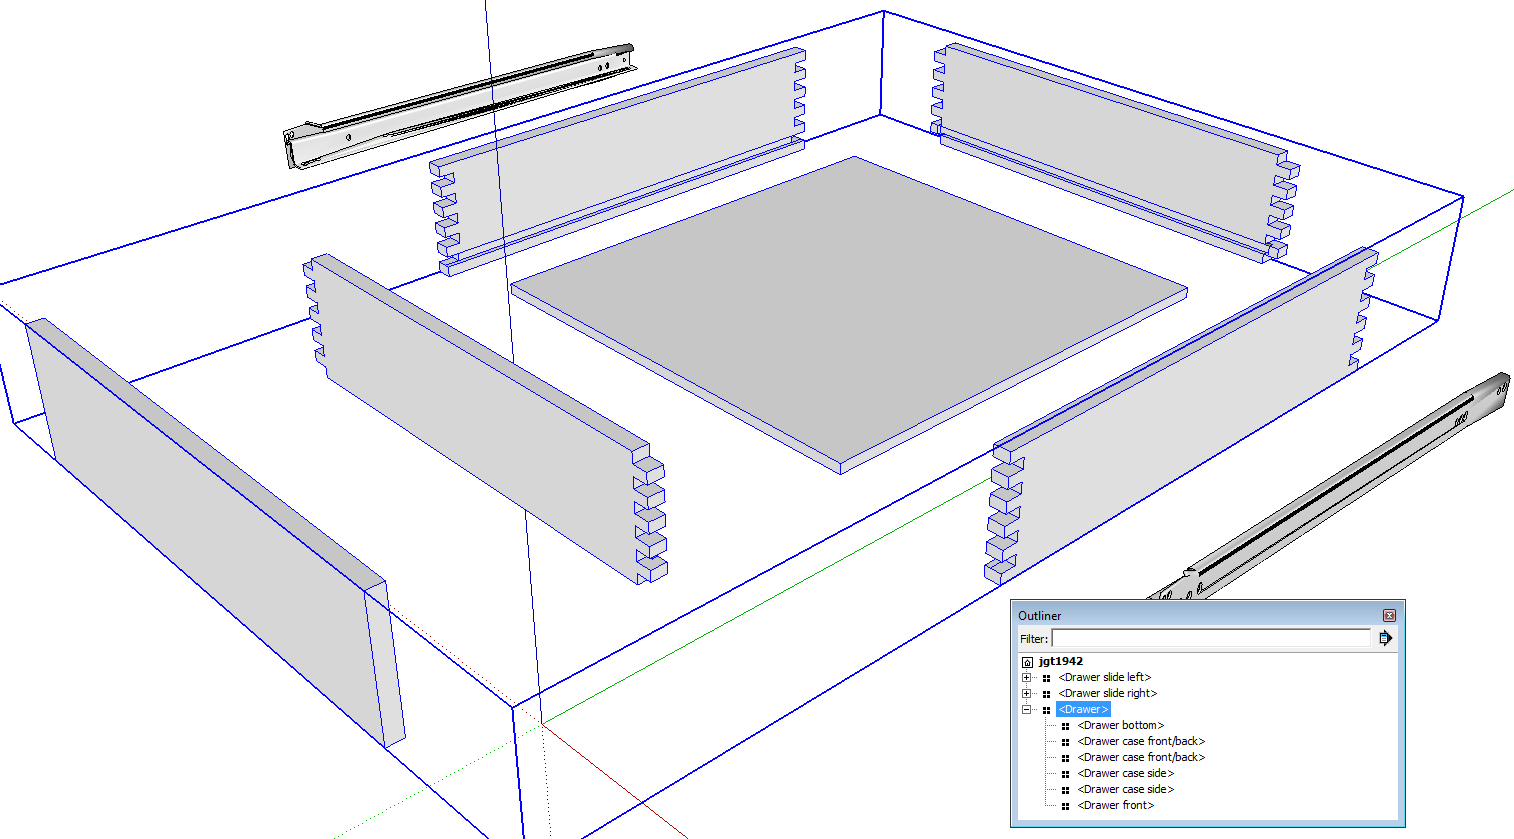
The finished drawer with the box joints drawn.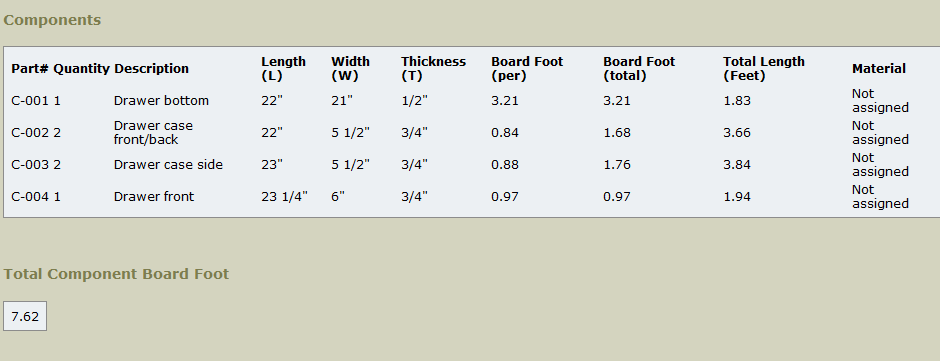
And a cutlist showing dimensions you could hit easily in the shop. -
@unknownuser said:
I had never used Window > Outliner, I did not even know it existed
Perfect candidate for the DuhDuhDoh thread of the day!

-
Dave R - you are correct. I created the entire drawing from other models via copy-n-paste. I then used FredoScale to rescale the objects to the desired size with respect to length, width and height. At that time I did not think about the board thickness. Looking back I should have, this would have made the drawing more accurate.
Until I ran into the issue with removing the dimensions that were deep down in the drawers the measurements were working for me. However I will admit I was constantly double checking everything before cutting (I've not started the drawers at this time but expect to do them today).
Thus I was on the edge of my limited knowledge and thanks to others like yourself I've learned a lot more but still have a LONG way to go.
Did you upload the drawing you corrected? Since you have corrected it I'd rather use it.

I see that you are using the Cutlist plugin. I had previously searched for this but never found it. After a bit of research I found an article at FineWorking (http://www.finewoodworking.com/item/114136/create-a-cut-list-from-your-model) I assume this is your article (GREAT article). Also found great article at http://cherrywoodcustom.me/2011/02/06/cutlist-4-1-for-google-sketchup-8/
I agree that the drawer is complex but I just copied it from some model, however I'm not sure I could have done any better at this time. I'll try to view some of the videos- I just found MasterSketchup.com and it seems to have a good set of videos that have a logical flow. In the past when I looked for videos those that I found did not seem to have a logical flow and I gave up on them. I'm open for any suggestions.
-
I've attached the drawer file although you'll need to reassemble it.
I know you're working on a big project and it must be something you have interest in but it would be wise to start with a smaller and simpler model so you can get the hang of it.
As I mentioned before, scaling is usually not the appropriate way to resize things when there are details that need to remain the same. The Move tool is a better choice most of the time. You can see some of that here. When Scaling can be used successfully, you'll generally want to open base level components and scale the geometry.
The Cutlist plugin is available in the Extension Warehouse. Get it there and let SketchUp install it automatically.
I'll PM you with some suggestions.
Advertisement


