Own A Zippo Lighter?
-
I'm a relative Sketchup newbie, and this is undoubtedly a newbie problem...
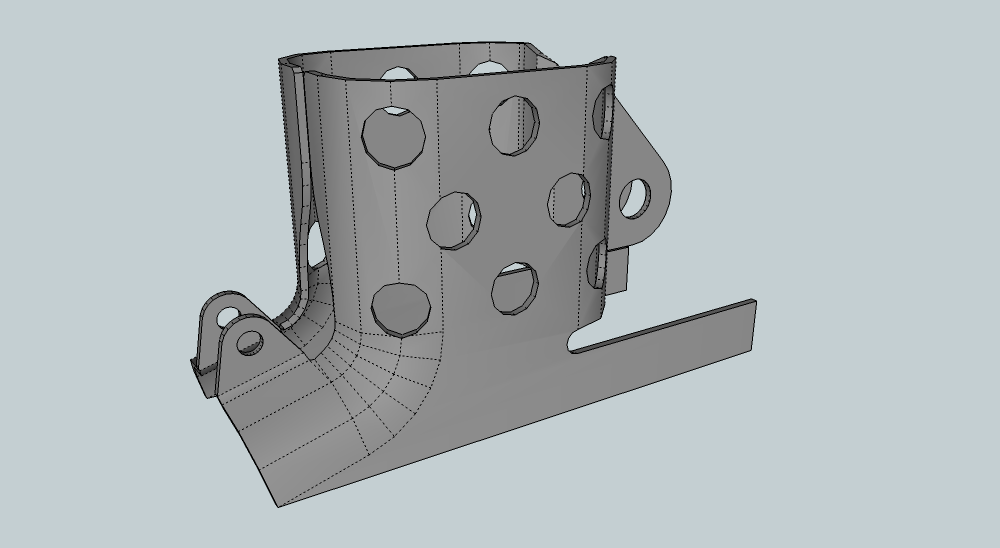
I'm attempting to create a detailed model of my Zippo lighter, (for no practical purpose... I just enjoy problem solving). The "cage" surrounding the wick, particularly the hinge side, is giving me fits. Where the back of the cage splits into a teardrop shape and then morphs into the bracket holding the spring lever contains some complex geometry. I don't think this would be much of a challenge, even for a newbie like me, but I'm trying to model everything in 3D, including the cage (i.e. make the cage not just a face).
I've searched for tips on complex curves (and experimented with different Bézier curves) without a lot of luck. I've sampled some Zippo lighters in the warehouse, but the examples I found were either modeled with one face or the geometry I'm describing was "cheated" (I don't mean this in a bad way). I could attempt to model different pieces of the cage, group them, and then simply fit them together, but I'm looking to exhaust all other options first.
Any ideas? Asking for help is totally negating the problem solving fun for me, but now it's like the song has been in my head for days and I just want someone to tell me the title of it already. Many thanks for reading this!
-
You might find ShapeBender plugin useful?
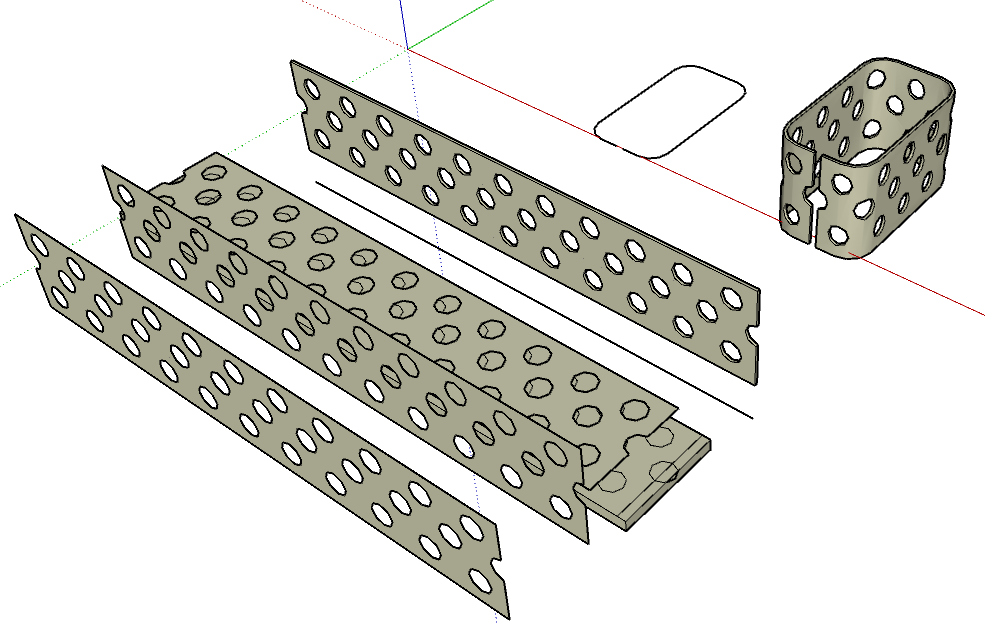
Like this little test.Or model without thickness, and use Joint Push Pull to give it all thickness after bending and shaping?
Using only native tools, like Push/Pull, Intersect/booleans etc, would be possible too, but it would be a bit more work..

-
Thanks for the reply!
Shapebender would be perfect for a cage mock-up, and your example is great. The attached picture might shed more light on my dilemma...

The back of the cage forms a tear-shaped cut-out, which then folds back into the bracket holding the spring lever (or whatever you call that thing). It's all one piece of folded metal, and I'm trying to replicate it with one shape. It might be folly.
I thought of creating the cage (like your example) and using a separate shape to intersect and thus create the tear cut-out, but that wouldn't solve the problem of the metal that folds back to form the bracket, which is at its own angle.
Alas... it may just be time to give up and move on to another problem.
-
No need to give up!
Why don't you show us what you've got so far?I would model each part separately, container + lid, the wick holder part with all lose, moving parts as on the original.
I would model most of the parts as single sheets, and then afterwards apply thickness with JPP plugin.
Other plugins you could look at are Curviloft, RoundCorner and ToolsOnSurface.
Curviloft might be very useful for the sheet metal cage around the wick.I'm a big fan of the tgi3D tools, and would probably have used their curves and unique view locking tools to build the cage (and other parts?).
-
Yeah, I realized how pathetically defeatist my last post sounded when I read it again. I'll give it another go and post progress in the next few days. Thanks for the words of encouragement. I use ToolsOnSurface and RoundCorner (and I definitely owe TIG some money for his incredible extrusion tools... the contributions of the PlugIns authors cannot be overstated). Perhaps I just haven't found the right workflow with those tools to get the desired results. Yet.
Thanks again. More to follow.
-
In your picture it appears the windscreen cage is not one piece, but two connected at the lid hinge and the sparkwheel. If so, then this may affect how you go about it , for instance with symmetrical, component mirror modeling on that part at least.
-
mitcorb... you're absolutely correct! The 'one piece' to which I referred (but should have clarified) was one side of the cage and rear extension to the spring lever. As you pointed out, there are in fact two of these 'one pieces' that make up the cage proper. My approach has been to model one side in order to mirror later, but I didn't do a good job of spelling that out here.
I made a semi-breakthrough on this last night but haven't been able to get to it today. Barring the collapse of the universe I hope to post examples tomorrow for some critique. Then I can take a break and perhaps stop looking at everyday objects wondering "how would I model that in SU?"
-
-
Good job, gilles:
I need to get a Zippo
@wtrouser: Since I discovered Sketchup, that is the question that is constantly on my mind, and, for me, that has been since around the same time that I first joined this Forum.
Too much world, not enough time
-
-
@gilles - great work indeed! Now I get to wonder how you pulled that off with native tools (sigh).
Well, I made my breakthrough only to find a much stronger wall in my way. I'm not giving up, but I have definitely reached the point where the frustration has overtaken desire. What I've learned:
- This site is great because of the people (duh)
- My old Mac really, really doesn't like JPP
- People who create complex models, (like, say, cars), are probably extra-terrestrial
Some of what I still need to figure out:
- Why does JPP create faces which have some front-facing segments and some rear-facing segments (in the same face!!!)?
- Why does ToolsOnSurface sometimes create discrete faces and sometimes not?
- Those who are able to easily create three-plane Bézier curves... who put you in touch with the devil and what kind of deal did you make?
Thanks to all for the input. Again... I'm not giving up, but for the sake of my sanity I'm moving on to something less complicated for now. I picked the Zippo specifically because I didn't know how I was going to pull it off. Maybe I need to take some smaller steps first.
-
If you look at this model you will find out I only used pencil tool, arc tool, circle tool, pushpull, follow me, intersect, move etc... No voodoo here, just try to understand the shape and draw step after step.
Plugins are good and I often use them as time saver or laziness but good understanding of native tools makes the difference.Always have fun.

Advertisement


