Film and Stage plugin - need help to fix script
-
@Chris:
Interesting that you ask about location. "And you're in"LA" is that Los Angeles?, or Louisiana? or somewhere else?"
Louisiana has a fairly active young film industry. -
@John - That did not work....meaning nothing happened? Or it exported an image of the wrong aspect ratio? Or it still had lame grey bars all over the place? I'd like to tweak it and keep trying a few things on it if you could let me know what about it did not work, I could try something different.
There is also an option to crop the image after it has been exported using a ruby. That could also be worth looking into if Google does not fix the problem on their end first.
@mitcorb - Cool, I did not know what Louisiana has an up and coming film sector. The way things are now, with film being so accessible by so many people, I think we might start seeing more and more hotspots of film start cropping up - more like music. Maybe you start getting more local film styles, the way music styles are often associated to regions around the country.
-
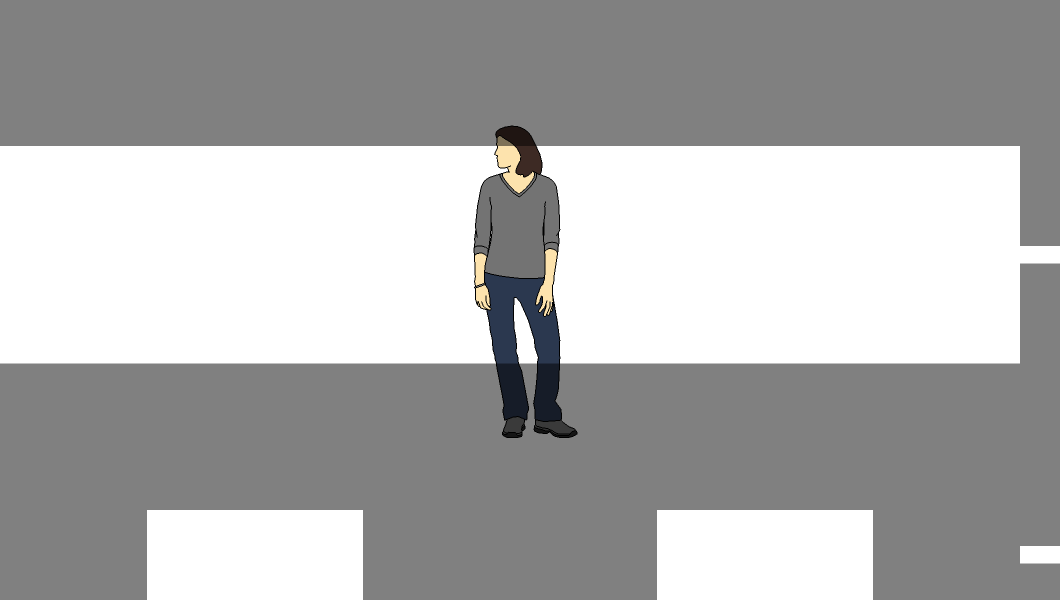
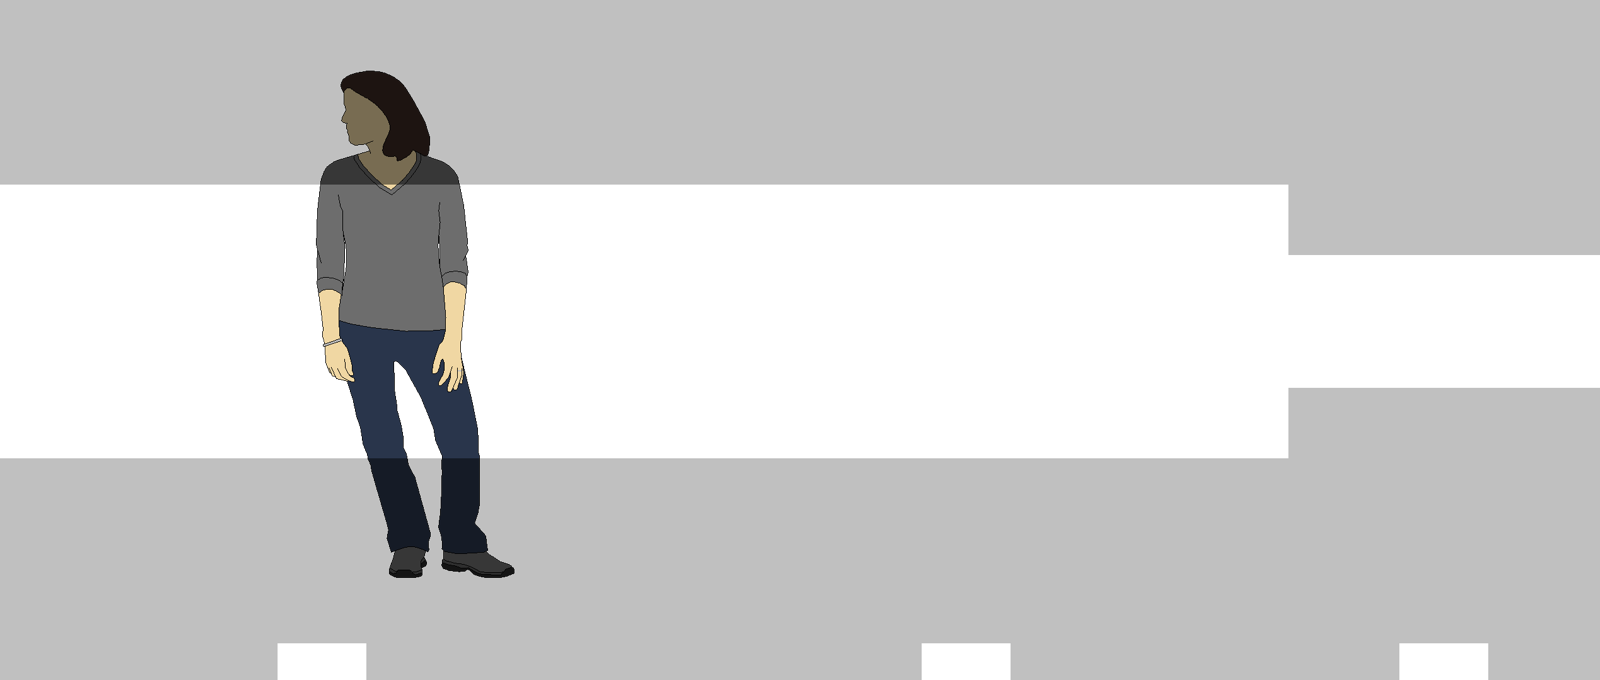
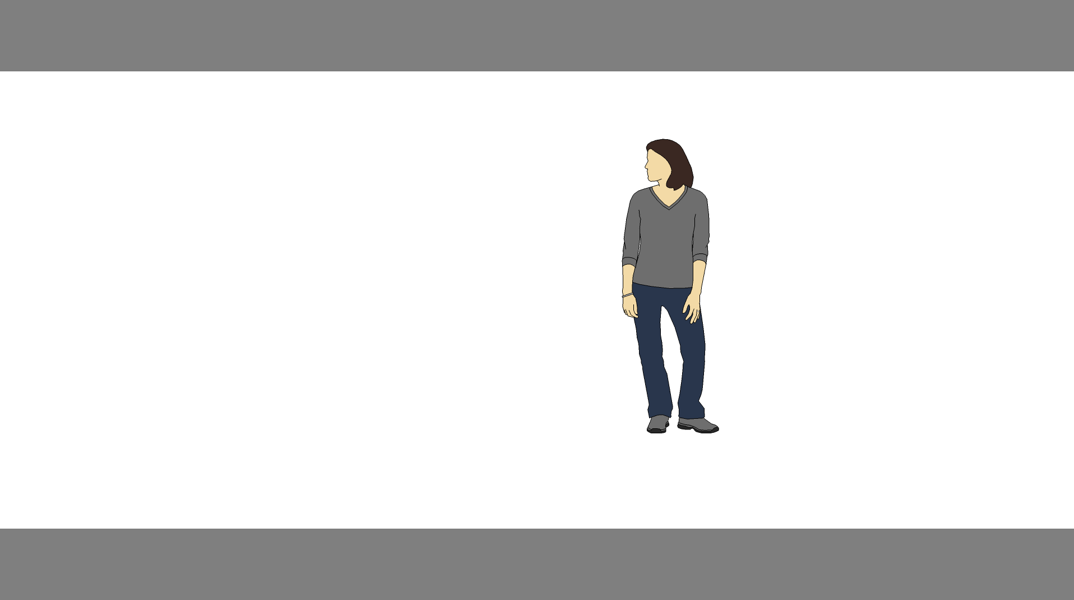
sorry Chris, I still get this
-
Thanks for the details!
ok, so with the code, it exports the correct aspect, but the lame grey bars are all over inside the image. I'll see if I can come up with a workaround - I have an idea.
Chris
-
Hmm, I've played around with it, and I have not found a way to get the image to export to the right aspect without those grey bars. I tried getting the aspect ratio of the camera, then turning off the aspect ratio so remove the bars, then export an image with the desired dimensions to match the desired aspect ratio. Then turn the aspect ratio back on - I think that would work, but the zoom is wrong somehow. I guess you could try thise cose and see if it works on the Mac differently than it does on the PC.
view=Sketchup.active_model.active_view;ar = view.camera.aspect_ratio.to_f;h=1080;w=(h*ar).to_i;view.camera.aspect_ratio = 0.0;keys={;filename=>"aspect_exporter.png",;width=>w,;height=>h,;antialias=>false,;compression=>0.9,;transparent=>true};view.write_image keys;view.camera.aspect_ratio = ar -

I think it's because we are input a value (i.e. height), rather then using screen coordinates...
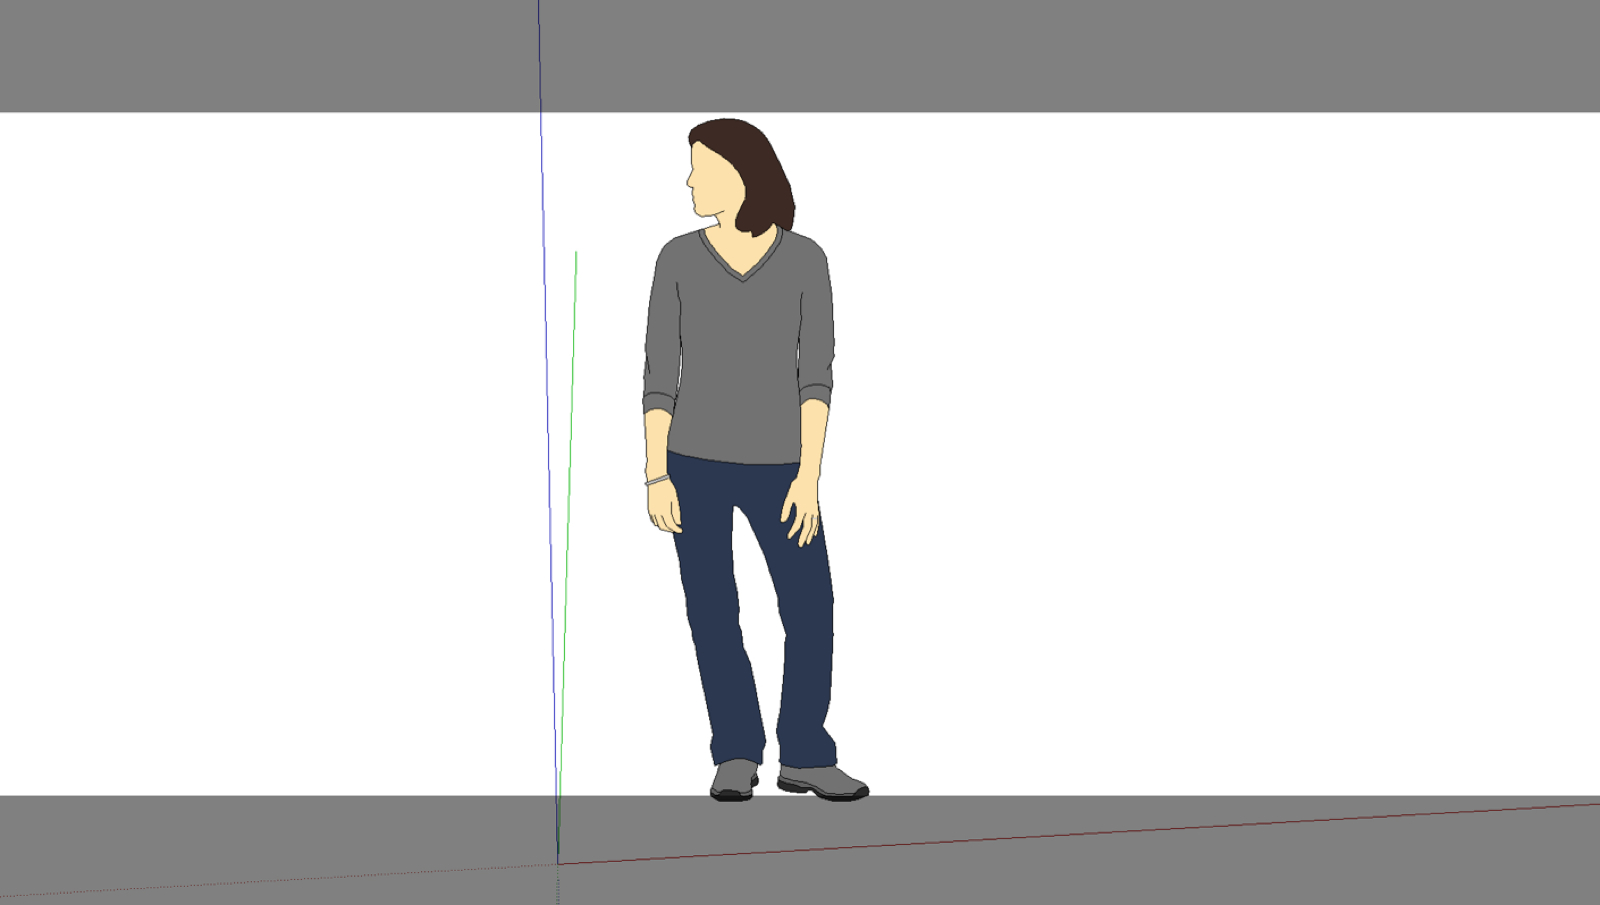
john
-
The only thing I can try now is to export using the exact same size as the modeling window in one direction, then use the asspect ratio to determine how tall or wide to make the 2nd dimension. So it would be essentially screen size, just cropped.
I do not think this will do the trick though. Because changing the sketchup camera from aspect ratio on (showing grey bars) to aspect ratio off, makes the model jump - meaning that the FOV or camera location jump, or more likely that there is something internally to SU that is taking place that I will not be able to adjust for. So I am not convinced that I can get this work around working....But I'll see if I get a few minutes to test using the above method of using only the screen width or height as the image width or height.
Chris
-
It's not clear if the screen resolution is the same on the MAC and the PC ?
Why not get the screen's view.vpwidth and .vpheight, then work out from the view.camera.aspect_ratio which of them take as its maximum allowable - as either width or height - then apply the aspect_ration to the other one to give the correct adjusted figure for that - that way the 'letterbox' will always maximize to the screen width or if it's a 'portrait' shot to the screen height?? -
@Tig and Chris,
I had a play using view.vpwidth and .vpheight but don't understand why it doesn't work, I ran this code on the same drawing with and without a 'Camera' view and thought it might show you if Mac's handle things differently, or not.
I thought using the second set of co-ords to output a file would work, but I'm doing something wrong so I'll leave that off this post.
[code] > view = Sketchup.active_model.active_view

# Determine the size of the design window
h = view.vpheight.to_s
w = view.vpwidth.to_s
puts "Window dimensions; " + w + ", " + h

# Display the locations of the four corners
puts "Upper left; " + view.corner(0)[0].to_s + ", " +
   view.corner(0)[1].to_s
puts "Upper right; " + view.corner(1)[0].to_s + ", " +
   view.corner(1)[1].to_s
puts "Bottom left; " + view.corner(2)[0].to_s + ", " +
   view.corner(2)[1].to_s
puts "Bottom right; " + view.corner(3)[0].to_s + ", " +
   view.corner(3)[1].to_s

# Show the location of the window's center
center = view.center
puts "Center; " + center[0].to_s + ", " + center[1].to_s

# Screen coordinates
origin = view.screen_coords [0,0,0]
puts "Origin; " + origin[0].to_f.to_s + ", " + origin[1].to_f.to_s
Window dimensions; 1924, 1089
Upper left; 0, 0
Upper right; 1924, 0
Bottom left; 0, 1089
Bottom right; 1924, 1089
Center; 962, 544
Origin; 579.166591415118, 705.802307848725
nil
> view = Sketchup.active_model.active_view

# Determine the size of the design window
h = view.vpheight.to_s
w = view.vpwidth.to_s
puts "Window dimensions; " + w + ", " + h

# Display the locations of the four corners
puts "Upper left; " + view.corner(0)[0].to_s + ", " +
   view.corner(0)[1].to_s
puts "Upper right; " + view.corner(1)[0].to_s + ", " +
   view.corner(1)[1].to_s
puts "Bottom left; " + view.corner(2)[0].to_s + ", " +
   view.corner(2)[1].to_s
puts "Bottom right; " + view.corner(3)[0].to_s + ", " +
   view.corner(3)[1].to_s

# Show the location of the window's center
center = view.center
puts "Center; " + center[0].to_s + ", " + center[1].to_s

# Screen coordinates
origin = view.screen_coords [0,0,0]
puts "Origin; " + origin[0].to_f.to_s + ", " + origin[1].to_f.to_s
Window dimensions; 1924, 1089
Upper left; 0, 135
Upper right; 1924, 135
Bottom left; 0, 954
Bottom right; 1924, 954
Center; 962, 544
Origin; 285.625823583734, 829.482222498574
nil
[/code]
Advertisement


