My Airplane
-

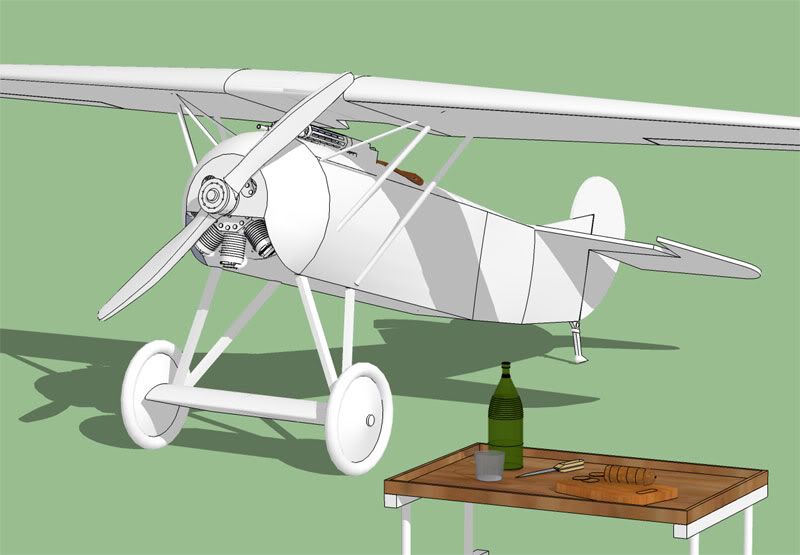
I've been working for about a week on this Fokker D.VIII. I was hoping I might move on from 1918 with my modelling, but that may not happen any time soon as I seem to still have quite a bit to learn about SketchUp. I did learn quite a bit from this project, however, and I'm pleased I was able find solutions to some of the issues around depicting aircraft with the program. The features that proved most useful for me were "push-pull" and "intersect model", which I used in creating the cockpit, the cowling and the control surfaces.
One of the important things I learned from this model as it got bigger was that my old Dell Dimension just wasn't up to the task. I got bug splats every time I turned on shadows. I found I could work around that by turning off hardware acceleration, but then the process really slowed to a crawl. This morning, I went to one of the local used computer stores and picked up a Dell Precision 690; it's certainly not cutting edge four years down the road, but it is already a big improvement over the old one.
I'm looking forward to playing more with this airplane and trying some new things. I don't really have a clue about applying textures, so I guess that should be my next step.
-
Good progress so far Mike. Is that a machine gun mounted in front of the screen? Have you modeled this from a photo?
-
Looking good Michael. I try and stay away from shadows.
-
@mike lucey said:
Good progress so far Mike. Is that a machine gun mounted in front of the screen? Have you modeled this from a photo?
Those are Spandau guns which were mounted nearly all the WWI German aircraft. They were copies of the Maxim. The ones for aircraft were air cooled, which gives them their distinctively airy appearance.
I didn't find any very good plans for this plane on the web, so started off with the plans for an old stick and tissue rubber-band-powered model. That mostly worked ok as the early aircraft had pretty simple construction There were a few inaccuracies and lack of detail for some features, but there are plenty of photos available which gave me more details than I actually needed. The best sources I located are The Vintage Aviator, especially for the Oberusel rotary engine, and Wooden Propellers, which has a beautiful big blueprint of one of the hand-carved props that were used on these planes.
-
@slimdog said:
Looking good Michael. I try and stay away from shadows.
I considered just trying to muddle through with my old PC, but a lot of the fun of SketchUp for me is the possibility of modeling things rather quickly, and I knew I would soon get tired of having to wait for the screen to be re-drawn every time I moved an object. Also, I like to give my models some kind of context that suggests a story, and shadows are a help with that.
-
Excellent work! But then again, since I am a big fan of such airplanes, I guess it makes me biased

Nevertheless, nice model indeed. I was digging through the data on the same web sites while I was working on my SE5A - far from finished, though, but I was not very happy with the propeller anyway, so I took a break and never got back
maybe you´ll find this useful - detailed Spandau machine gun drawings ( for some masochistic work ) http://www.finemodelworks.com/arizona-models/reference/Thumbs/Aircraft_Fittings/Machine_Guns/Machine_Guns.html and some D VII drawings http://www.finemodelworks.com/arizona-models/reference/Thumbs/Aircraft/Germany/Fokker/D7/D7.html
Cheers! -
@numbthumb said:
...maybe you´ll find this useful - detailed Spandau machine gun drawings ( for some masochistic work
 ) http://www.finemodelworks.com/arizona-models/reference/Thumbs/Aircraft_Fittings/Machine_Guns/Machine_Guns.html and some D VII drawings http://www.finemodelworks.com/arizona-models/reference/Thumbs/Aircraft/Germany/Fokker/D7/D7.html
Cheers!Thanks for those excellent links. It's a great help to have good plans in order to get off to a good start. I've often fooled myself in the past with the idea that I could just wing it, but a little thought and preparation usually means I can get a better result in less time than going the quick and sloppy route.
My Fokker won't impress my aviation history friends, but I was happy that I was finally able to figure out how to punch neat holes in curved surfaces, which turns out to be a big part of aircraft modeling.
-
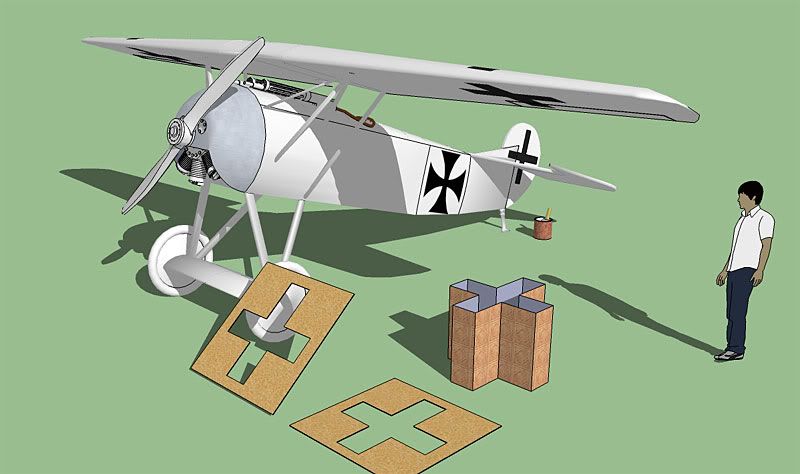
I spent the better part of a day figuring out how to put some appropriate national markings on my Fokker.

The vertical stabilizer was relatively easy as it has a flat surface. I was able to just draw the small cross and paint it in.
The maltese cross on the fuselage was done with the technique illustrated in Aidan Chopra's video tutorial for projecting images on curved surfaces.
The crosses on the wings were a more difficult challenge as the curved surface has no demarcated area that would confine a texture. I ended up using the tool illustrated here. Pushing it up through the wing also had the virtue of giving me an identical pattern on both top and bottom surfaces.
I'll start soon to add some color to the model. I don't think I'm up to doing the complicated tiled camo pattern that was most used on the D.VIII. Maybe I'll poke around in the Warehouse to see if I can find any old bolts of fabric.
-
This looks absolutely amazing so far mate, I'm more of a ww2 person to be honest, but this is a brilliant model. IMO the fuselage looks a bit 'fat' I think, I had a look at the plans but i'm not quite sure tbh.
-
@hobbnob said:
This looks absolutely amazing so far mate, I'm more of a ww2 person to be honest, but this is a brilliant model. IMO the fuselage looks a bit 'fat' I think, I had a look at the plans but i'm not quite sure tbh.
You are probably right on the "fat". The scale model plan I mostly relied on had some other obvious errors in the wing height and the tail section profile. I have some excellent plans for WWII planes, but I still haven't figured out how to do aspects of any of them properly with SketchUp. The areas I always seem to encounter problems in are the transitions around the cockpit, and the wing fairings. I've worked through a few other issues with this Fokker, and once I've finished with some color and rendering I'll take another whack at a more modern craft.
I've put the unadorned version of the Fokker D.VIII in the Warehouse.
-
@numbthumb said:
Hi, it´s coming out really nice.
Since you´re using SU 7, you can set your default image editor via Window>Preferences>Applications and browse for your .exe file ( Photoshop, Gimp, or whatever your choice is ). This way you can edit your textures in an external application.
To edit your texture, just right click on it and select Edit Texture Image from the Context menu - and your image editor will open. Now any editing you make there, will be instantly applied on your texture when you save your work in your image editor.
Note however that you should make your texture unique before any editing can be done.
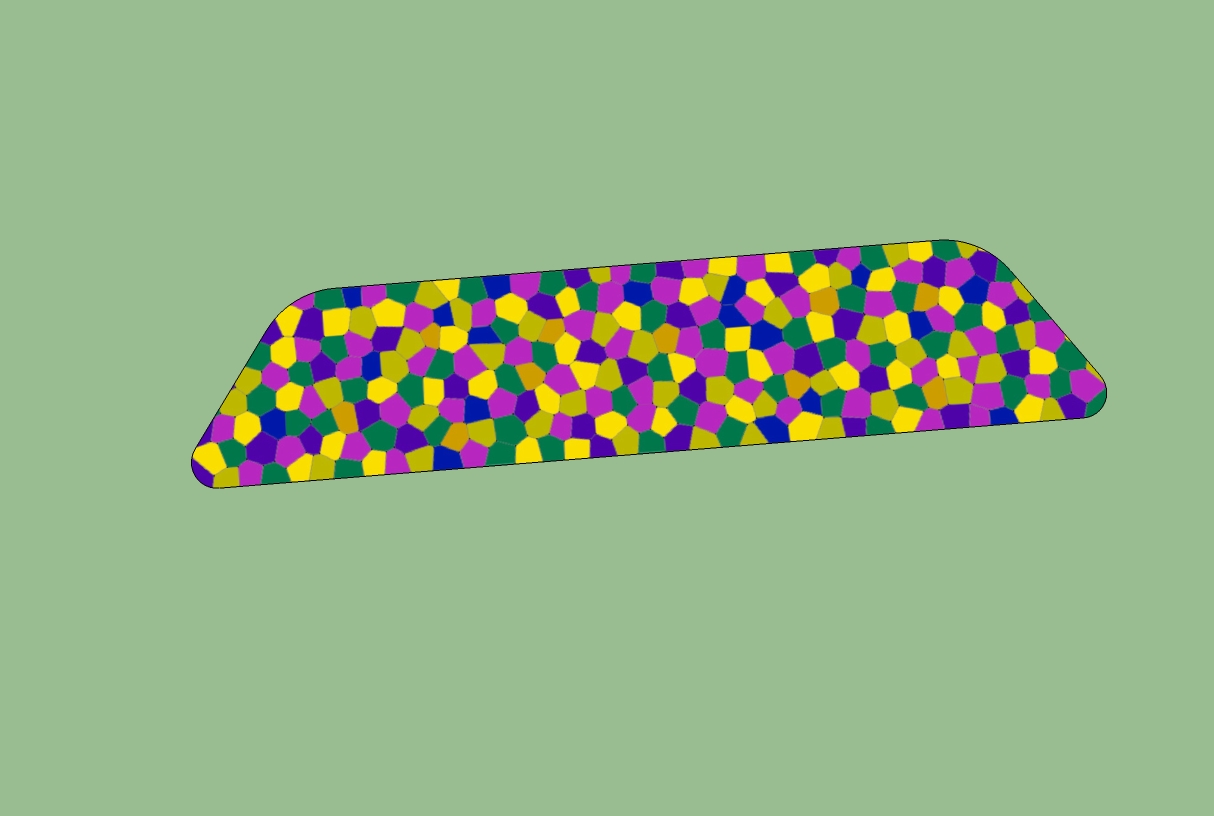
Here is an example - a quick lozenge scheme - just an eyeballing ( done in Photoshop )
Hope you can find this useful.
Cheers!Wow, that's good stuff! Many thanks; I'll give it a go.
The criticism from hobnobb also proved very useful. I went back and found I could just scale back the length of the nose by about a third, which made it look quite a bit more like some of the photos of the plane.
-
Hi, it´s coming out really nice.
Since you´re using SU 7, you can set your default image editor via Window>Preferences>Applications and browse for your .exe file ( Photoshop, Gimp, or whatever your choice is ). This way you can edit your textures in an external application.
To edit your texture, just right click on it and select Edit Texture Image from the Context menu - and your image editor will open. Now any editing you make there, will be instantly applied on your texture when you save your work in your image editor.
Note however that you should make your texture unique before any editing can be done.
Here is an example - a quick lozenge scheme - just an eyeballing ( done in Photoshop )
Hope you will find this useful.
Cheers!

-
Progress to date.

A measure of my ignorance about SketchUp is how often I am surprised at what is going to be hard and what is going to be easy. The camouflage was pretty much paint-by-the-numbers. Putting a simple line design on the wheel covers turned out to be a challenge which I won't get to until I'm back from a trip to Arizona.
-
Your "Razor" keeps looking better and better

I only now noticed those were the D VII drawings on that link I posted -
-
probably because I think of it as the Fokker E.V - anyway, better late than never - I have attached the .pdf file. It may come in handy even if you decide to build a rubber band powered Fokker
And if you´re willing to spend a few bucks, there are some good plans here http://unclewilliesplans.com/about4.html
Cheers!
-
@numbthumb said:
...I have attached the .pdf file. It may come in handy even if you decide to build a rubber band powered Fokker

And if you´re willing to spend a few bucks, there are some good plans here http://unclewilliesplans.com/about4.html
Cheers!Yep,those are the plans I used. The photos of the plane in flight look quite a bit better than the plan version.
I'll check out the other site. If I'm going to spend several weeks on a project, a few bucks for some good plans seems like a good investment. I was laughing this morning at the fact that I just spent $600 on a pc to run a free program.
Advertisement


