[Plugin] Align Camera Light
-
Our next Rendering Tip is going to suggest that you use lights attached to the camera for easier illumination as you render a scene.
Some rendering packages do not have the ability to snap a light to the camera, so I have provided the attached ruby script to help you align a camera light.
Download IRender_align_camera_light.rb and place it in the SketchUp Plugins folder.
[Edit: uploaded a new version with trace replaced by printf]
irender_align_camera_light.rbHow to use a Camera Light
Step1 - create camera light

Create a component with one or more lights in it.
The origin of the component should be in the location where it will snap to the camera.
The blue axis will be aligned to the line from the camera to the eye.
The green axis be aligned to the cameras up vector.
The red axis will be aligned perpendicularly to the up vector - usually left and right of the camera.
Place any geometry or attributes in the camera_light component which will help illuminate the scene. (The construction lines will not effect the scene)
Do not place any geometry which will obstruct the camera.
Save the component as 'camera_light'
Step 2 - place camera_light component in a drawing

It does not matter where you place it, it will be snapped into position when you align it.
Step 3 - Align Camera Light to camera

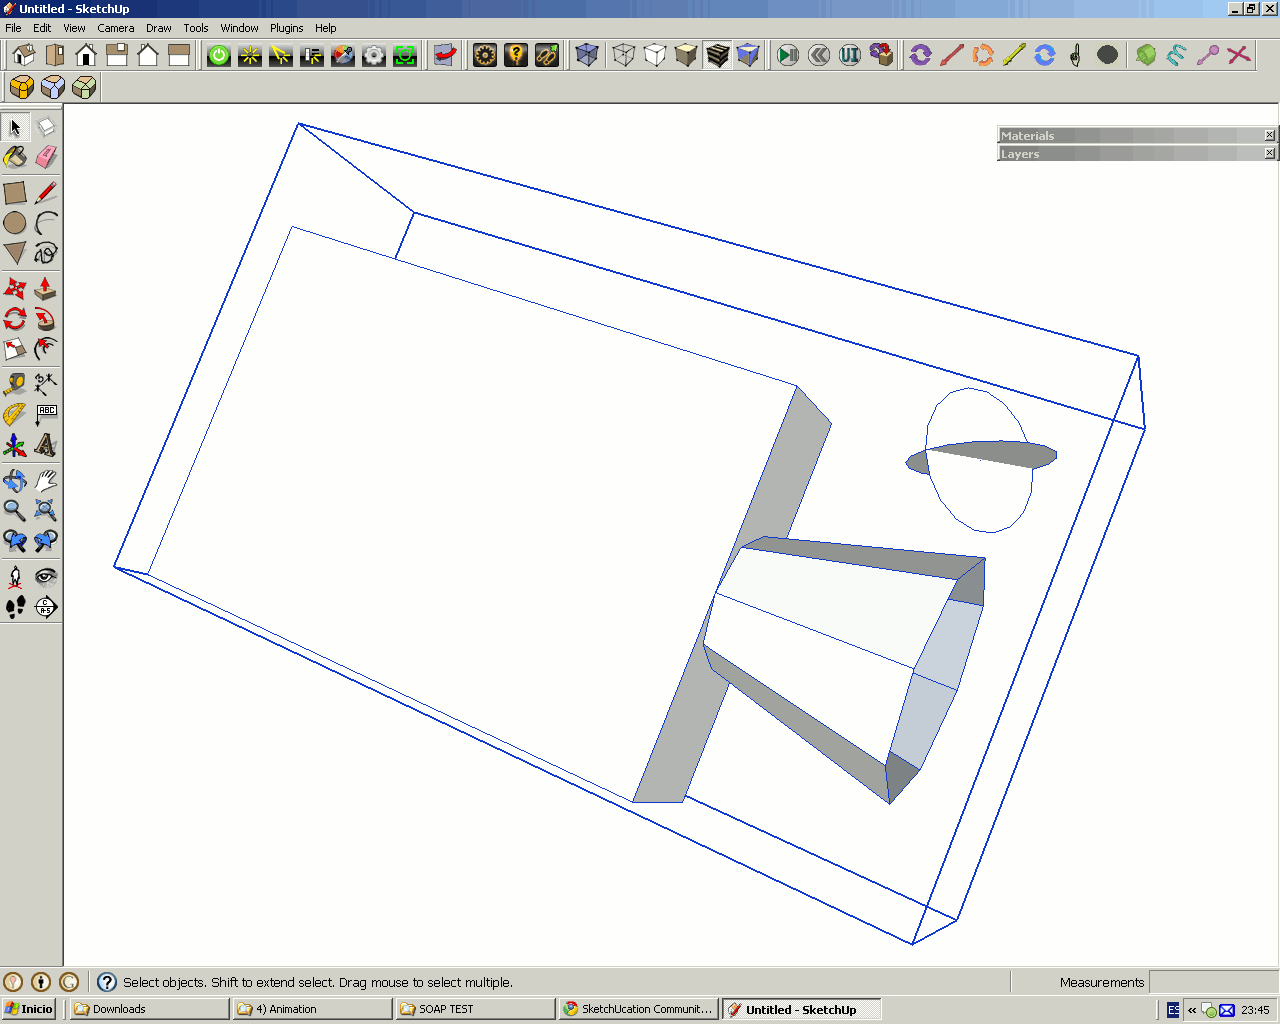
Camera light placed in the model
(Zoomed out a bit so that we can see it).Select Align Camera Light from the plugins menu.
When aligned properly you will not be able to see it.
For testing, it may be handy to zoom out to let you see how the camera has been placed.
Step 4 - Render model with camera light

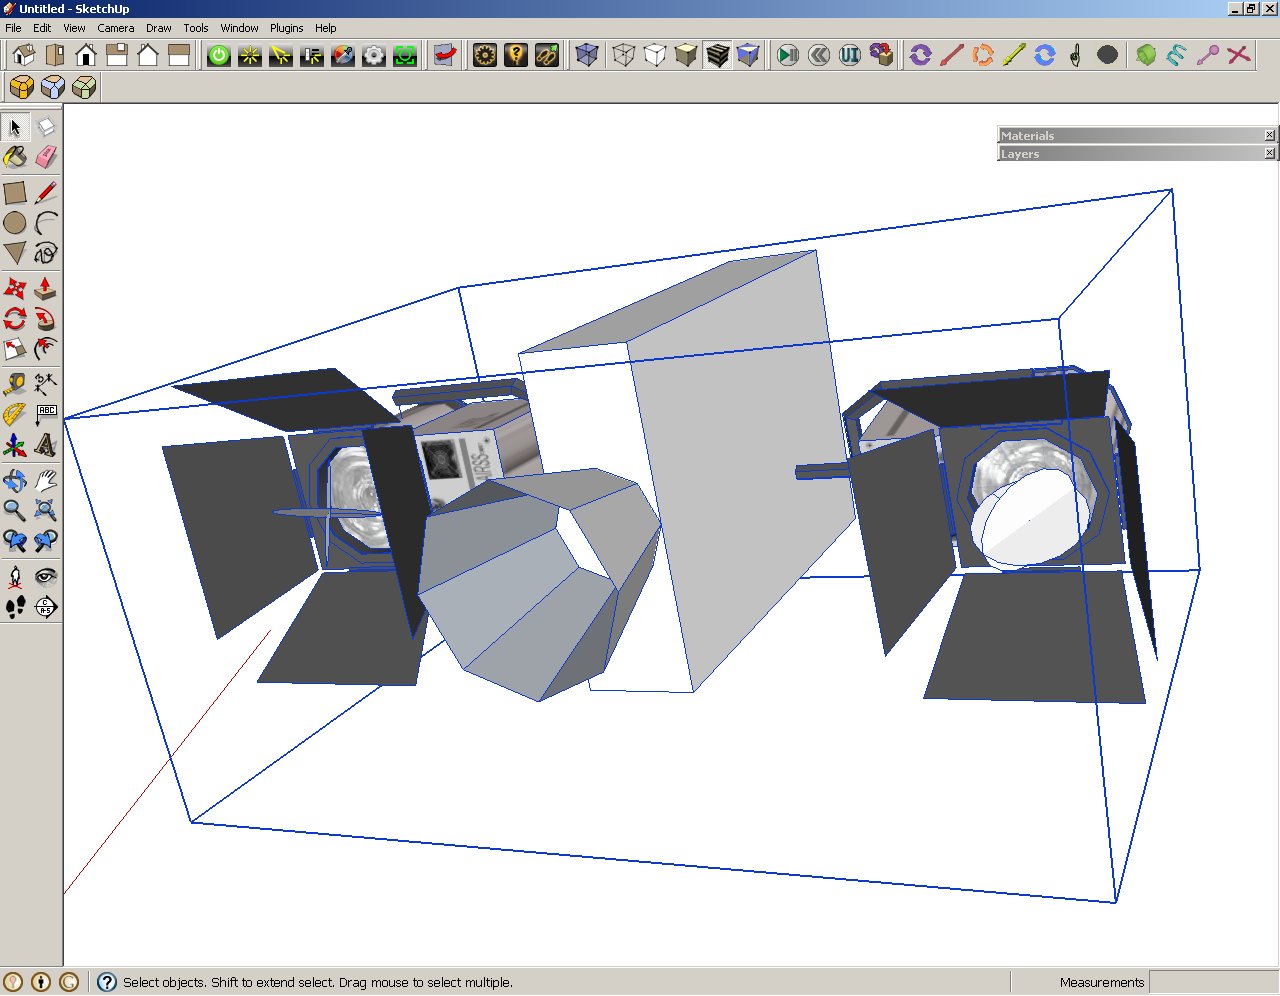
Scene rendered with camera light.
(Zoomed out a bit. Normally the camera light would not be visible)
(Rendering made with IRender nXt)Tips
-
Two or more spotlights will usually provide the best effect.
-
Normally the camera light will not be your only light. It is intended to augment other lighting.
Try it out
Try this our with your renderer and let us know how it works. -
-
a very generous gesture Al, thank you.
here's what i get:
-
cool i have that plugin, i just never thought of modifying the component to include lights!

i'm going to give Al the benefit of doubt here and not assume that the 'trace' method is part of the iRender package.
-
Don't despair, Rocky. There's another way to do this: The good old Film & Stage plugin by @Last software, the creators of SketchUp itself. It was designed exactly for this kind of things. With it, you are able to create a camera component and add all the crazy light arrangements you want inside the camera component. All that stuff will follow you as you move the camera when you're looking through it:


The Film & Stage plugin is also the easiest way to copy cameras from one model to another, among other tricks. Download the free Film & Stage Plugin for Windows, or for Mac. -
Good reminder! I have used The Film & Stage plugin time to time, too. Adding lights to the component is a nice idea.

-
@xrok1 said:
a very generous gesture Al, thank you.
here's what i get:oops - remove the trace line, put a # in front or replace it with printf. I'll upload a new copy.
-
@xrok1 said:
i'm going to give Al the benefit of doubt here and not assume that the 'trace' method is part of the iRender package.

trace(sformat, ...) is a routine like printf(), but it displays the file name and line number when the message is displayed. Ruby developers might find it handy.
Also, because it uses sprintf and puts, you don't need a \n and the end of every message:
something like:
new_value = 123
trace("new value: %s", new_value)displays
new_value: 123
^^^C:/Program Files/Google/Google SketchUp 7/Plugins/irender_align_camera_light.rb:92This is handy when debugging ruby files.
def trace(*args) scall = caller(1)[0].to_s # who called the routine begin smess = sprintf(*args) puts smess + "\n ^^^" + scall # always output argument rescue warn "arg ERROR in trace called from; " + caller(1)[0].to_s end end#def -
Al, would you mind splitting this trace code off to its own thread? It's useful, and being in its own thread would make it easier to find. Thanks.
-
Thanks Al!

@unknownuser said:
oops - remove the trace line, put a # in front or replace it with printf. I'll upload a new copy.
that did the trick
-
@jim said:
Al, would you mind splitting this trace code off to its own thread? It's useful, and being in its own thread would make it easier to find. Thanks.
Will do
Advertisement


