Photoshop Masking Technique?
-
Looking for some advice. PS is not be strong point!
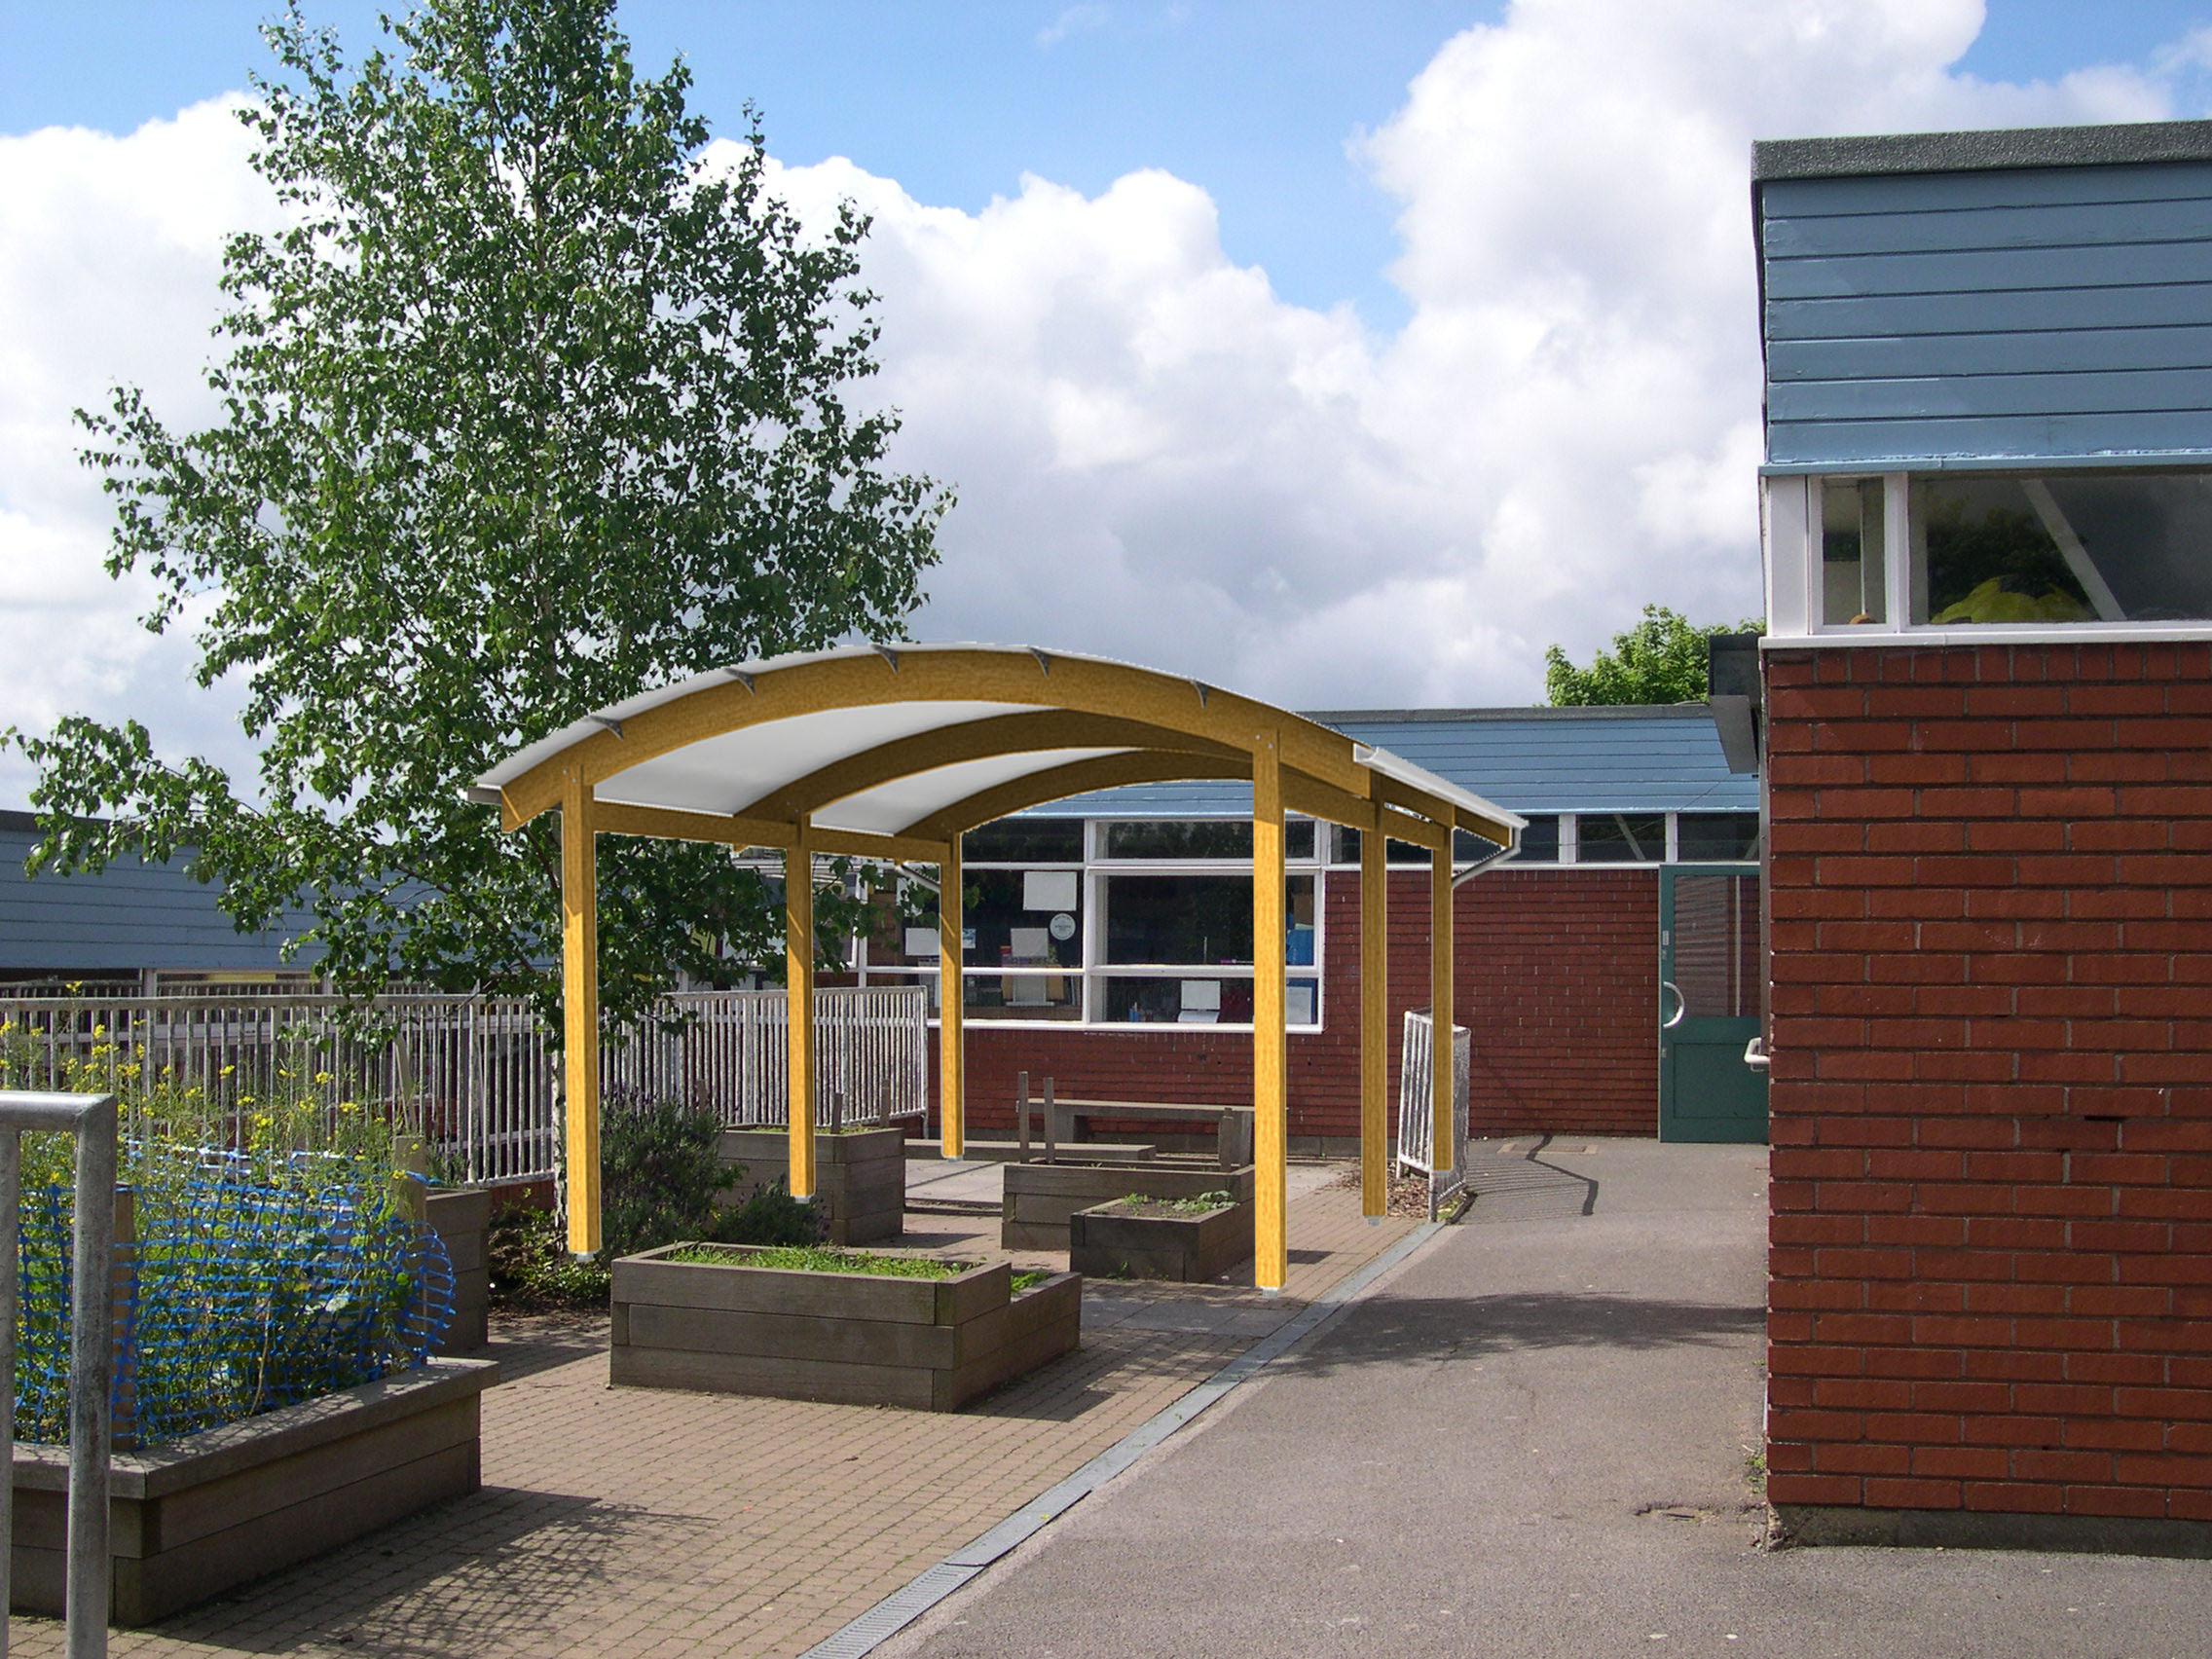
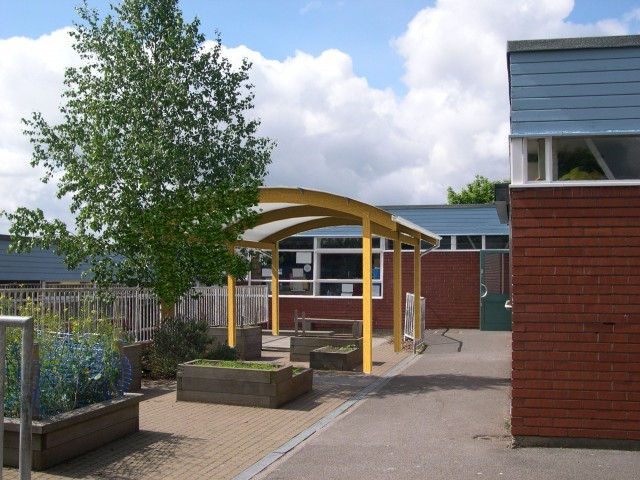
I have modelled a conopy that I wish to place in the attached image.
The problem I have is the tree needs to be showing in front of the canopy.
What techniques are best used to achieve this?I thought about a layer mask, but not sure how to accurately pick out all the bits of the tree.
*The canopy model in this photo I have just quickly placed for illustration purposes without correct scaling etc, just before anyone says it looks wrong!

-
Hi Dylan,
You can try selecting the colour of the tree foliage, then using "color range" (in the "Select" menu) you'll be able to select just the foliage, add the trunk to he selection using the polygonal lasso tool, then copy that selection as a new layer over your canopy. It'll take a bit of playing with the colour range parameter (I think you'll need very high for this), but should work.
Alternatively duplicate the whole bacground layer and use the reverse of the above process to select colours that aren't in the tree foliage, then erase everything but the tree.
-
Great info Jackson and Alan, thanks.
Worked really well.One last question.
To create some shadows along the floor, would you use a selection of required shape then fill black and turn down opacity?Thanks
-
Shadow of the canopy you mean? Why don't you get the shadows straight from SU (or LayOut) and insert into the PS file?
-
There's neat little 'matte painters' trick to selecting trees. It works best when the tree is against the sky, so it might not solve all of your problem, but it's a good trick to know anyway...
-
Have a look in the colour channels of your image. It is likely that the tree silhouette is more visible (and less grainy) in one particular channel, rather than the colour image itself. It's usually the blue one, but not always.
-
Click on the chosen channel to highlight it.
-
Select all (cntrl-A or apple-A depending on platform) and copy this channel (cntrl-C / apple-C)
-
Click on the RGB channel
-
Paste your image. It should appear in a new layer, but still in B+W
-
Do a levels adjustment on this image to make the tree black, and as much of the background as you can white. It needs a bit of tweaking - maybe some curves / contrast adjustment, maybe even some dodge/burn, but it's usually possible. This image I will call the 'mask image'
-
Copy your original colour image into a new layer (this I will call 'layer 2'), and create a layer mask for it.
-
Select your mask image, and copy it.
-
alt-click on the layer mask for layer 2. This will being it up in the main image window (your image window will go white)
-
Paste your mask image
-
Click on your colour image to stop editing the layer mask.
I know that sounds a bit complicated, but I've tried to include ALL the steps, rather than assuming everyone knows every last command in photoshop.
Basically, you are using one of the image channels (usually the blue one) as a layer mask to extract the tree from the background.
There's a tutorial explaining (most) of this HERE:
http://www.phong.com/tutorials/mask.tree/
AJ
-
-
Dylan,
Your suggestion is a good way to fake shadows (presumably you're going to create a new layer using a mask from the SU shadows?), or (using the same selection) you could try creating a new layer from the background layer and then adjust the lightness, Exposure and/or Gamma of the shadow layer.
-
had a go at this with a leaf shaped brush, would need more work.

-
It looks nice, Jon (at least in this small thumbnail
 don't you have something bigger?)
 -
Hijack alert:
I've been meaning to ask for ages- how come I see other people posting big attachments all the time, but when I try to attach anything larger than about 500 x 300 px it gets stuffed into a bloody scoll window?
-
i've never managed to get the hang of attaching large images myself, but uploading the image to an external site then linking it here with the [img] tag will always work.
-
It wouldn't let me post the image at the same size as dylan. I feel inadequate! I tried to post the brush. it's a free one called vine, its actually a gih file(?), works with Gimp, not sure about Photoshop. Scf says the extension is not allowed, if anybody wants it, im me, I'll send it to you.

-
I use Photobucket for that when I need to, but it's a pain having to open another site, sign in, upload and copy in links!
Jon/Linea- how did you fix your attachment?
-
@jackson said:
Hijack alert:
I've been meaning to ask for ages- how come I see other people posting big attachments all the time, but when I try to attach anything larger than about 500 x 300 px it gets stuffed into a bloody scoll window?
I think if it is WAY larger than the text, a thumbnail is created otherwise it gets stuck into those scrollers.

-
jackson I didn't, I posted a different one.
-
Dylan,
Possibly the easiest way would be to make a duplicate layer of the background photo, then sandwich the layer containing the canopy between the two identical layers, positioning the canopy correctly. I'd then use the magic wand (or colour range...as Jackson suggests) on the clouds in the top photo layer...set to a reasonable tolerance like 100....select then delete. That ought to leave just the tree showing in the sky area, with the canopy showing through the gaps. You could probably then just sample some of the vignetted leaves and copy them over the bits of canopy that fall in front of the buildings, but behind the tree.
Advertisement


