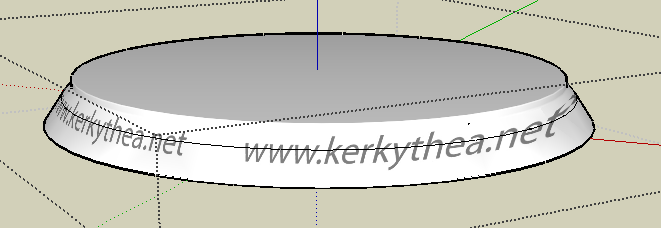
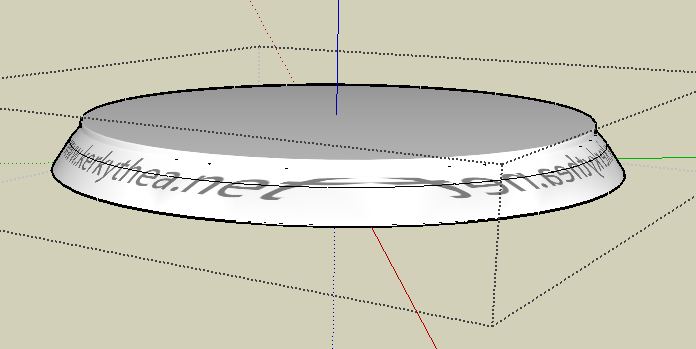
Texture: how to map it to a bending cylinder
-
Could you post the model? i cant reproduce the issue.
-
Hi Curry Pork,
When you have applied the texture, turn on hidden geometry (View menu), right click on one of the facets > texture >position and without doing anything else, hit enter.
Now turn off hidden geometry, select the Paint bucket tool and press Alt. It will turn into a sampler; sample the still selected facet and apply it to the whole surface of your tube.
If this does not screw up the UV coordinates (in which case I second what Remus says; post your model), it should fix the texture move issue.
-
To reproduce the effect I depicted above (which is a series of circumferential rings running all along the bent cylinder, and which consistently gives that appearance from all angles), paint the texture with the stripes turning through a bend onto a vertical surface (a rectangle) that is lined up with the bent cylinder itself, just as I have shown. Then right-click the rectangle and select Texture > Projected. Then use Alt-Bucket to sample the projected texture, and finally click on the bent cylinder with the Bucket tool.
See attached.
~Voder
-
Thanks everyone and thanks Voder for posting that model. I think I got this figure out so there's no need to post my model anymore.
Again, thank you all.
-
-
That's because of projecting the texture. It is "best" when seen from the front you project it on AND from the back (although it's mirrored there) but on the sides it's always "smeared" like that. This is the nature of projection and it is (well) intended to behave like this.
You should rather wrap that texture around or use Whaat's UV Tools plugin to map it cylindrically.
Could you attach that Kerky image itself?
-
@gaieus said:
That's because of projecting the texture. It is "best" when seen from the front you project it on AND from the back (although it's mirrored there) but on the sides it's always "smeared" like that. This is the nature of projection and it is (well) intended to behave like this.
You should rather wrap that texture around or use Whaat's UV Tools plugin to map it cylindrically.
Could you attach that Kerky image itself?
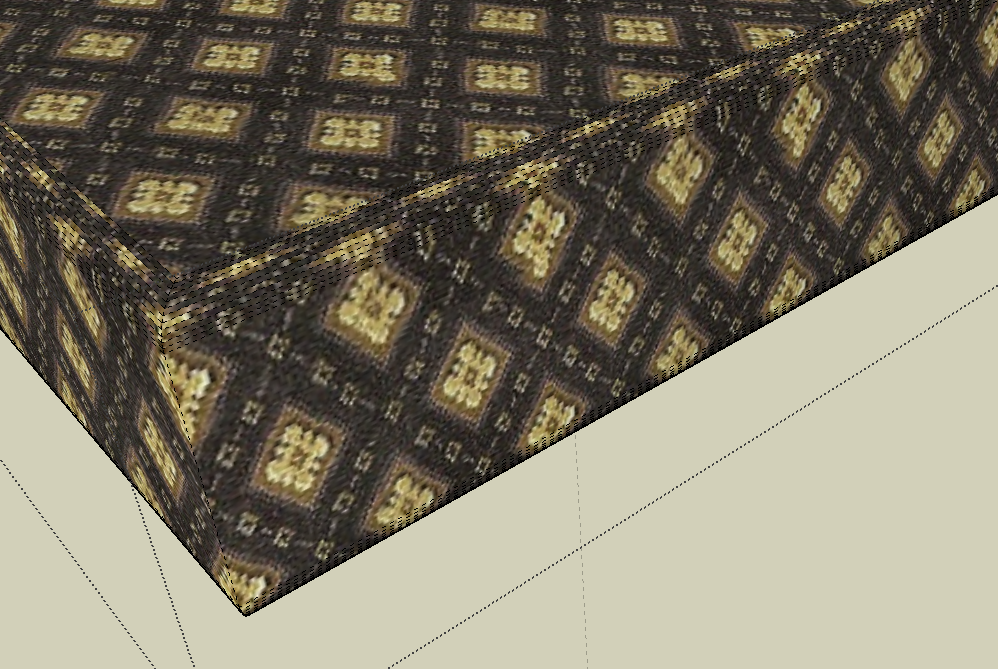
this is what i got... i moved to a different project but got a UV mapping problem again
the second image is where i got a problem again
-
Well, a texture is extremely hard to position in 3D in a way that it looks seamless all, three connected faces. But this is similar to real world; an upholsterer (is that the proper word?) couldn't adjust the pattern seamless either. You can, of course, achieve much better results than in your picture (see attached).
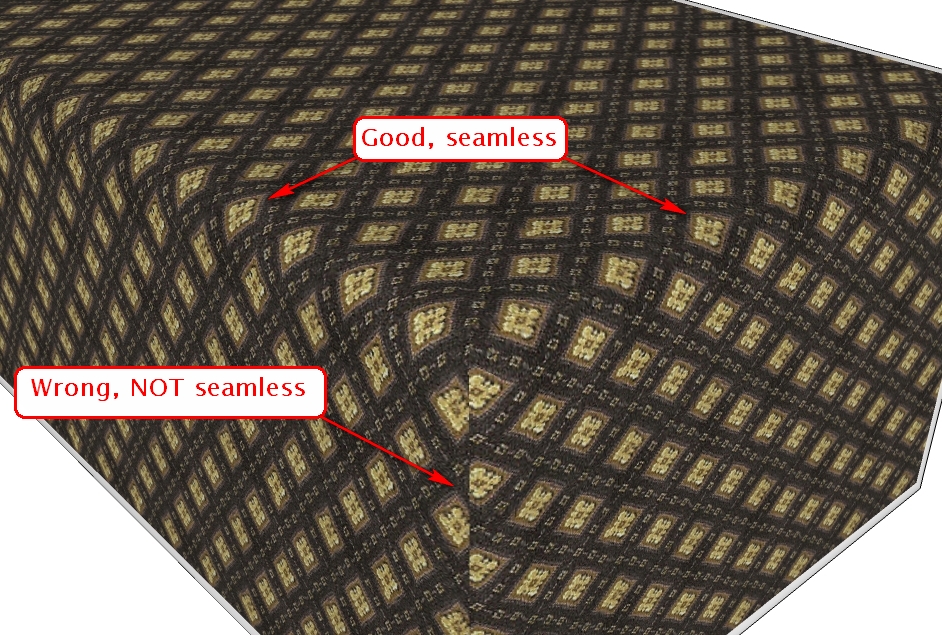
Here I made the rounded edges with Fredo's RoundEdge by Bezie plugin. Then made the following steps:- Turned on hidden geometry
- painted the top face with the material
- right click > Texture > Position (do nothing but...) hit Enter
(this will "fix" the texture coordinates to the face instead of the word coordinates) - sampled the material and applied it to the small facets of the rounded edge one by one advancing from top to bottom on both sides
- sampled the material from the side and applied it to the vertical facets proceeding from outside towards the corner - where eventually you can see the inevitable seam between the two sides.
Of course, you can "hide" this corner seam with some "carelessly" and "untidily" placed blanket or anything here but as I said above, this seam would (most probably) be there in real world, too.
-
Is there any way to do the opposite? Make the texture follow the curve rather than go perpendicular to it - as in the grain of wood following the curve in bent wood furniture? Or following the line of a railing?
-
Well, this question is just "right at the perfect time". There's a new plugin called UV Toolkit with which you can easily do this although you'll ne3ed "special" textures for this as it will stretch the whole texture onto the individual facets of a curved structure.
If you look at my post there (second in the topic) and my second, tubular arch there, first, before I rotated the texture, the stripes ran "lengthwise", nicely following the curve.
Of course, it is not desirable with a brick arch but is with your grain example. It's just a matter of segments in the curve to be nice.
Advertisement


