Trying to put a sink under a curved counter
-
Hi SketchUpers,
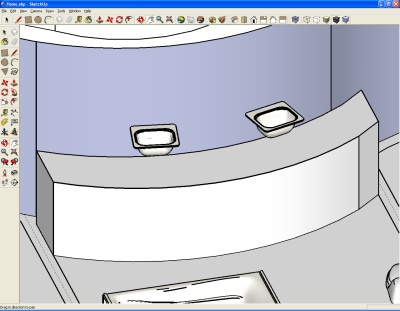
I am very new to Sketchup but am learning by trying to put together a home design. After a few hours I have been able to get the walls up and am working on one of the bathrooms. I am running into a few problems that maybe some here have some ideas on.
-
I would like to determine what angle the sinks should be in to be "aligned" with the curve of the 'cabinet' where they sit. Maybe I need to dust off my high school math books about tangent lines..
-
I would like to put the sinks under and have the cabinet top overlap the sinks. I was thinking if I could figure out how to trace the curve of the top of the sink component, then I could use the offset tool to make a smaller outline and then erase the initial trace so that the surface of the top merges with the smaller outline - which should result in a cutout overlaps the top of the sink. (hope that made sense)
-
I would like to 'glue' the sinks to the bottom side of the top of the cabinet.
Any suggestions would be welcome. Every day I learn something new, but I have a lot of respect for how you masters can conceptualize the challenge and think about how to manifest a shape from the same handful of starting points.
I have included an image which might help explain where I am.
thanks all,
Larry
-
-
Larry, without having the time to make you a tut I will try to help real quick.
First if you turn on your hidden geometry you will see where the segments in your curved cabinet are. This will help you quite a bit in placing your sink. (View/Hidden Geometry)
Move the sink. Place center of the top of the front of your sink on one of the segments near where you want it placed. Now rotate your sink from that center point and align it with the segment. I hope that made sense.
Now you can create a construction line from the center of that segment to the center of the corresponding segment on the back of the cabinet. This will give you a line to move your sink along to the desired location.
Now, to cut the hole and recess the sink... Open the sink component (right click the component and choose Edit Component). Select the top face and copy it to the clipboard. Now exit the component.
Go to Edit/Paste in place. This will paste the face you just copied directly on top of the component but it is outside the component on the counter. You can now move the sink component down underneath the counter, 1 inch will do.
Now select the face you just placed on the counter top and offset the outside edges by an inch or so. Delete the original outside edges and also the sink hole in the center. Now you have a shape, just smaller than the sink top. Push that through the counter top until it hits the sink you "dropped" previously (1" down).
Delete the bottom face you just pushed and you should be set.
I hope this made sense.

-
You could also use the Drape Tool to create an outline of your sink on the worktop. It may need a little cleaning up of lines in the middle, but it is a pretty quick method.
-
Boofredlay and Dylan,
Thanks for your replies. I will venture into the drape tool after I get the sinks aligned.
I tried viewing hidden geometry but I could not see any on the countertop. Maybe because I made the shape and it is not an imported object. It may also be because it is not perfectly round.
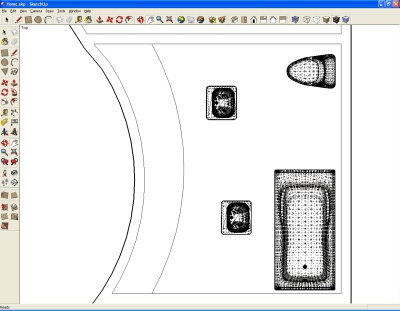
The wall behind it was "hand drawn" so the countertop is actually thicker on one side. I had initially made it by making a copy of the wall, but then I thought that it would be better if it were level with the facing flat wall and not some odd shape. So I redid it using some guides.
I then went a little more guide happy and made a center line and then lines 3' away from center which I am using to place the sinks left to right.
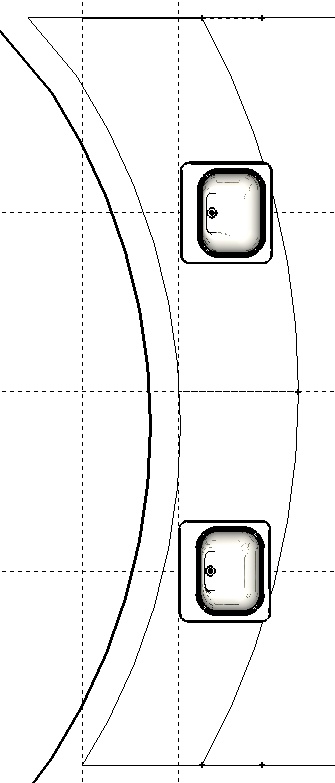
I am now working on how to get the "correct" angle to rotate them. After this I will dive into trying to put them under the counter top.
thanks for pointing me in the right direction, I will keep this thread posted on my progress.
-
After trying to figure out what the "correct/perfect" angle would be to rotate them, I realized that I should not be trying to rotate them based on the back curve but instead off the red axis. I keep mentally going back to the back wall curve as a reference and I really need to stop that because between making the counter top and rotating the sinks, I wasted a lot of time when I should have just been basing decisions on the traditional red axis.
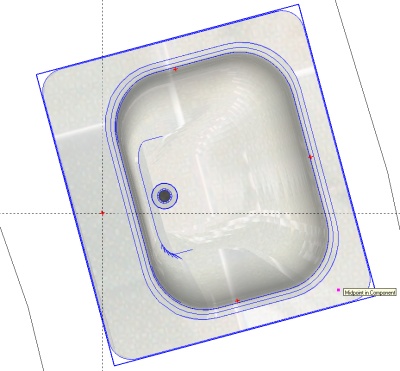
After a while I just decided to rotate them freely and see what looked right and 15 degrees looked just about right. So I rotated each 15 degrees based on a guide line along the red axis.
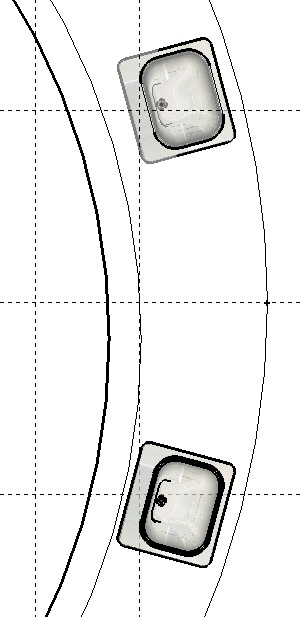
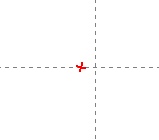
I then decided to place them based on the red crosshair in each sink model. (Sorry Boofredlay, I could not get hidden geometry to show so I had to use another reference)
I was able to place the right sinks cross hair right on the guideline intersection but for some reason could only get close with the left sink.
-
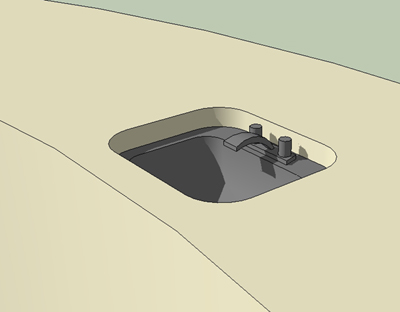
Larry, I had some time this morning so I made a quick tutorial on what I explained above.
Make sure your hidden geometry is turned on when viewing.
I hope this helps.
-
Boofredlay,
I really appreciate you taking the time to make the tutorial. It was helpful in seeing what you were referring to about the hidden geometry in the cabinet. I was looking for it on top and I did not realize they are on the front/curve. I have a slightly more challenging counter because of its angle, which causes uneven hidden geometry lines on each half - but I think I have enough hidden geometry lines to accomplish what you did in the tutorial.
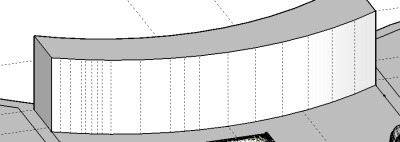
babysteps, but I am getting there, thanks - I'll keep you guys posted as I progress.
I'll keep working through your tutorial.
-
Not a problem. Keep us posted!
Advertisement


