Camera Simulation with MSPhysics
-
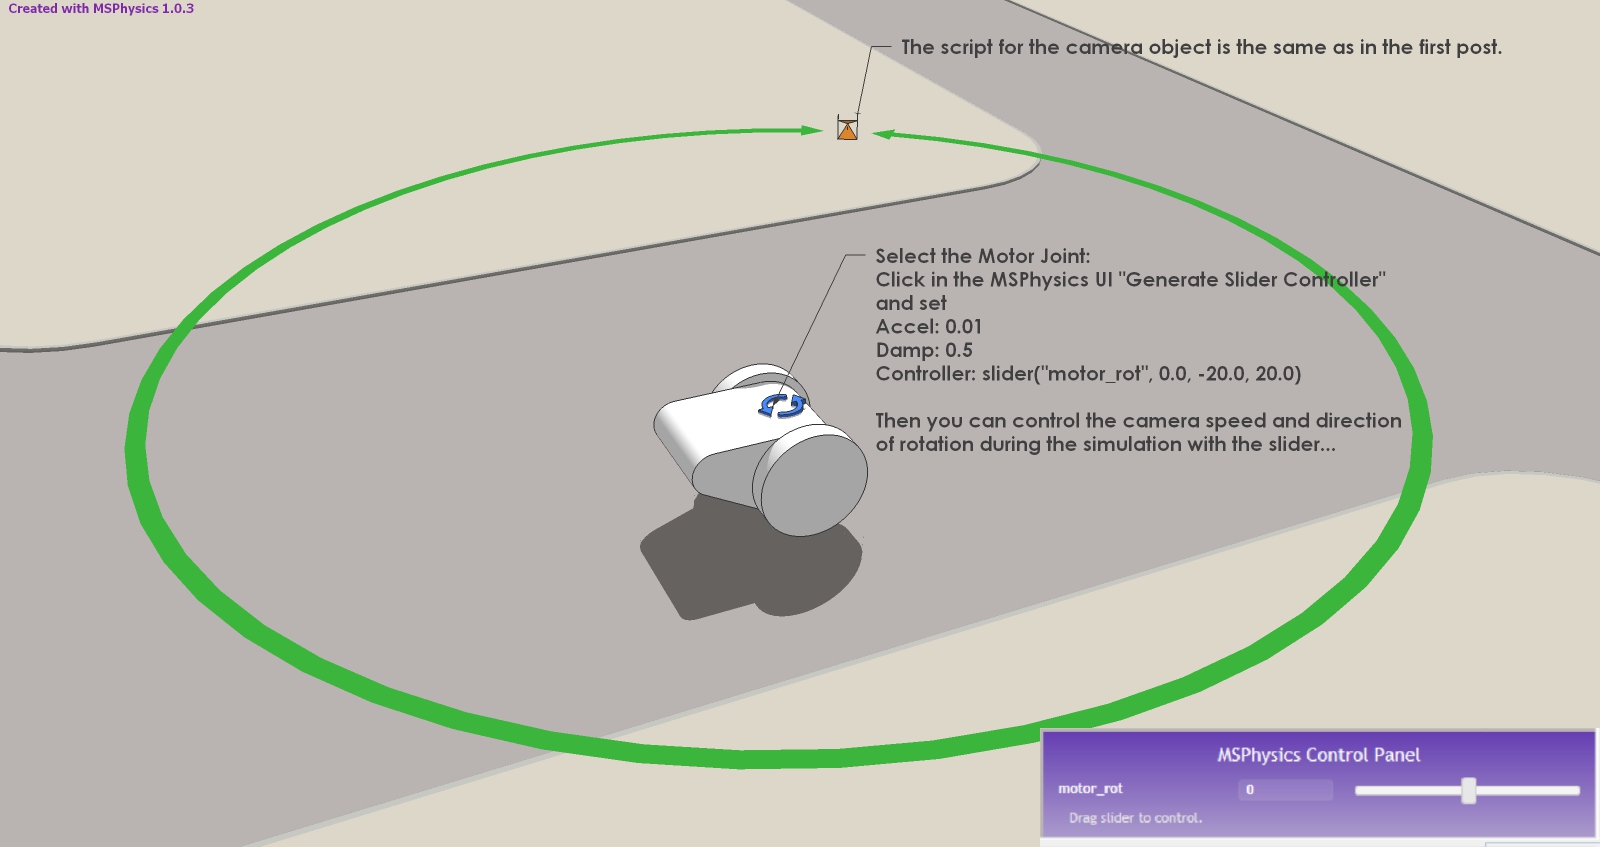
Example 2 of the camera motion simulation: control via a "Slider Controller" in the "MSphysics Control Panel":
In the attached file the Motor-Joint moving the camera is extended by a Slider Controller.
Now it is possible to control the speed and direction of rotation during the simulation with the slider.
MSP-Tut_CamRotFix-Slider_P2.skp
-
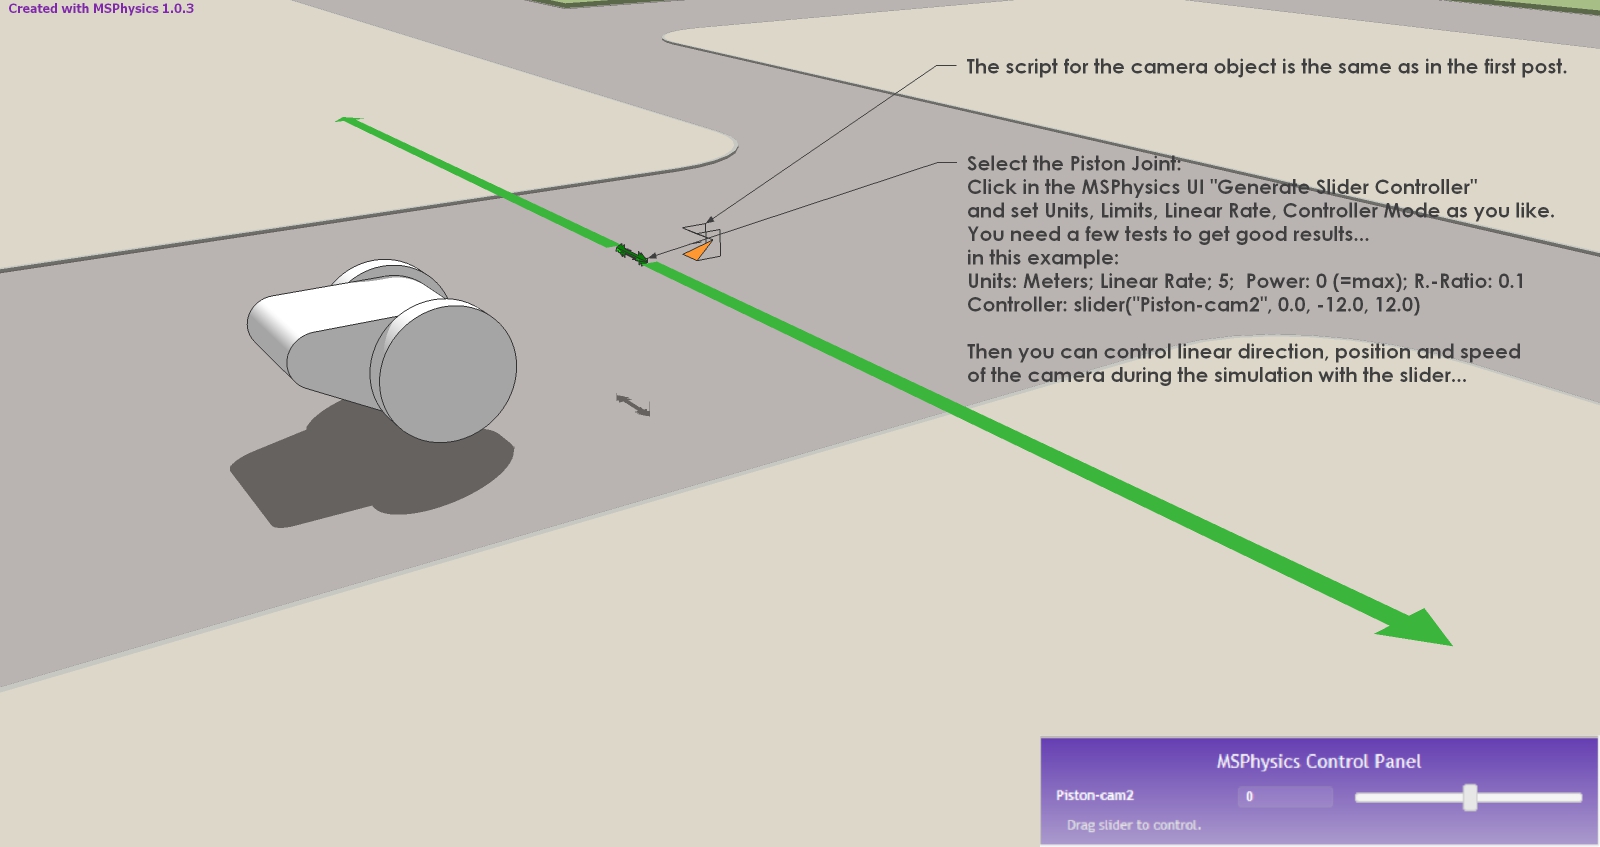
Example 3 of the camera motion simulation: linear camera motion -
controlled via a "Slider Controller" in the "MSphysics Control Panel".Add a "Piston" joint at a position you like to start the linear movement of the camera.
Place the camera object at the desired camera start position (near the Piston joint).Delete the Motor joint or disconnect it from the camera object if it still exists.
Connect the Piston joint to the camera object with the MSPhysics "Joint Connection Tool":- click on the "Joint Connection Tool" in the MSP Toolbars
- select the Piston joint with the green arrow
- press the "+" key and add the camera object to the selection ("-" key to disconnect a joint).
In the attached file the Piston joint moving the camera is already equipped with a Slider Controller.
Now it is possible to control the linear movement of the camera during the simulation with the slider.Record, Play and Export with MSPhysics Replay functions if you want.
MSP-Tut_CamLinFix_Slider_P3.skp
-
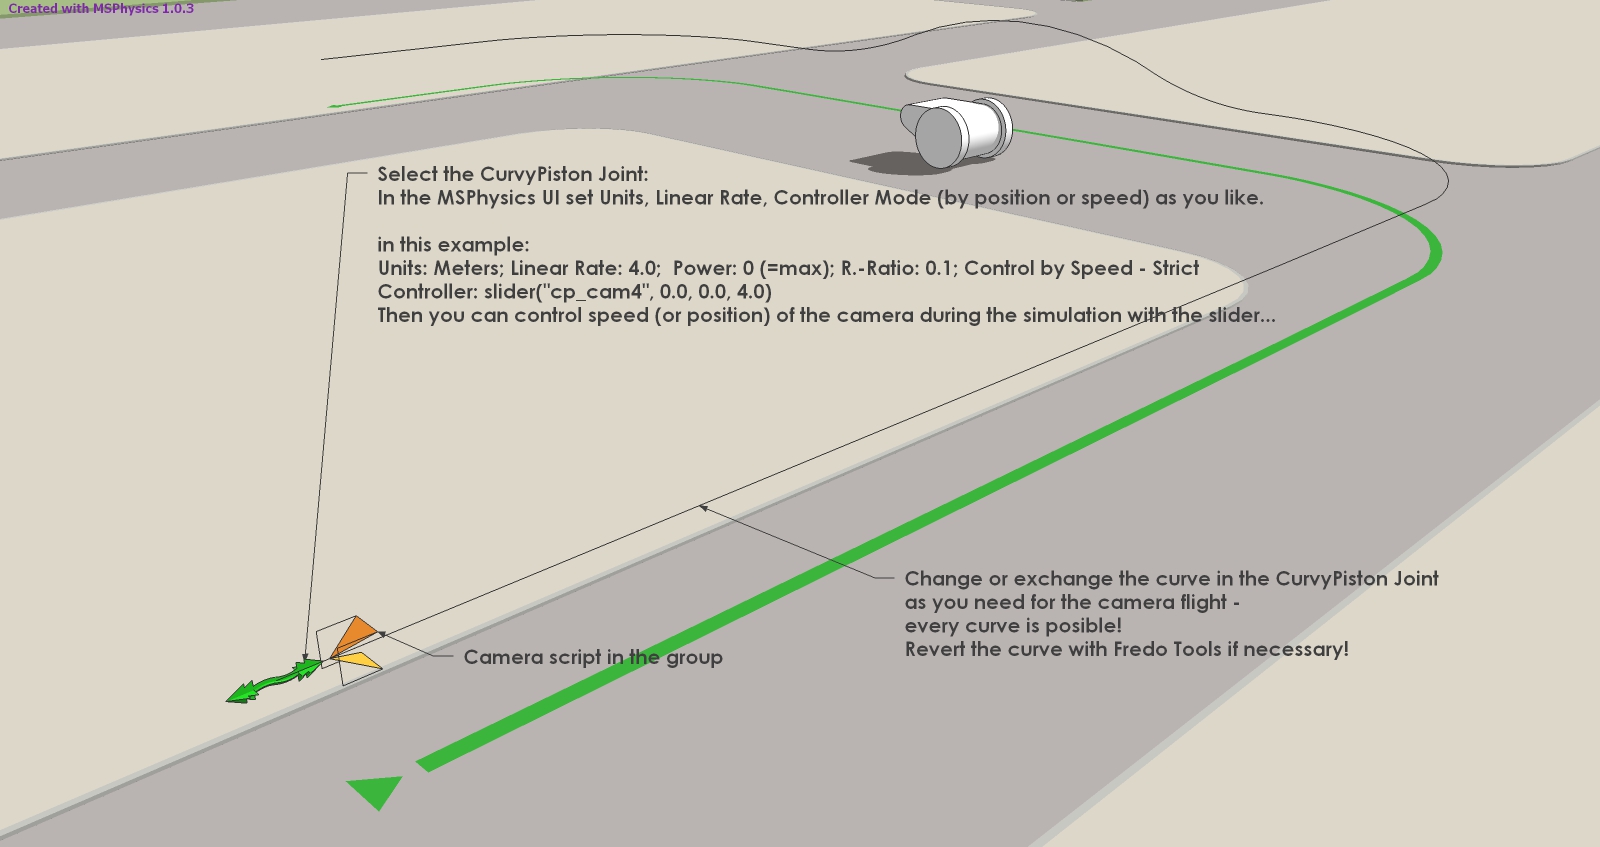
Example 4 of the camera motion simulation could be the basis for path bound camera flights.
Again controlled with a "Slider Controller" in the "MSphysics Control Panel".Add a CurvyPiston joint at a position you like to start the flight of the camera.
Place the camera object at the desired camera start position (near the Piston joint).Connect camera and joint as described in the posts above.
Everything is prepared in the attached file.
The CurvyPiston joint moving the camera is already equipped with a Slider Controller.
Have fun trying it out!
-
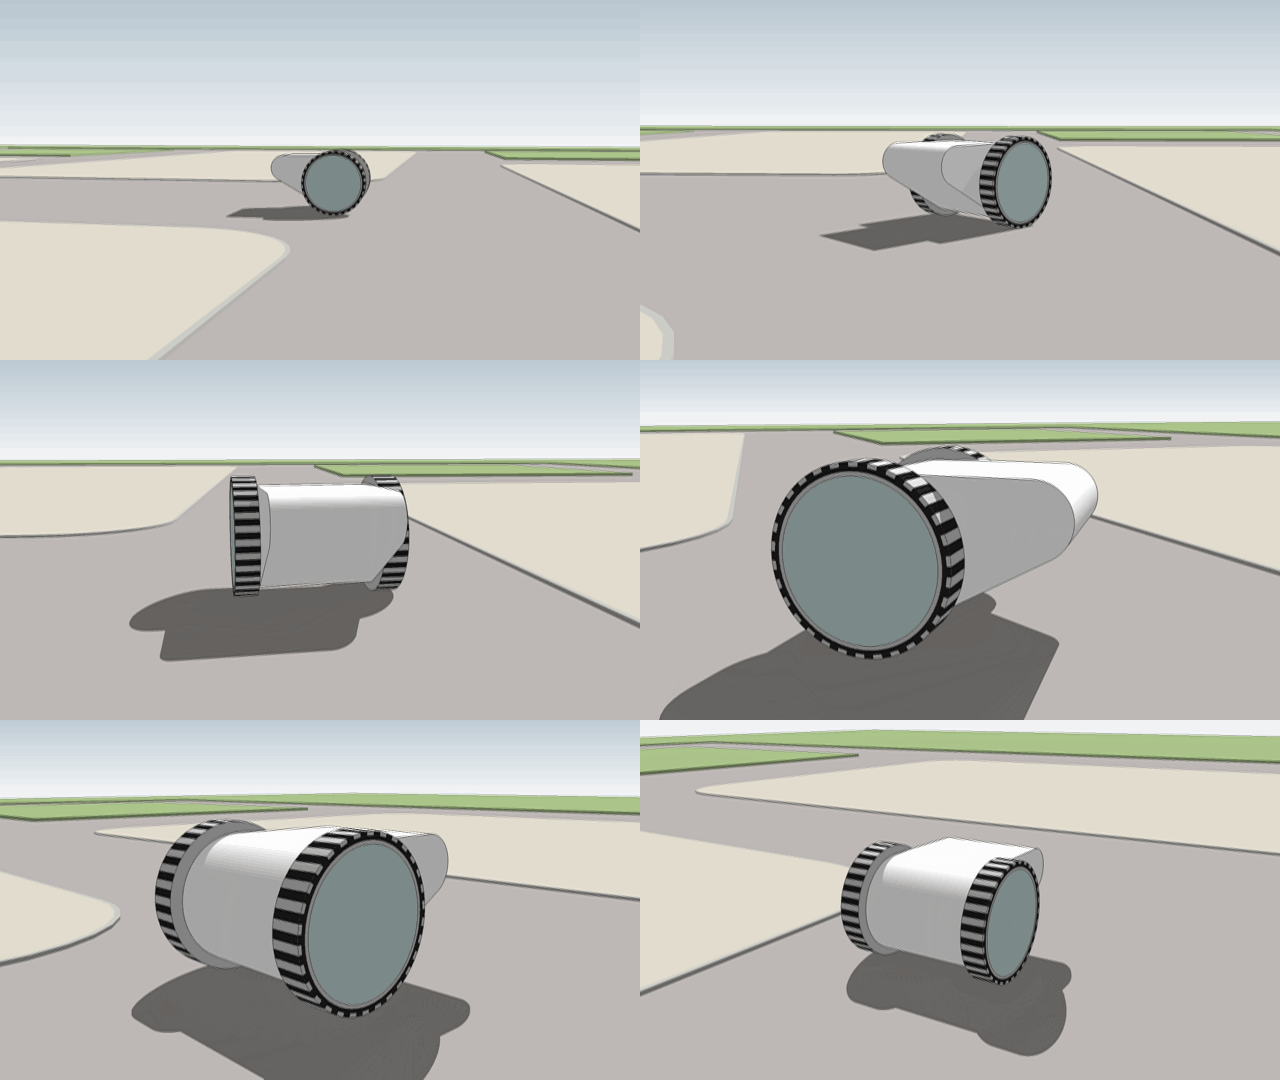
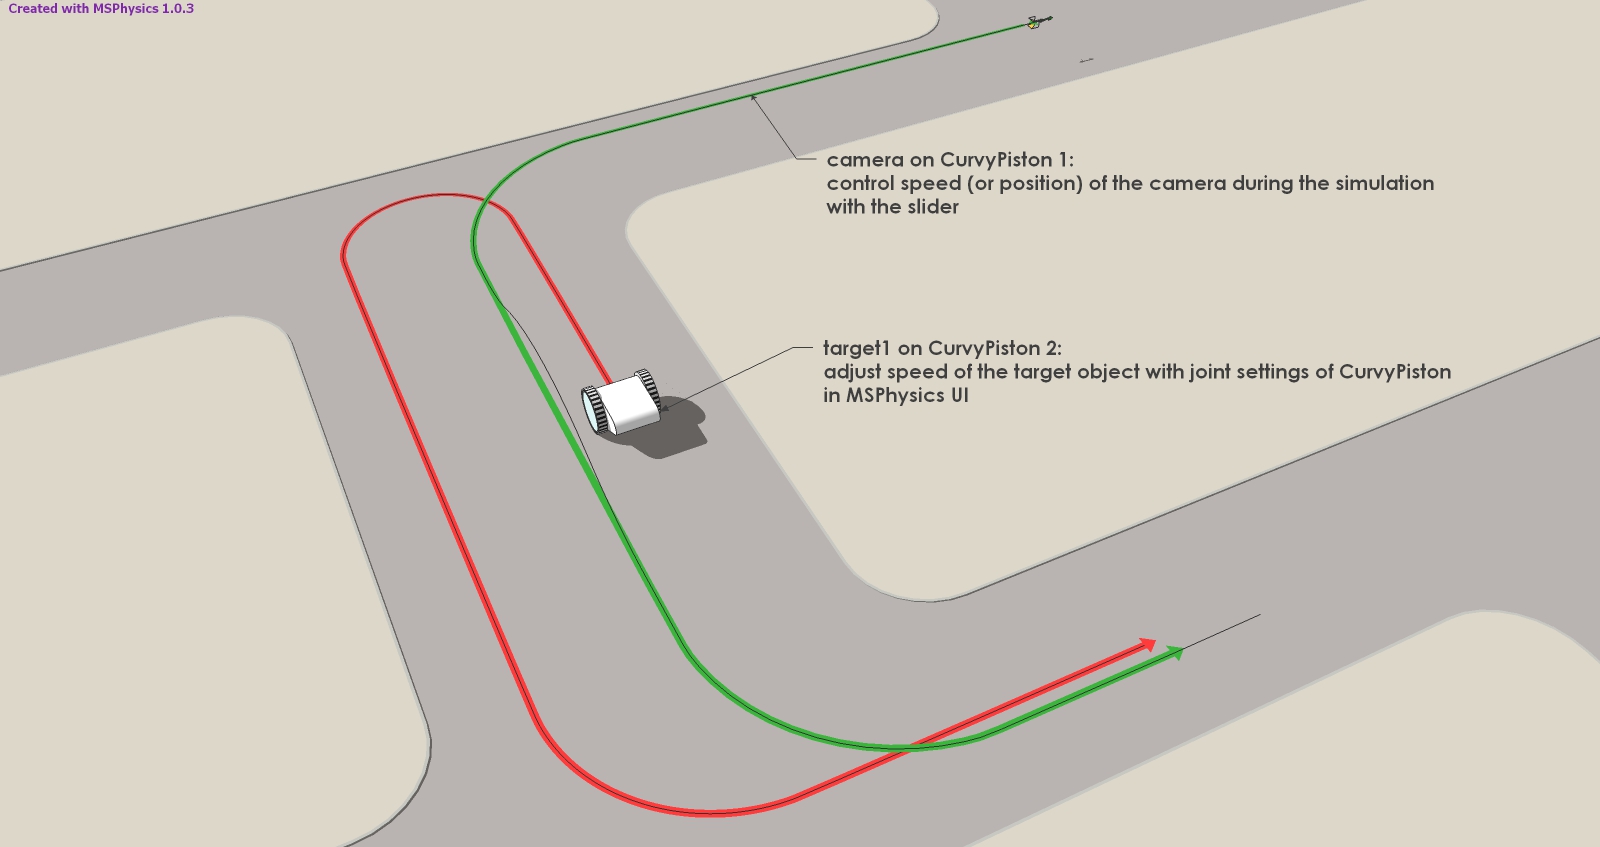
Example 5: Camera and target movement.
Different movement paths are defined for the camera and the target object.
The speeds of the camera is again controlled with Slider Controller.
You can test it with the attached file.
MSP-Tut_CamCurvyP_MovingT_P5.skp
-
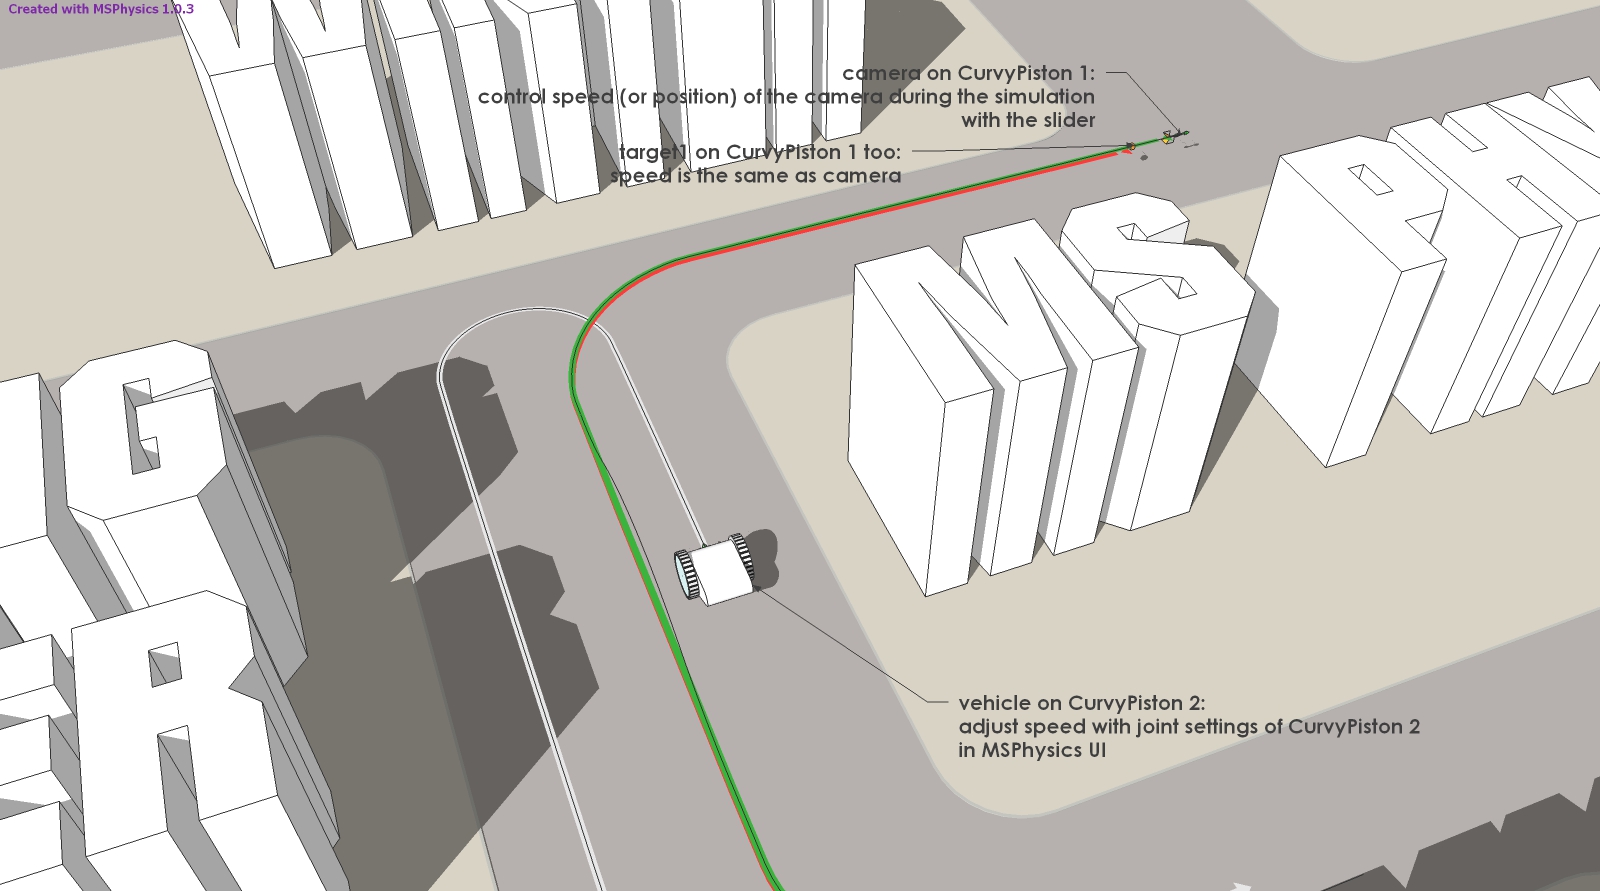
Example 6: Camera and target on the same line - fly through animation.
The same movement paths is defined for the camera and the target object.
The speed of the camera is controlled with Slider Controller.
The target speed is automatically the same.
You can test it with the attached file again.
MSP-Tut_Cam&Target_on_CurvyPiston_P6.skp
-
And last but not least, the camera can also be controlled via the entry in the scene description "camera follow 'entity name'" and "camera track 'entity name'". Just as it was possible in SketchyPhysics. In these scenes, the camera will automatically track the corresponding named object.
-
And, in case you haven't discovered it yet: MSPhysics has an improved Scenes animation compared to SketchUp and also an excellent keyboard navigation, which is in no way inferior to the camera simulation of first person shooters and has some good setting possibilities.
You can find the activation and settings directly in the MSPhysics User Interface (UI). It couldn't be easier...
The next post will be a bit more exciting. I think I'll make suggestions for simulating camera and target movements. But I think anyone who has followed the exercises so far can do it on their own.
One possibility is to place the target point on the existing camera curve, another is to define a separate movement or movement curve for the target object.
The speeds of the camera and target objects can also be controlled via scripts or keyboard input.
I hope there is some interest in it.... -
If only I knew this was possible a week ago, would have saved me a ton of time and grey hairs. Awesome
-
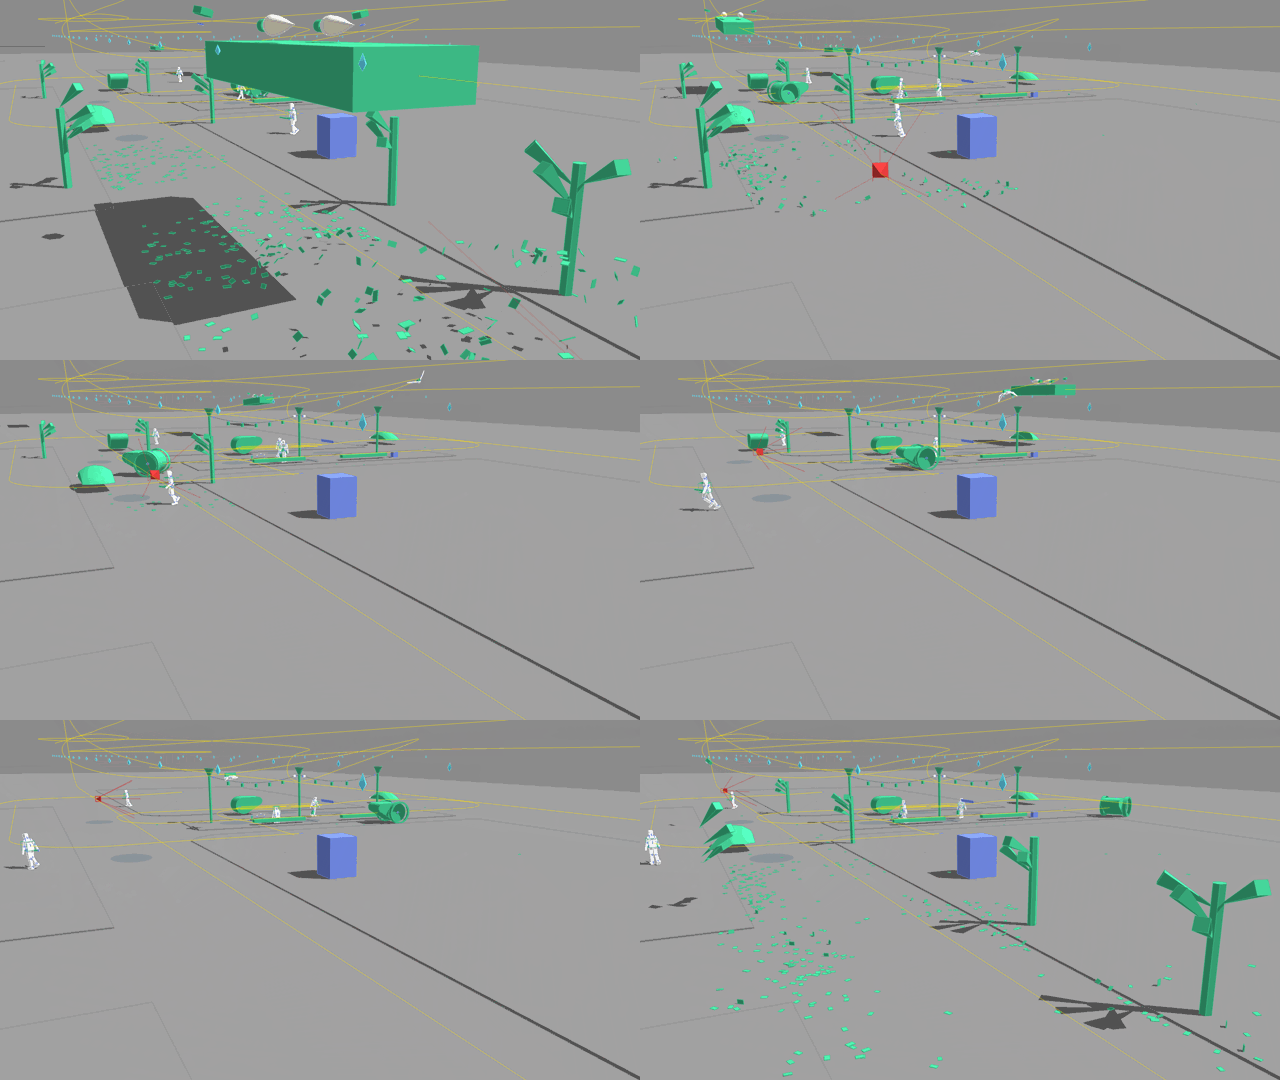
Yes, and there are a few more things you can do with MSP scripts...
-
thanks for sharing
i can use your scripts ? -
Yes of course. Please post improvements.
-
Hello,
Do you know if there is a way to make the camera follow a group, if say the group was a car that was steered by the arrow keys. -
For that purpose you can find very good scripts in models of István Nagy in 3D Warehouse:
MSPhysics 1.0.1: Follow- and fix camera script
MSPhysics 1.0.1: Car with particle effect -
MSPhysics for SketchUp 2022
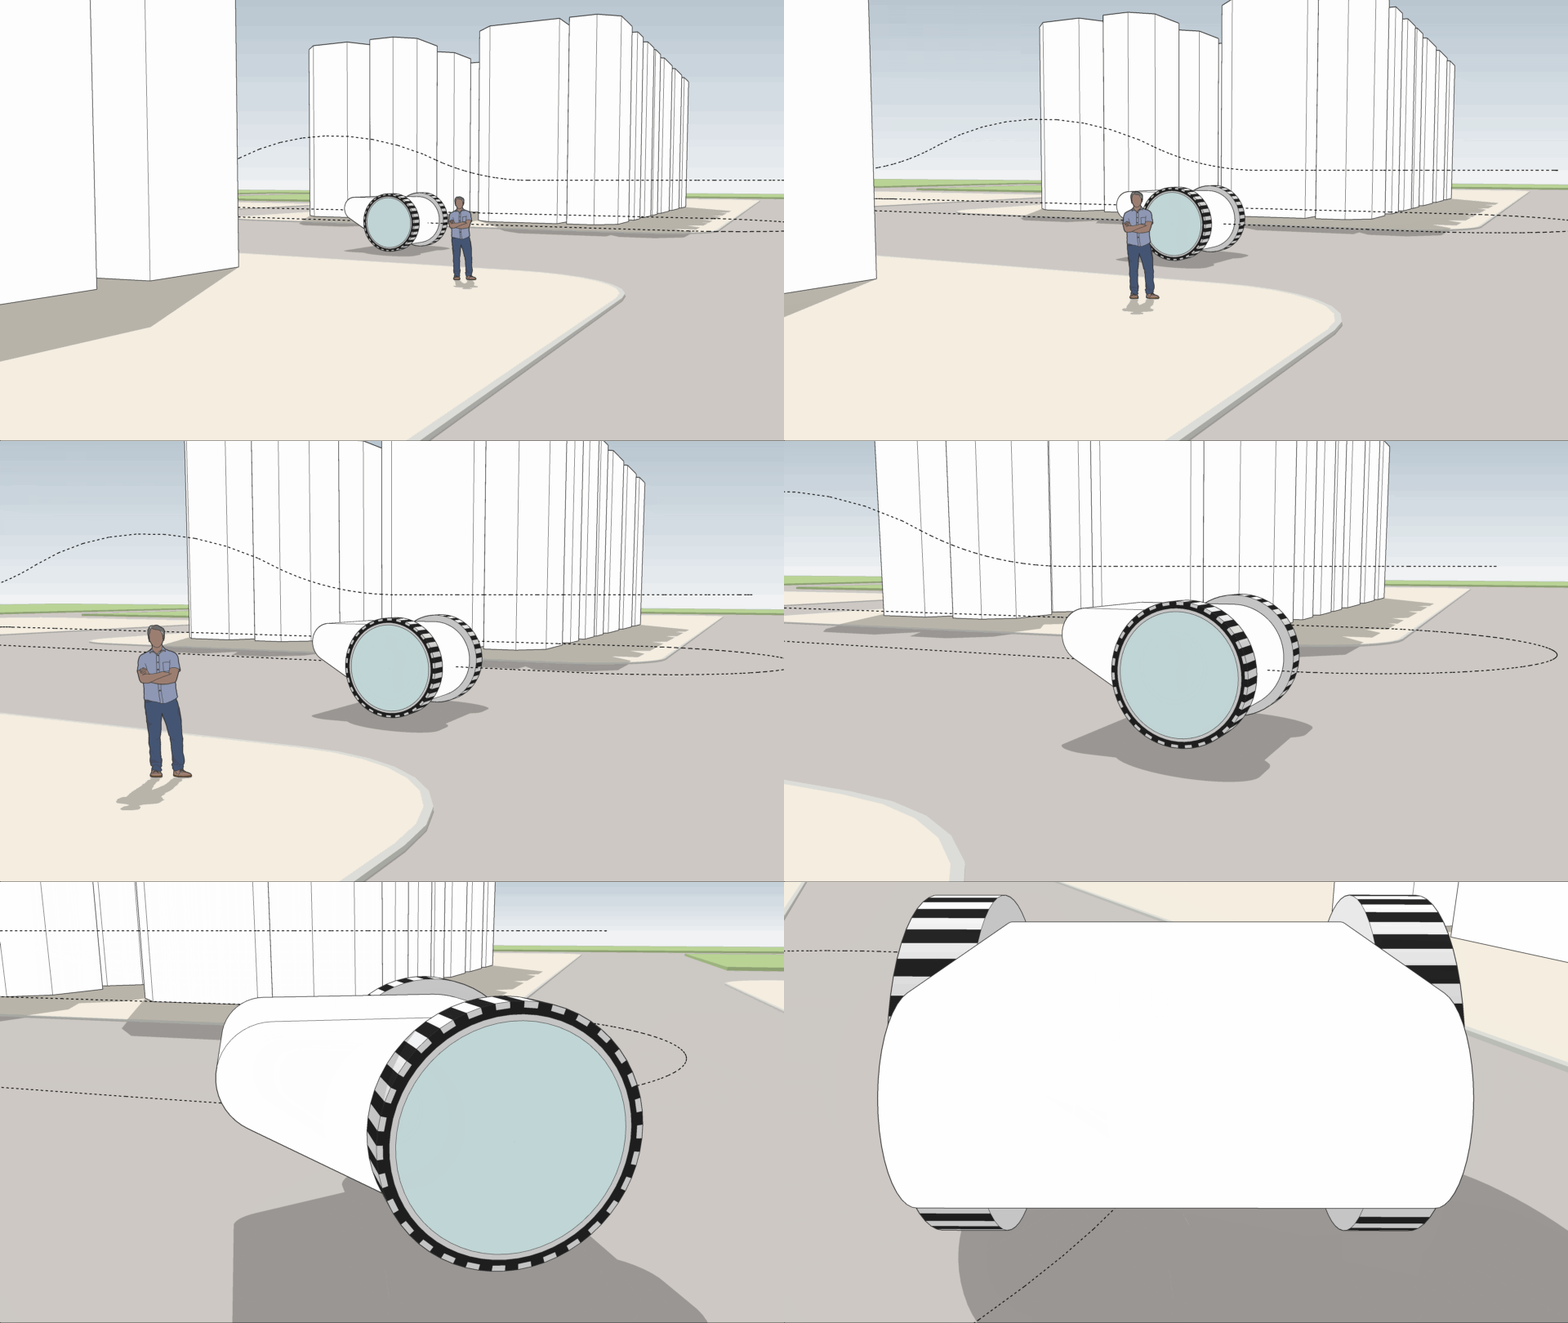
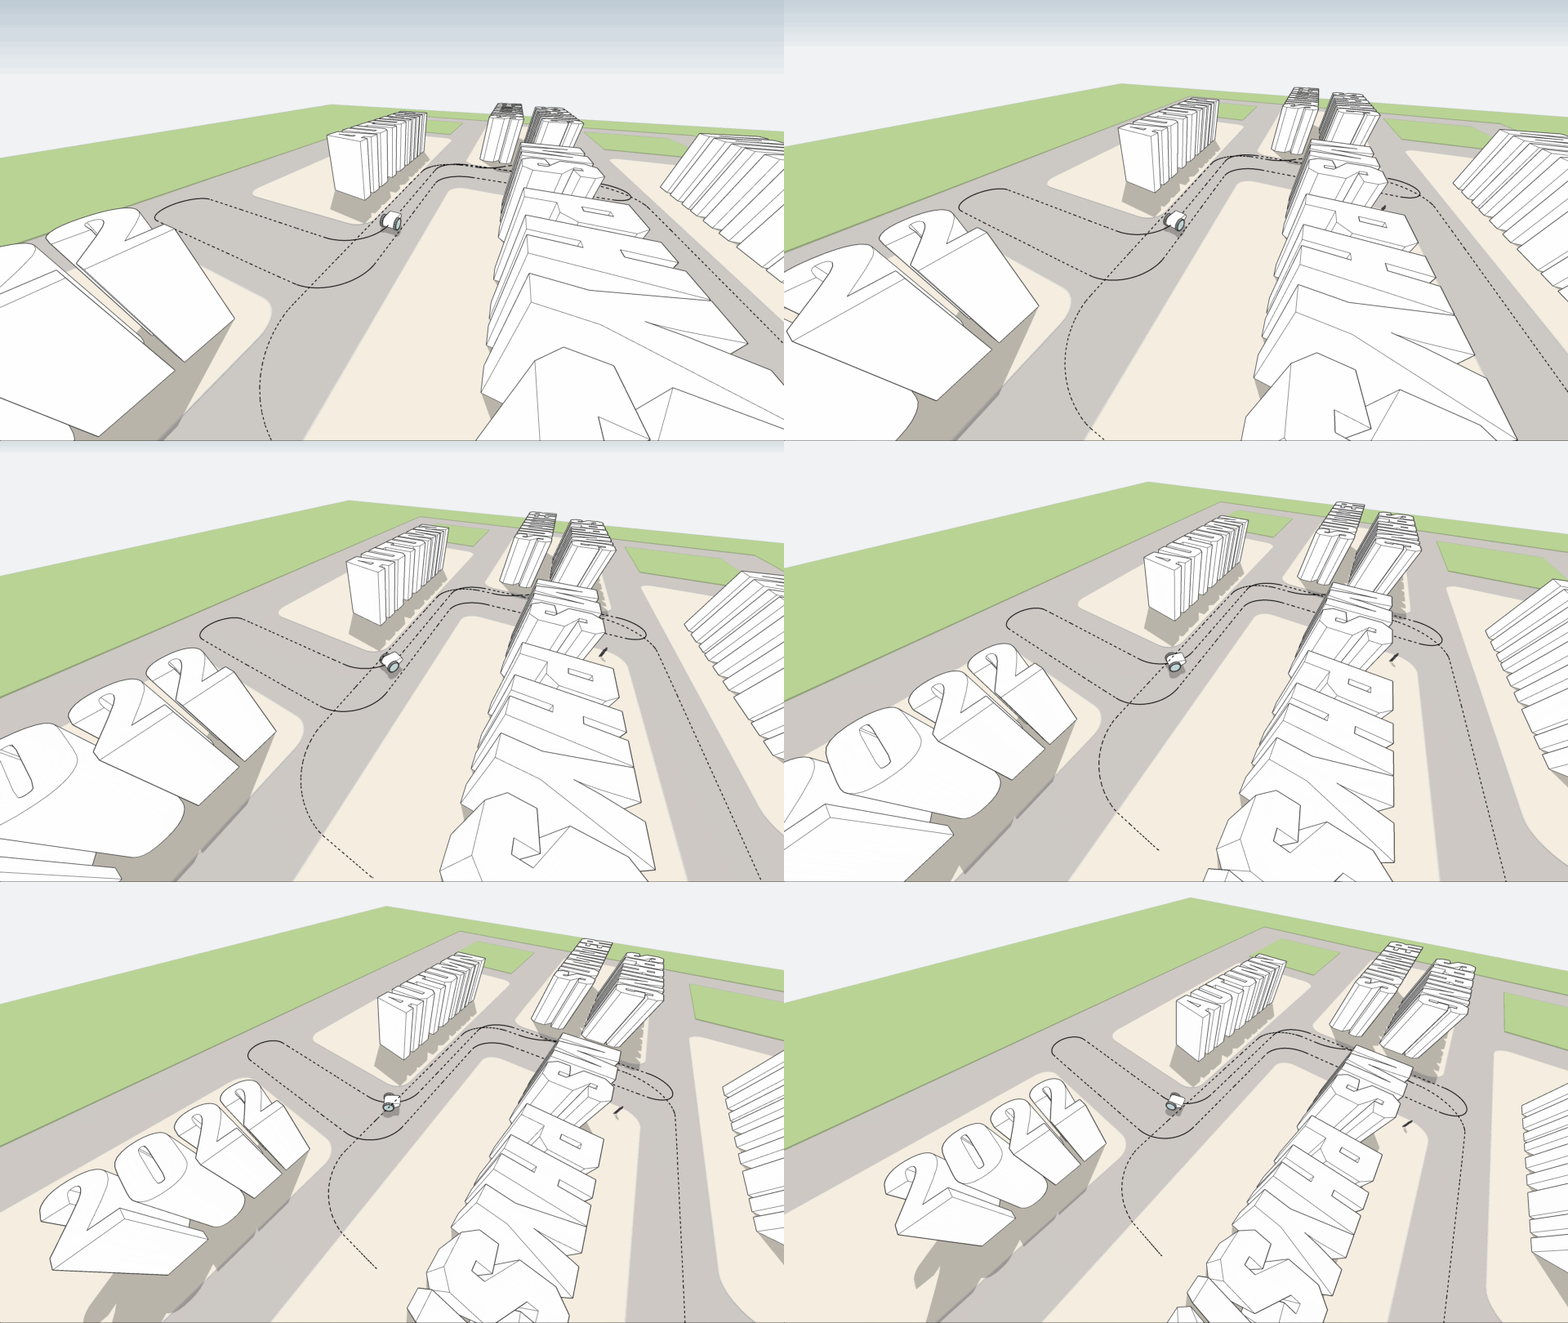
I tried to get the MSPhysics camera models from 2017 to work with the MSPhysics plugin modified for newer SketchUp versions (see GitHub). This was partially successful.
The camera, target point, and objects can be moved along curves...
This could be useful for model simulations, flyovers, etc.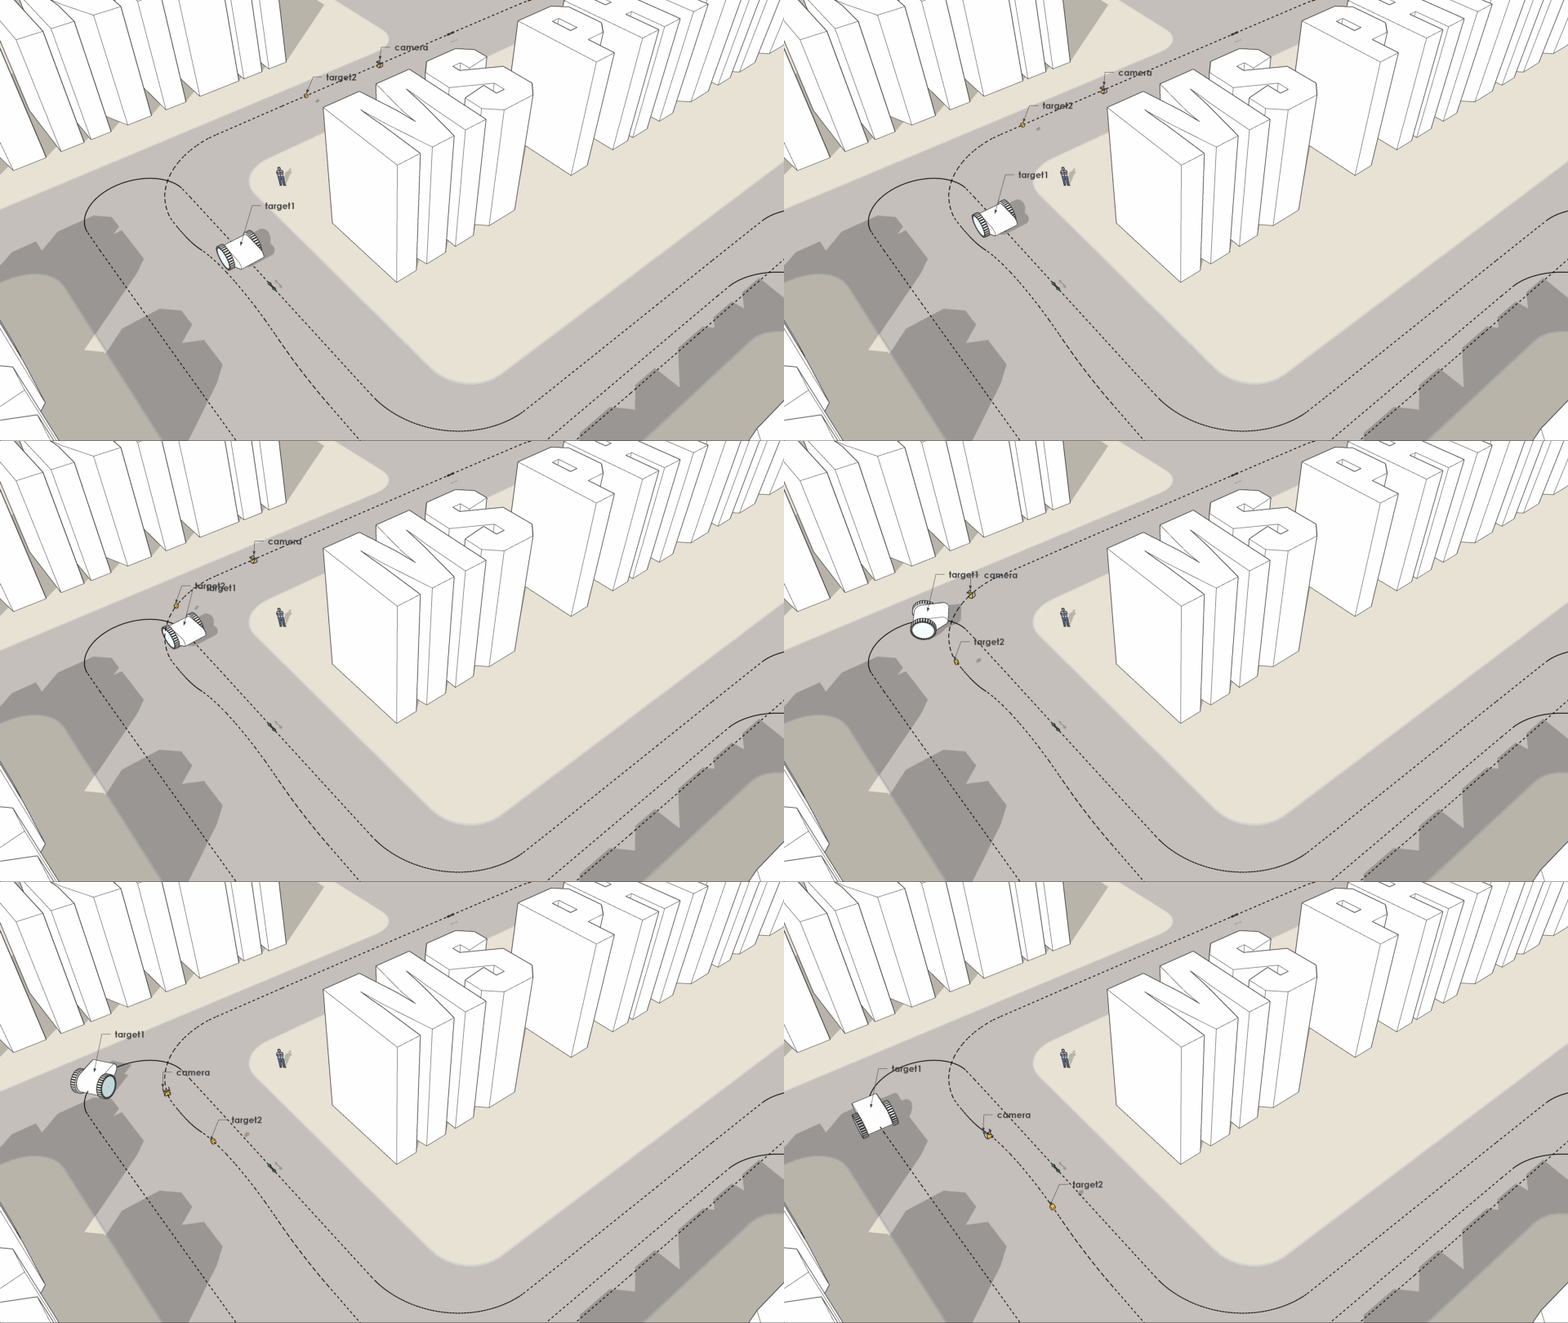
Advertisement


