Sculpt using UVs and displacement maps
-
Not at all Pilou
Actually, I tried this zb workaround.
Have a look http://www.zbrushcentral.com/showthread.php?83616-the-wrestler-(WiP-museum_scene)&p=995522&viewfull=1#post995522
Blender (as lot of other apps) has many tools to control all these loops.
Zbrush is lost in a completely random workaround.
Random is fine, but not that much.
Zbrush also produces rather dirty topology this way.
Things are getting complicated, as you have to retopo all these and bake maps on new UVs.
To export to a video game engine. My guess, you hate it as much I hate it.
Whatever.
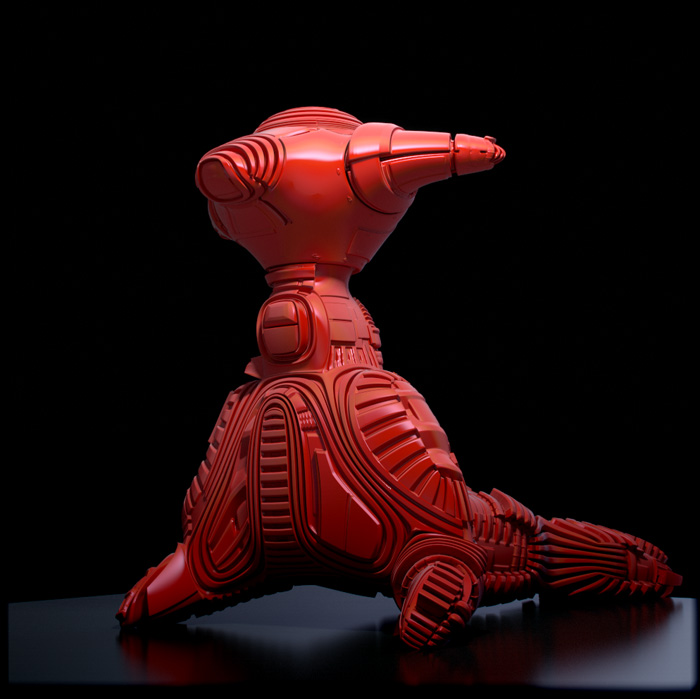
Here's a complete non sense.
10 mins doodling. I wonder how much an advanced user of zbrush needs to do something like this.
I post here Pilou, just watch the loops.
-
Many thanks for all these infos and bravo for your visuals tests!

by michaliszissiou -
seem blender is killing lots of strange and time consuming Su modelings easily, that is great for sure, though I have no need to such things in my architectural modelings, by the way that is really great!
I remember the topic on complicated modeling inside SU!
-
Thanks Majid,
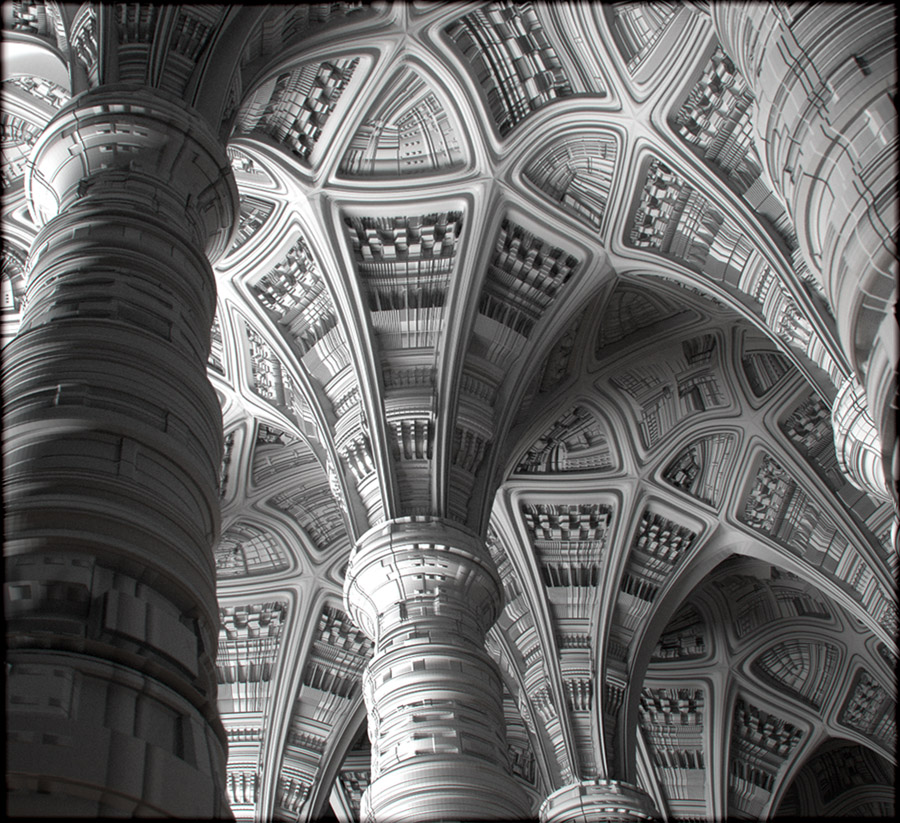
Some heretic architecture,
Just playing with topology and UVs/displacements, something I can't do in SU.
-
At last a practical application!
 This look incredible!
 -
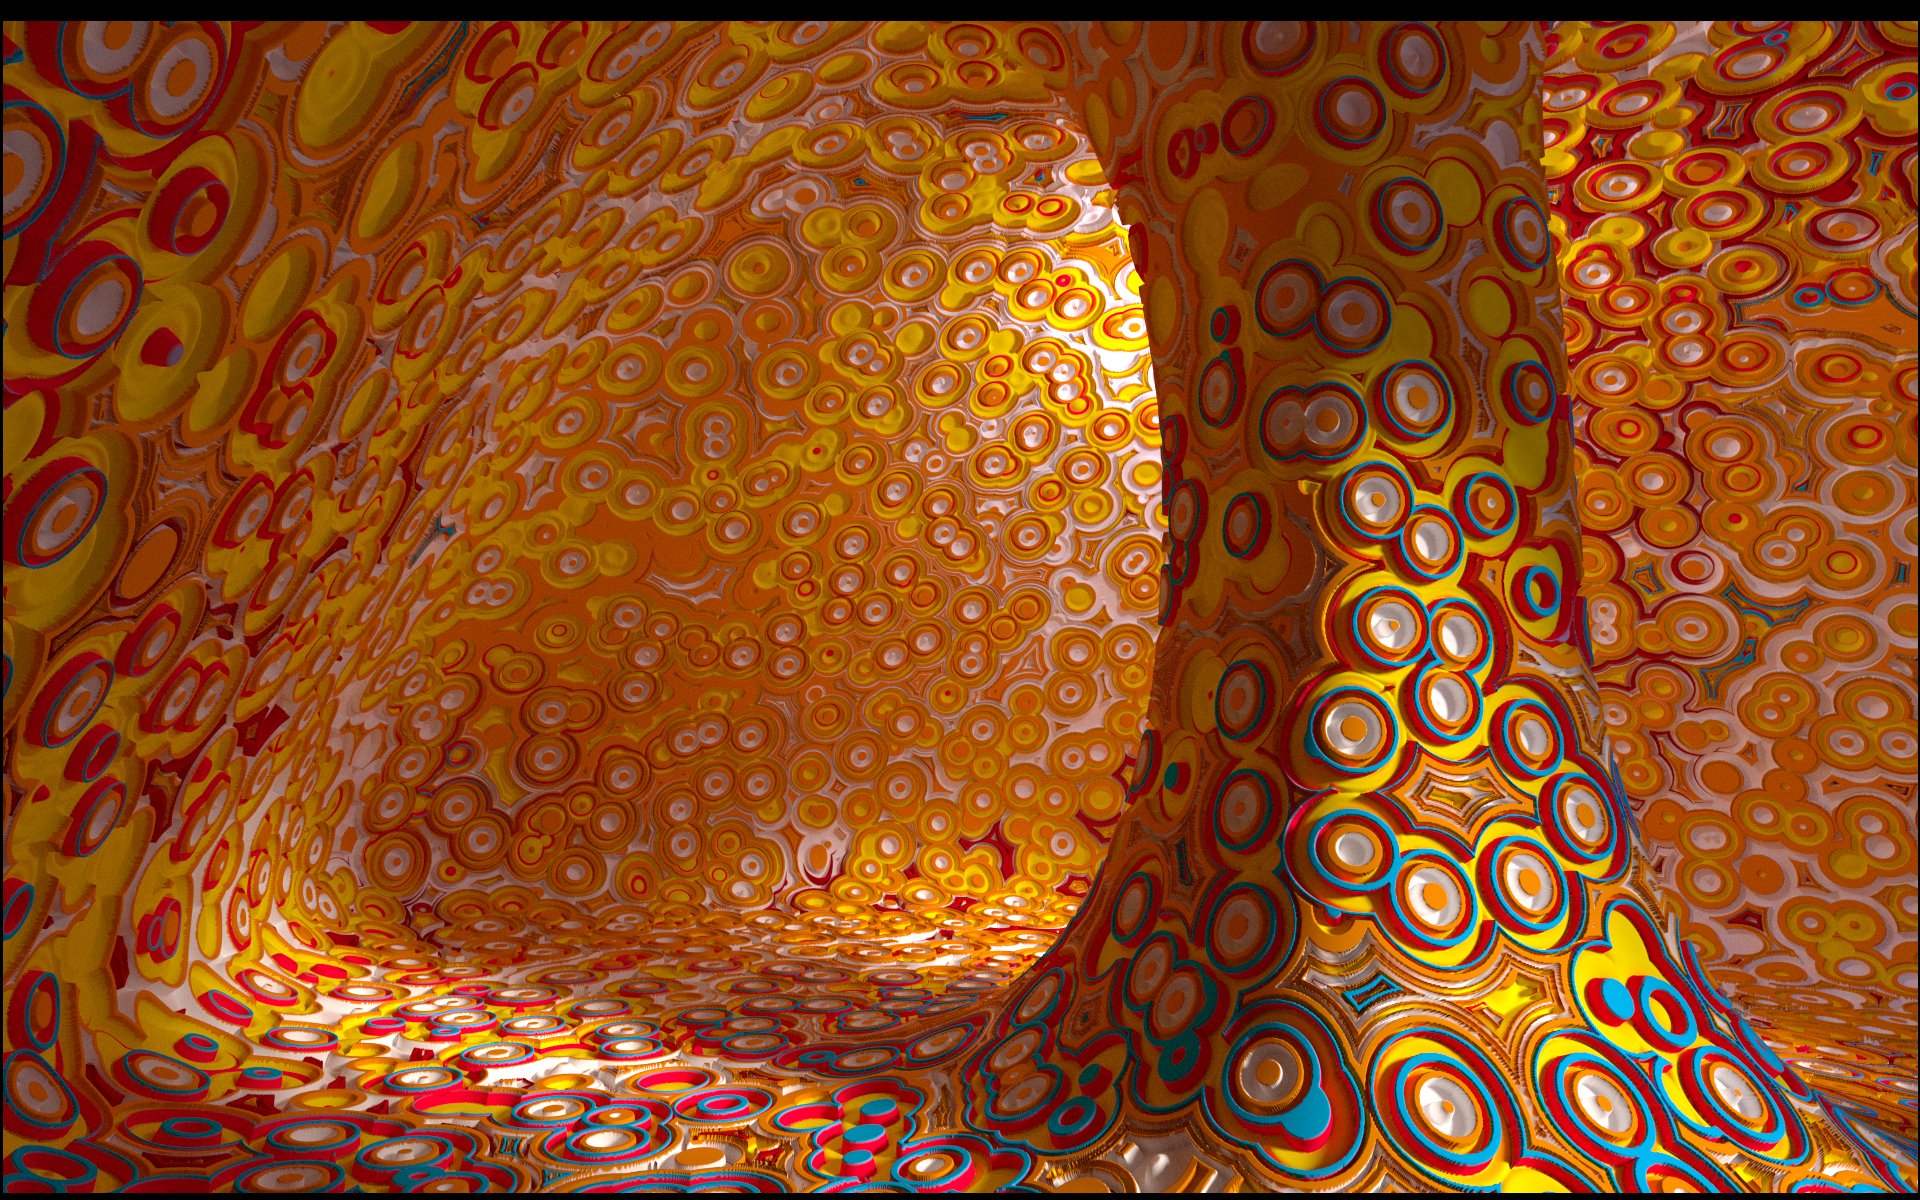
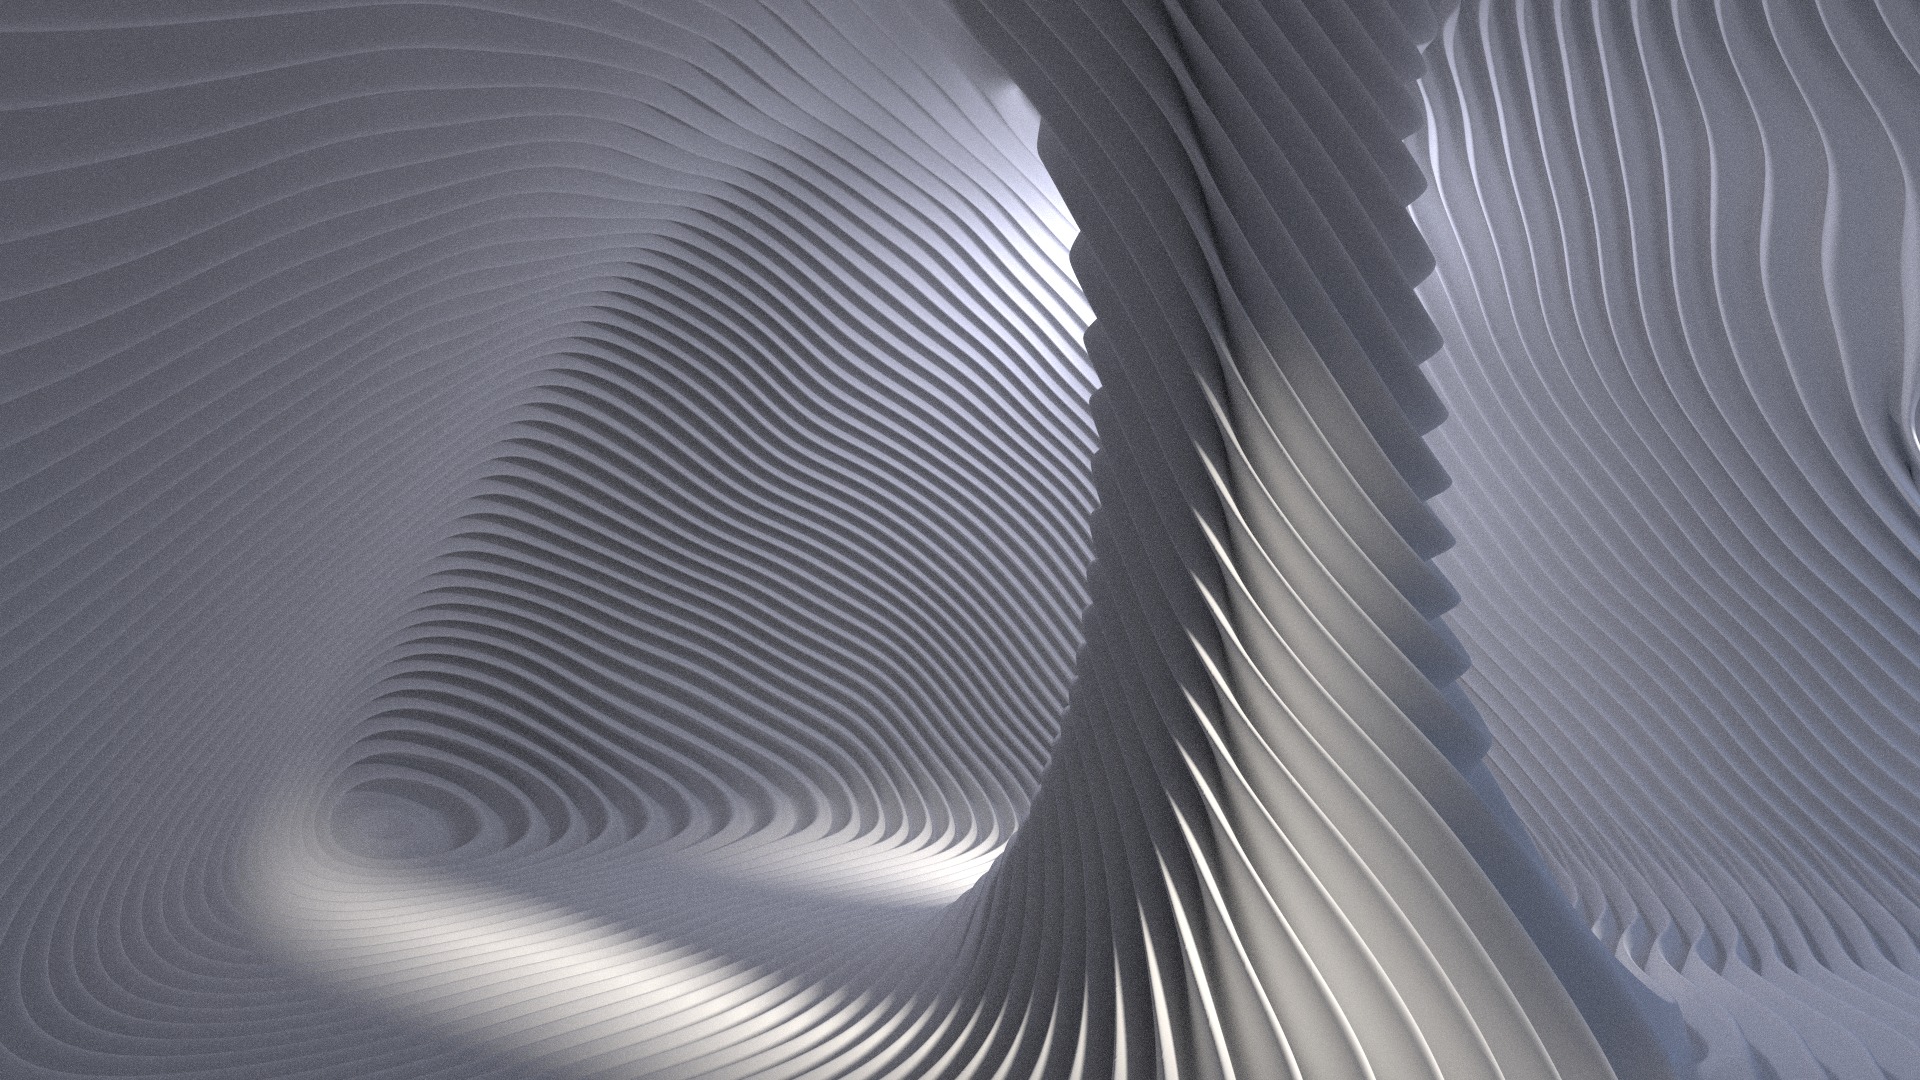
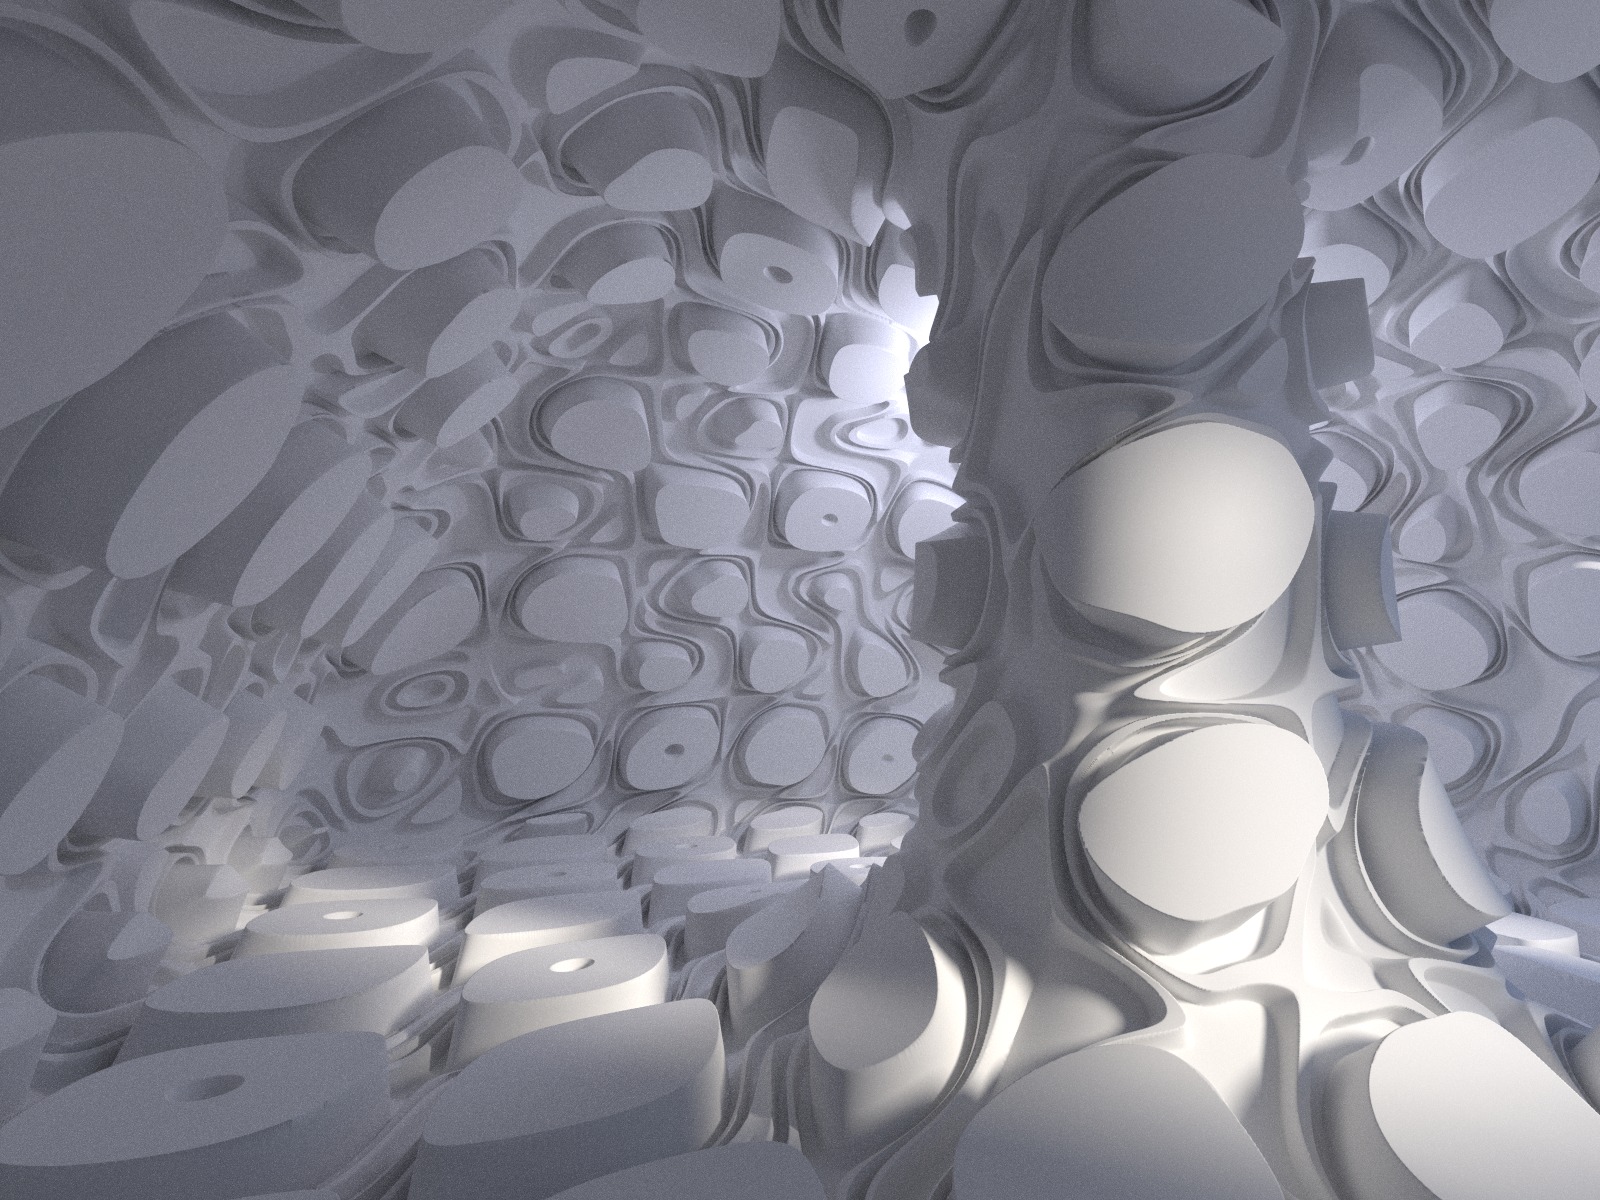
by Viralata (Blender dislacement) Cycles
-
I'm very interested on how this guy did these, I would like to post a link on his personal site in blenderartists forum.
Unfortunately, english language doesn't work as expected (as option).
I really don't understand how he did it. He owns a super computer or... I simply can't understand. Because topology doesn't follow these displacement maps. So, a really high subdivided mesh is in use.
Thanks for posting though, very interesting. -
You can post here

He must make a little tuto about that
-
I see, thanks Pilou.
He used the experimental displacement method. Subdivisions take place in cycles only, internally. We're talking about many millions of faces, ~10 or 20 M.
This method is under heavy development, it may be ready in 1-2 months. For the time being, it works with procedural textures only and it's a little buggy. It doesn't work on UV textures as this sophisticated dicing method of the surface erases UVs. Patience, it's a matter of a few more months. -
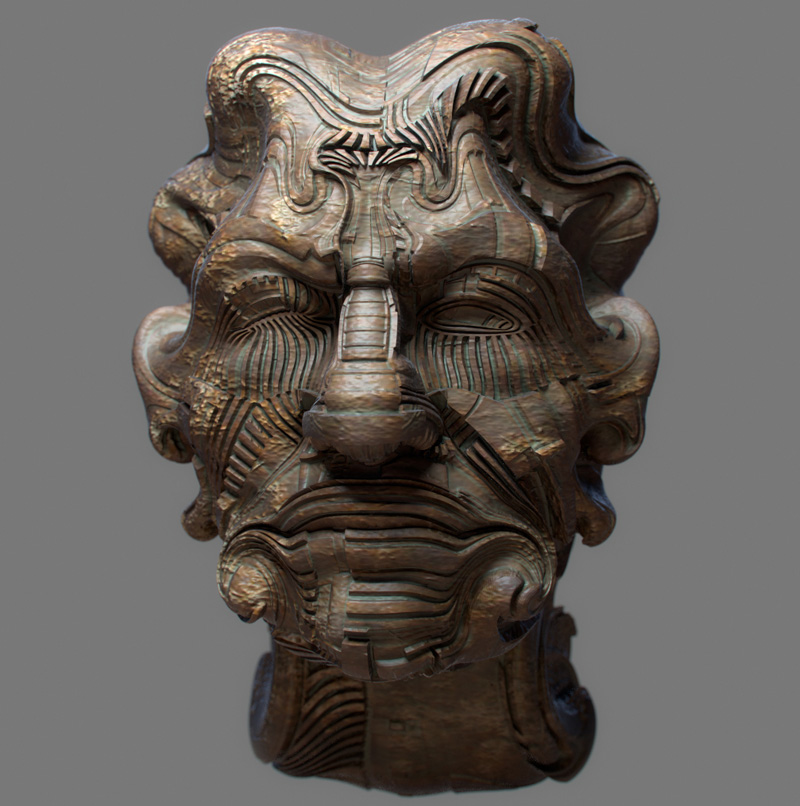
Against all these fractals and more or less random constructions,
from the ancient past to SciFi, from east to the west.
Cycles render.
-
Nice! A new style perhaps? I'd like to see more of these, with this new/old style.

-
@unknownuser said:
by Viralata (Blender dislacement) Cycles


these are all great... have an eye on this topic...
-
These posts are quite out of topic.
Sculpt using UVs (these don't have UVS) and displacement maps (they don't use maps either)
These are procedural textures, random or fractal more or less.
I'm not interested at all.
IMO, fractals and art are two different things. -
Thank you Oli, I missed your reply, sorry.
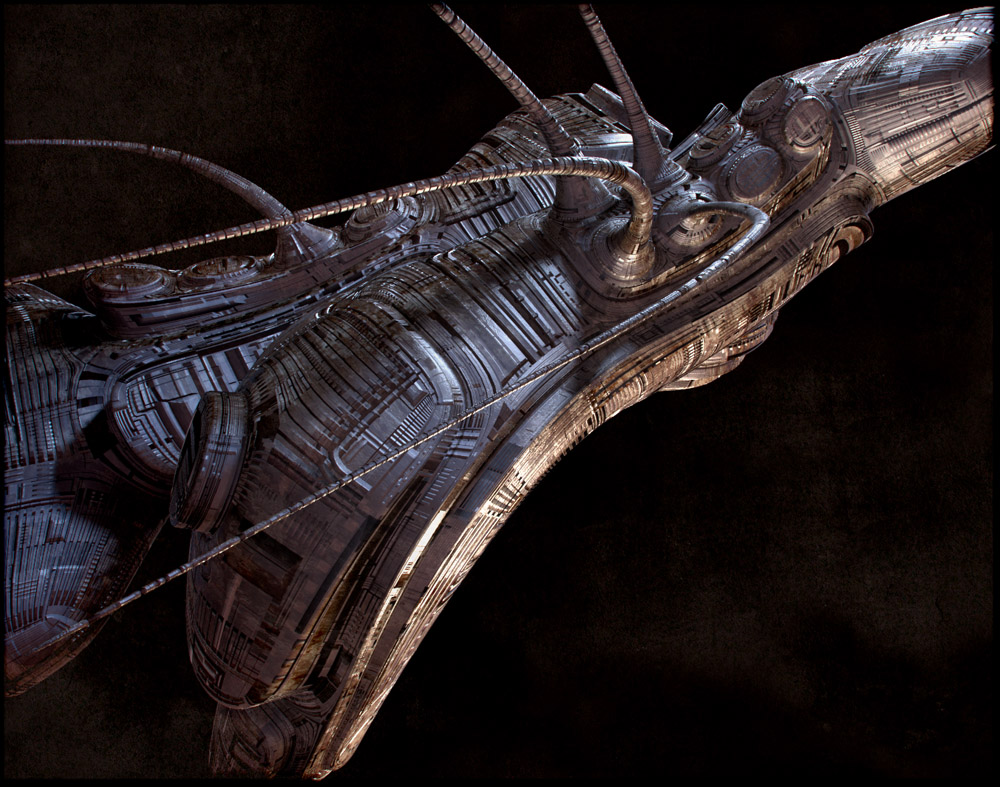
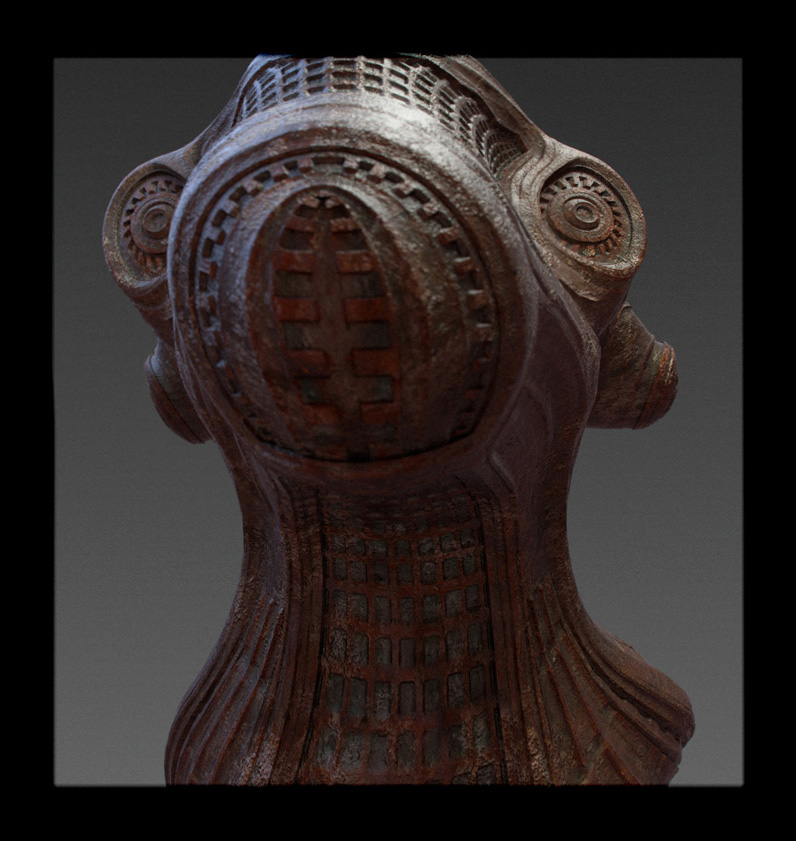
Some more, not random, neither fractal constructions.
An insect like spaceship and another a little nightmare artifact. Both using a slightly different approach, now under 100k faces resolution. In fact they can be as 2000 faces assets, very friendly for game engines (or SU LOL)
-
An interesting link on architectural applications (CNC) http://www.michael-hansmeyer.com/projects/columns.html?screenSize=1&color=1#1.
A friend from zbrush forum posted it (LVXIFER), so I repost it.
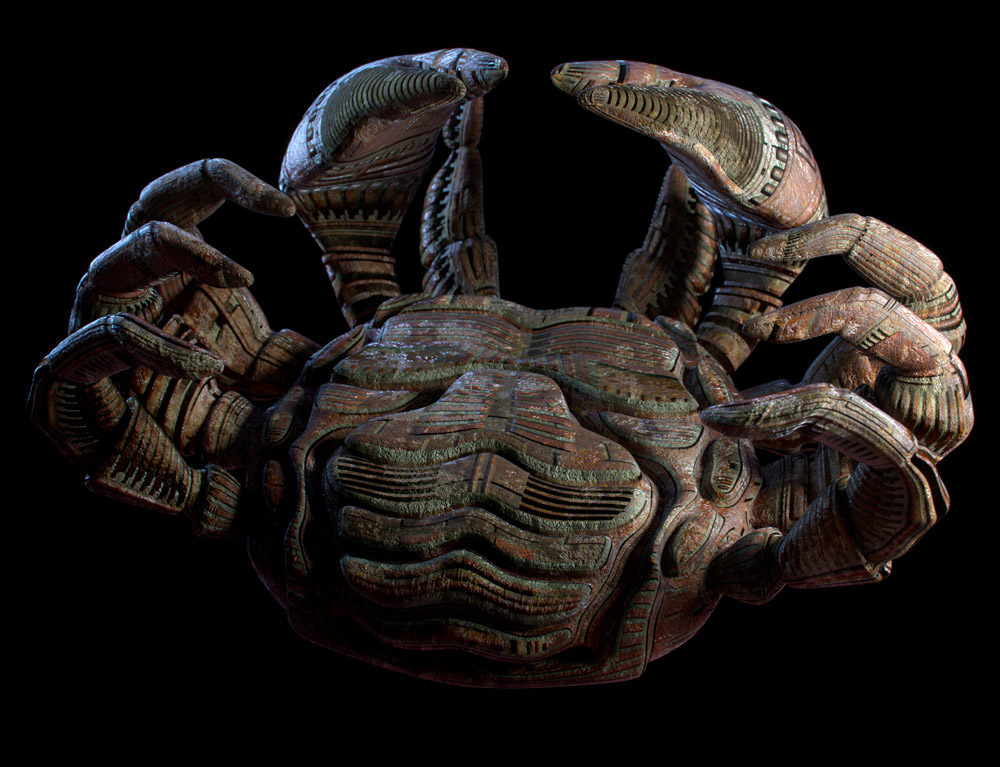
and a new one, just testing the use of normal maps instead of displacements.
Results to very low poly bases. Can be imported even on VG engines.
-
michalis, i missed your architectural image on page 3. its simply stunning!

-
Mich...you make me want to start playing with Blender...

-
Thanks, Oli, Sid.
Here's an interesting video.
http://www.youtube.com/watch?v=dsMCVMVTdn0 -
Thank you Pilou,
And thank you, thank you, thank you.Meanwhile. I tried for a very low poly version, friendly to VG engines. And to SU I guess.
~15k faces, just to have a rounded enough cylinder. The trick is to use an ambient occlusion map combined with bumps. It's fake but almost does the trick.
-
Hello! It looks like you're interested in this conversation, but you don't have an account yet.
Getting fed up of having to scroll through the same posts each visit? When you register for an account, you'll always come back to exactly where you were before, and choose to be notified of new replies (either via email, or push notification). You'll also be able to save bookmarks and upvote posts to show your appreciation to other community members.
With your input, this post could be even better 💗
Register LoginAdvertisement


