Figured Mahogany
-
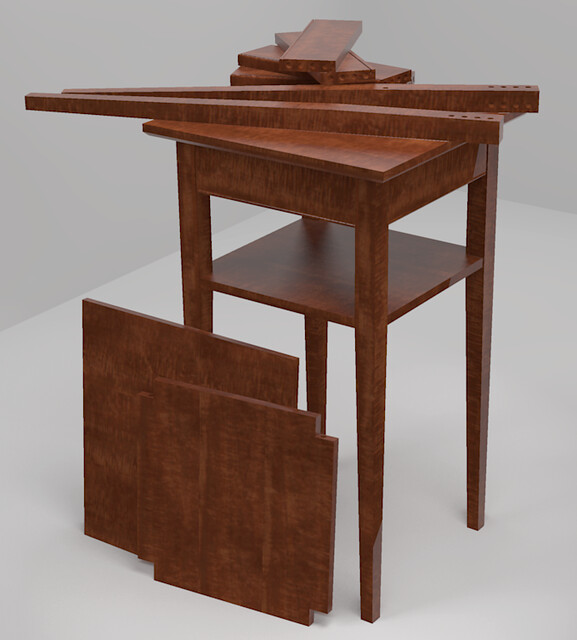
In Kurt's "Small Dinning [sic] Table" thread I mentioned that I don't use those tiny square wood grain materials because they rarely look like real wood. Here's an example showing some figured mahogany textures.
These are actually quite short compared to most materials I have. They are only 5-1/2 feet long. They are all from the same log, however and so it is fairly easy to paint an entire model without any noticeable repeats; at least as long as there's nothing longer than the material. There is no attempt at seamlessness and these are not incredibly high resolution. Wood isn't a seamless material in reality so why should it be in the 3D model?

Here's a view of just the materials.You can take photos of whole boards and do the same. Just make sure the lighting is very even. The camera needs to have a fairly decent lens that projects a flat image. Shooting at a mid to longer focal length helps.
-
Quite convincing texture...

-
Thank you. They should be convincing since they are made from images of real wood.

-
What I meant by saying 'convincing' is that the grain is random as it should be.

As a carpenter, I don't question the real mahogany wood.
Some of the small samples of real bricks used in the appropriate coursing scale make the walls look like covered in wallpaper - the sample is not 'big/good' enough.
I appreciate you mahogany wood and attention to details

PS. I'm always tempted to run render... -
I see what you mean. And yes, those small samples of stone or brick do look like wallpaper or that fake plastic veneer stuff where the same brick keeps showing up.
-
Nice Dave, just one thing how do you find images of wood that nice without having to stretch it to much to match the length of piece in your drawing and do you use a different image for each piece in the drawing? I know that was two things sorry.
Thanks Kurt
-
Kurt, I usually make the photos myself and no, they aren't stretched. The photo is of an entire board. The material on the left is 5-1/2 feet long and a little over 13 inches wide. If the pieces in the model are smaller than the material, I don't need a different image for each piece in the model. I can pick out different regions of a single image to use on different pieces. Since for this material I have five different pieces from the same log, I can use some of all of them but very often I can get most of a model textured with just one image. Many of my textures are around 10-14 feet long so that's a lot of wood to choose from.
-
-
Splendid...


-
@unknownuser said:
Nice Dave, just one thing how do you find images of wood that nice without having to stretch it to much to match the length of piece in your drawing and do you use a different image for each piece in the drawing? I know that was two things sorry.
Thanks Kurt
You can take a couple of these pieces and make a longer texture in Photoshop by joining them and blending the joint. If the piece is that large you are not going to see it that close anyway in a picture, if the joint is not super.
-
That's true, Peter. The proverbial board stretcher.
 Fortunately I don't need it very often
 -
Beautiful...
-
-
@dave r said:
I don't know why the dowel holes appear to be illuminated from inside.

Perhaps back faces?
-
What do you mean? As in exposed back faces? Never!
 I don't leave faces reversed in my model and they aren't in this one. I did a higher level render; 8 instead of 7 and they rendered a bit darker but they are still kind of light for holes.
 -
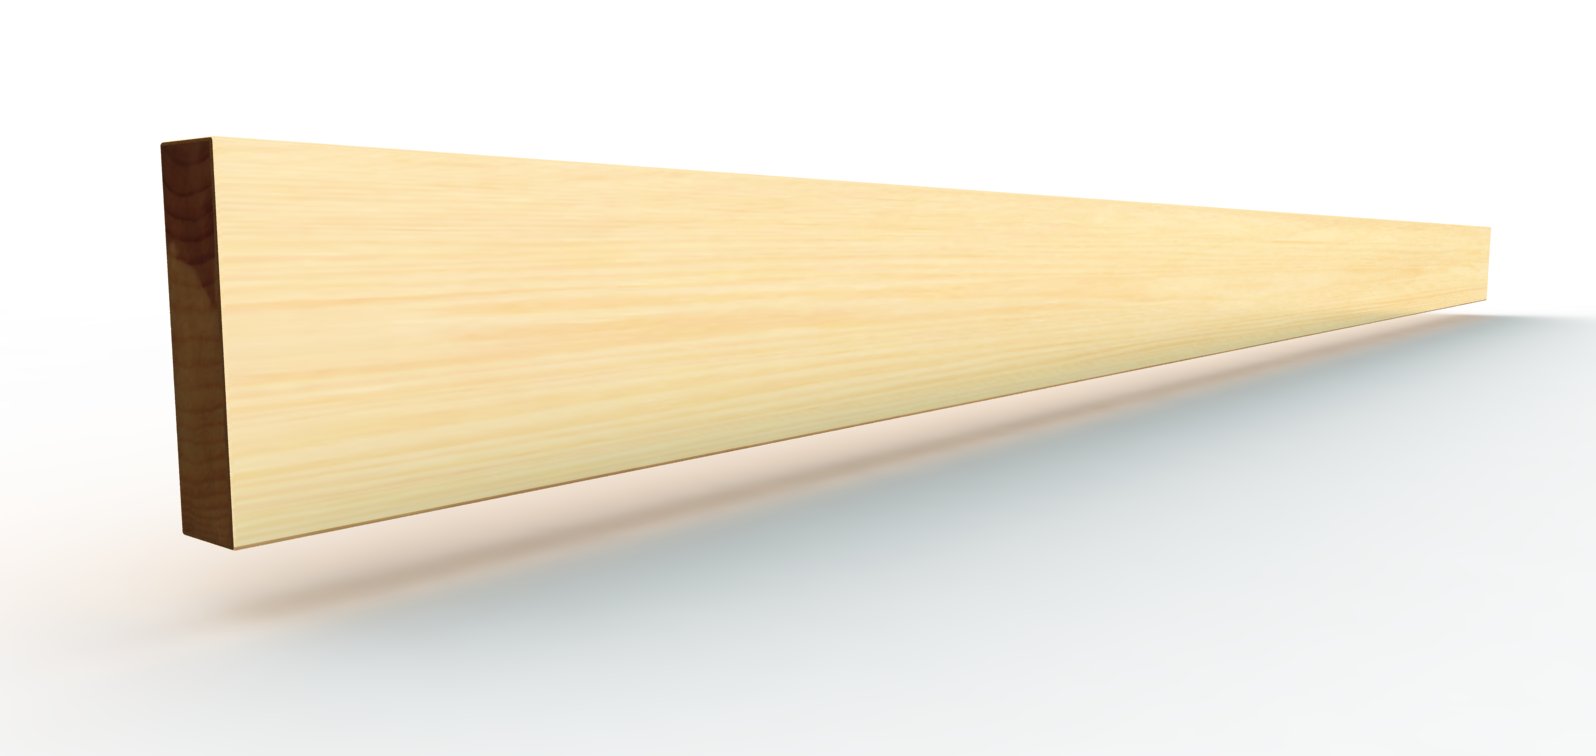
Just a little test trying your method out Dave.

-
Nice. How long is the "board" image?
-
Its a standard 2"x8"x8'
-
That's beautiful Dave. Do you ship the kits? Prefinished?

Nice board Kurt. -
So Kurt, did you take a photo? Or did you use some other method? What species?
Peter, sure, some assembly required.

Advertisement


