Push pull thru multiple faces
-
Greetings all! I am a nube to both SU and woodworking. The attached .skp is my mental gap. I am trying to miter the drawer sides and back. A 45 deg. face extruded from the top face down will go through the top ell. I can force it to go to the dado's top face. After that, I get all sorts of issues. Somehow I managed to get the dull gold member done. It was a chore. My design process was to create the extrude profile first then miter it, even though, in the shop, I would put the dado in after the miter operation.
Thanks for any input!!
-
Outstanding
-
Dave will be here soon... but I want to say what I would do.
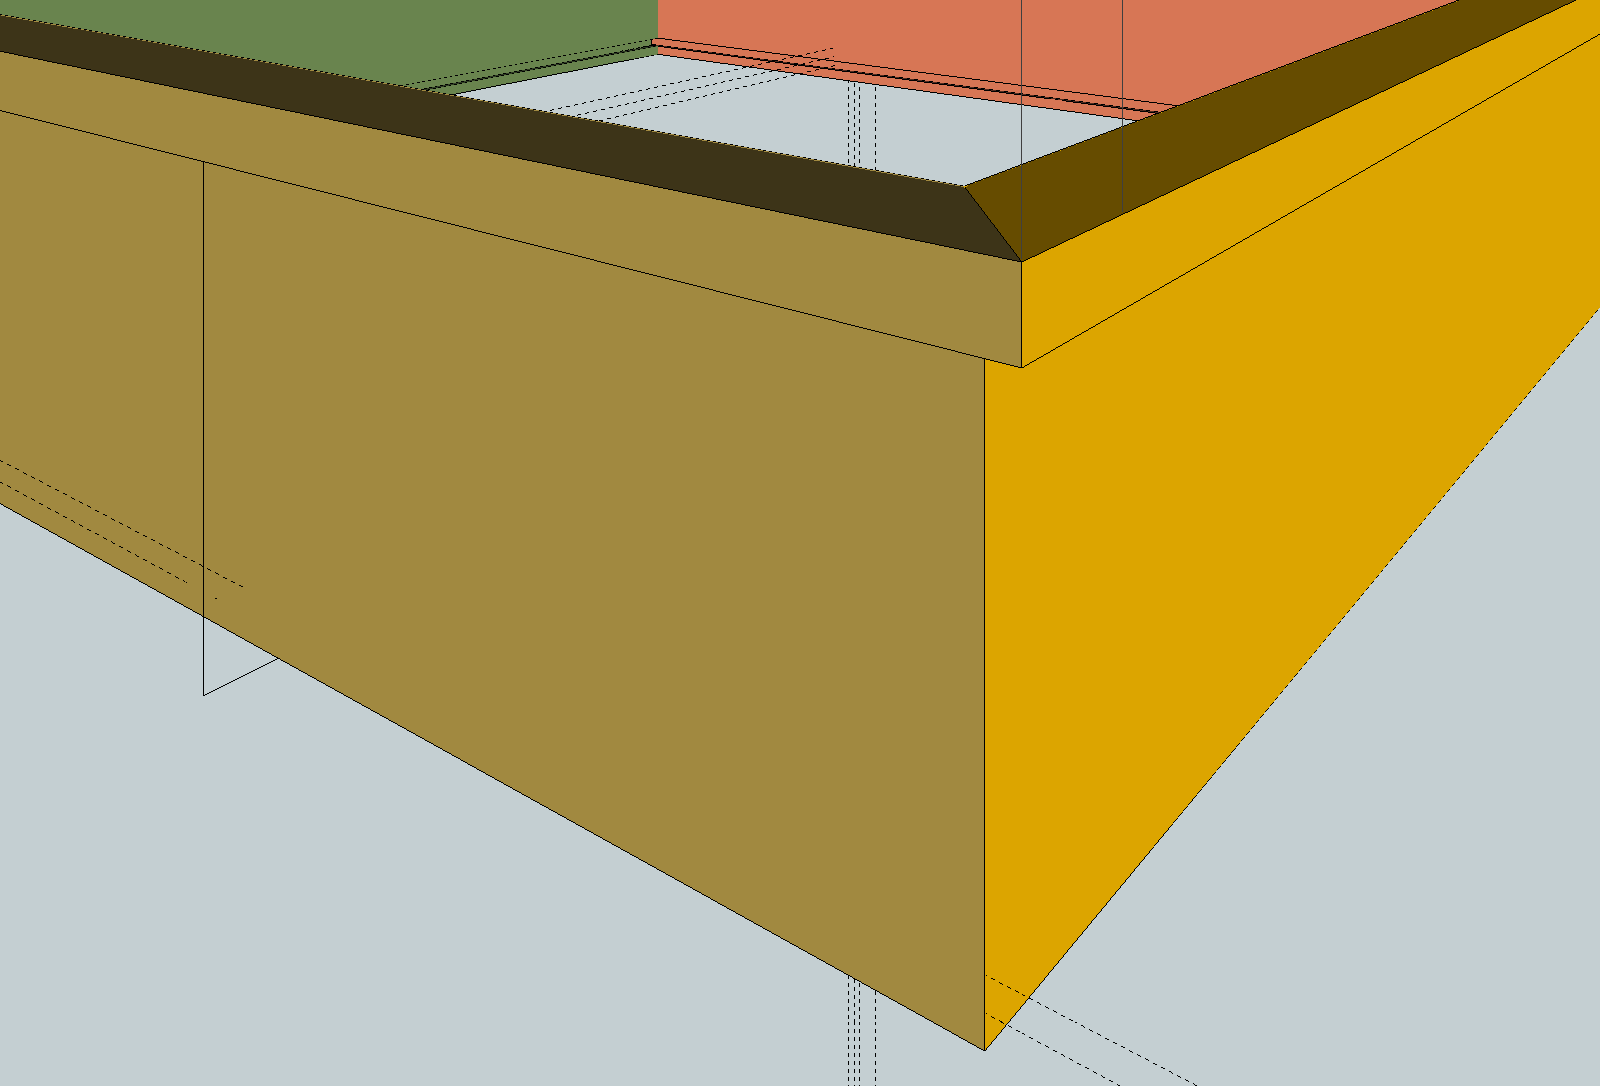
Take both shapes to be mitered and position in the final position, with overlapping excess parts. Draw a plane that represents the miter cut. This is relatively easy, drawing a 45 corner to corner on the top and extending lines from the ends, down (blue axis) well past the bottom, then joining the lines below (doesn't matter how that bottom line is--just close the face) "Group" the face and edges. "Cut"(command-x) that group and open one of the side components, then "paste IN PLACE".
With this face group selected chose "Context menu / intersect faces / with context". Then L-R window select all excess, including that face group and "GROUP" it all. then delete. Repeat for other component. If you want a face on that cut, trace an edge before closing the component.
Note, it may be easier if you have "View/Component Edit: Hide rest of model" selected. Also I sure think drawing in perspective view is easier than parallel projection--just a newbie recommendation.
Push pull won't do what you want. Dave might have some woodworking ideas too.
Group before deleting is the key to avoid erasing the remaining faces that share selected edges.
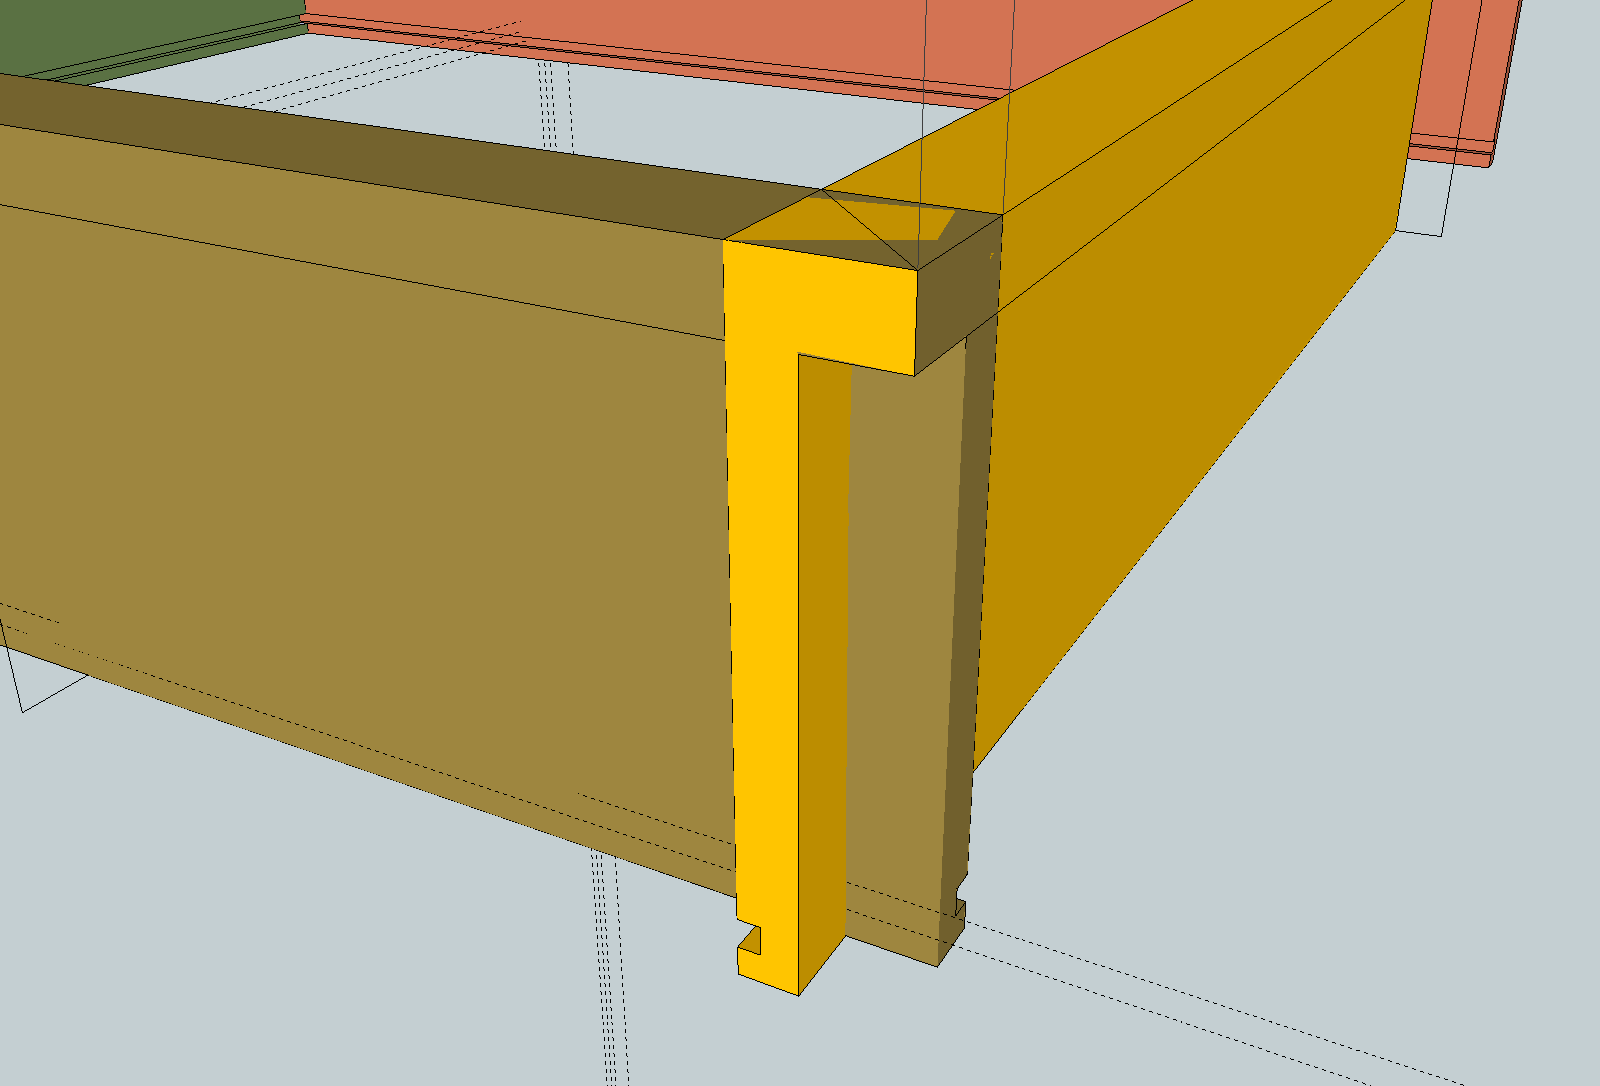
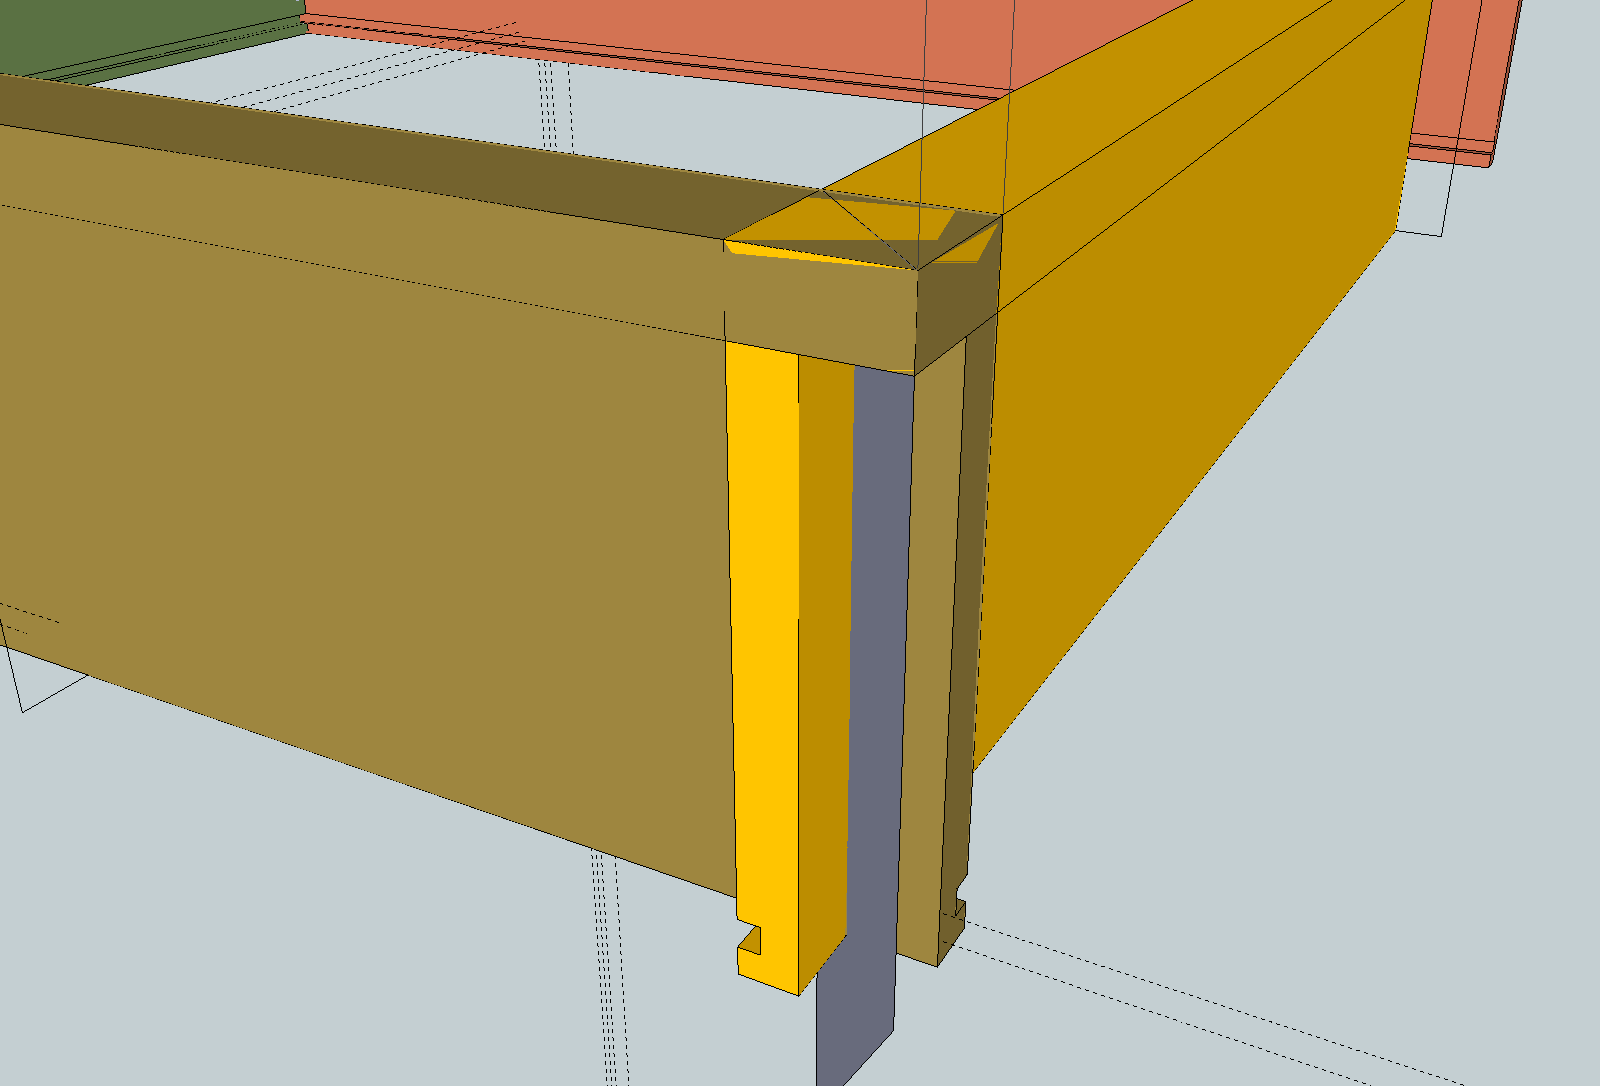
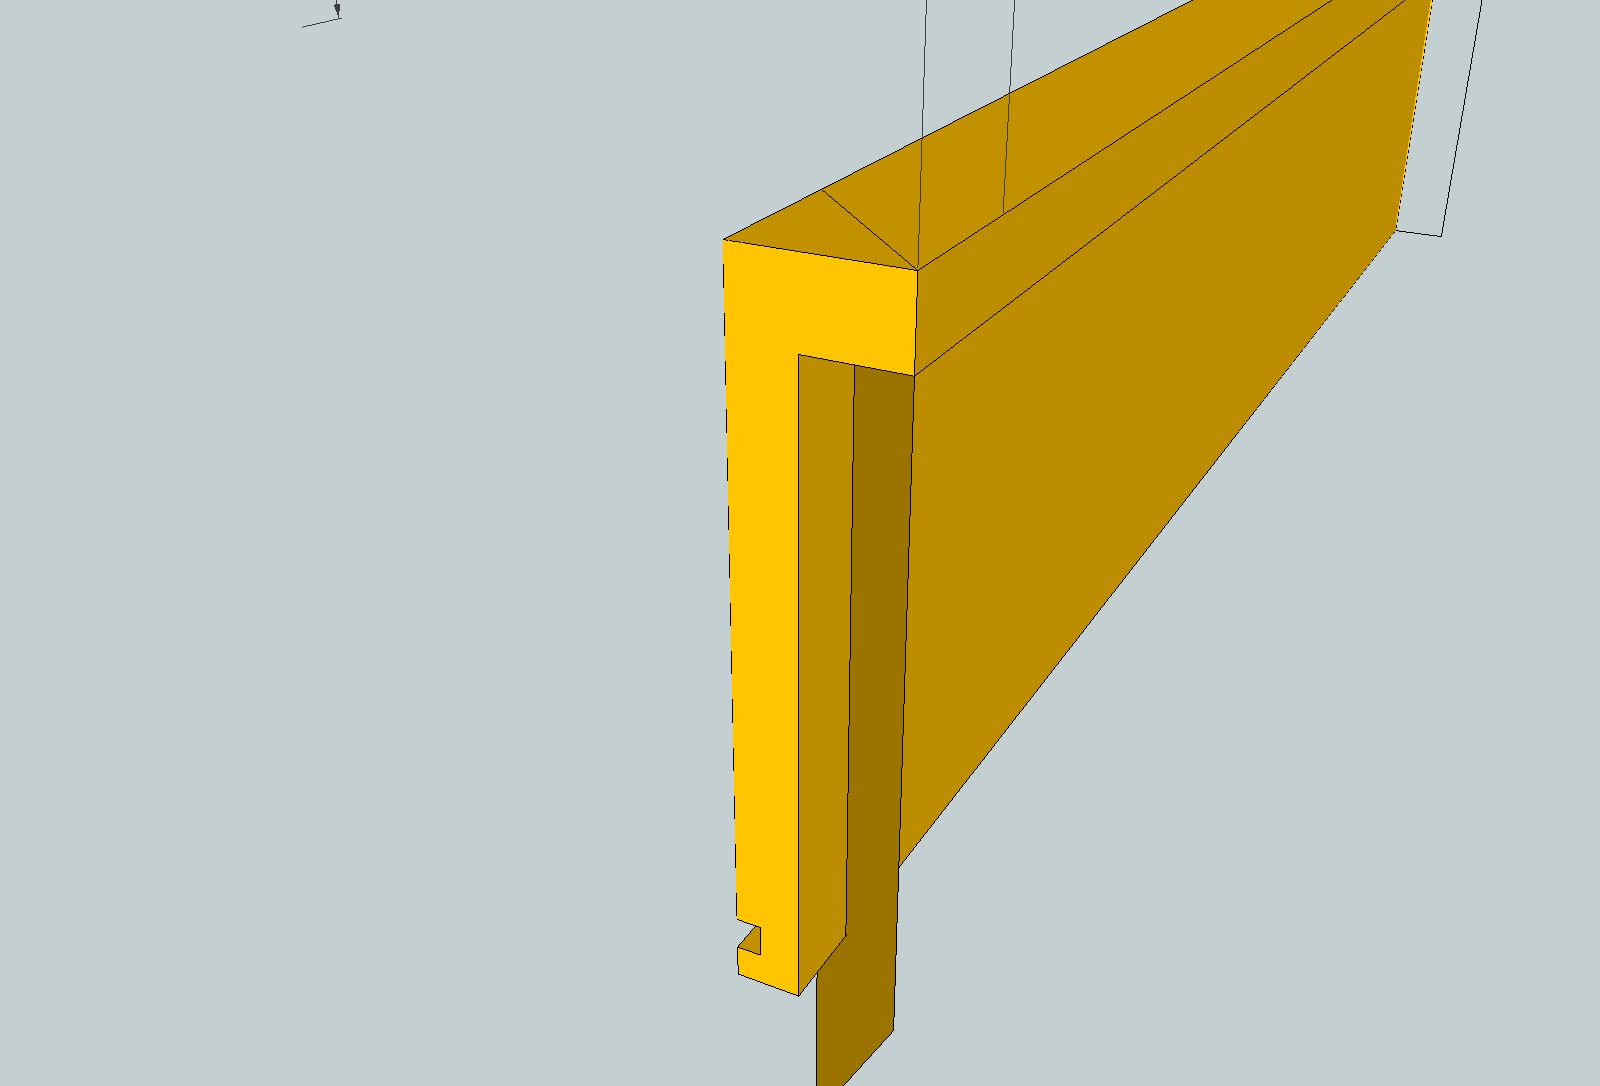
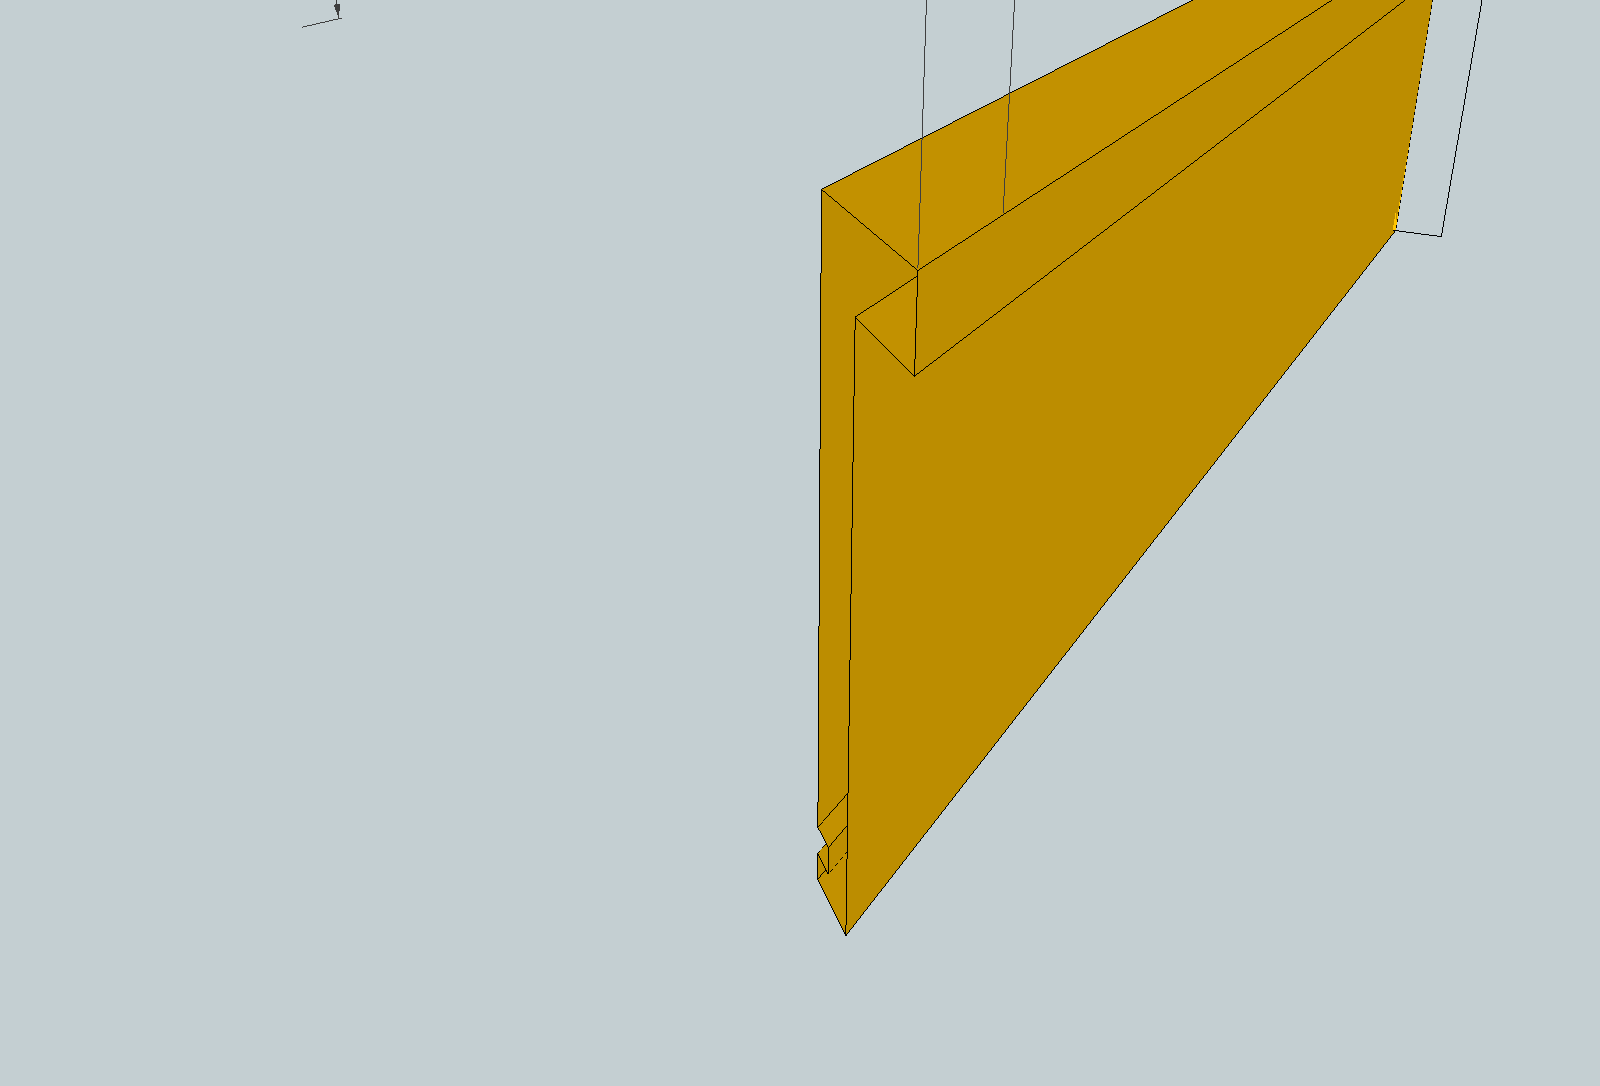
-
Peter is right. I did come along.
 He's also right about using a cutting plane to draw the miter although I would do it a little differently than he shows. The cutting plane method is nice for woodworkers because you use an analog version of it in the shop when you saw the miter in the wood. The beauty of the cutting plane is that there's no saw kerf width.
First, I restored the component relationship between the left and right sides of the drawer. They are essentially identical with one being a mirror image of the other. You started out correctly by copying the left side component and making it the right but then you rotated the right side end for end and, because, I'm guessing, the miter would be wind up on the wrong end of one of them, used Make Unique to break it's relationship with the left side. Instead of rotating the side, I used Flip to create a mirrored image of the first. That way, editing one results in the other being edited in the right place.
After fixing that and moving the drawer back into place, I opened the side component for editing and extended it well beyond the drawer back. The exact amount isn't important but you don't need to be stingy. The waste you cut off won't go in the scrap bin. Notice in the background the other side is also extended as are both ends of the drawer back.
Then I drew the cutting plane on the miter line. This cutting plane is currently outside both the side and back components and it is loose geometry. There is no need to group the cutting plane.
I select the cutting plane and hit Ctrl+X (Edit>Cut)...
...and then I open the drawer side component for editing and hit Edit>Paste in place. The cutting plane is now inside the drawer side component and it is selected. I hold Ctrl and triple click on the drawer side geometry to select it as well. Then right click on the geometry and choose Intersect Faces>With Selected.
Next, drag a right to left selection box around the waste end of the drawer side geometry and hit Delete.
Delete the unneeded edges of the cutting plane. I drew the inside vertical edge down the inside corner of the drawer so there's a little line across the groove for the drawer bottom that needs to be deleted. If the inside vertical edge had been placed farther into the box, that line wouldn't be there.
At this point both drawer sides are mitered so it's on to the back. Open the back for editing, hit Edit>Paste in place (that cutting plane is still on the clipboard) and repeat the process for the side. Since the opposite end of the back also needs to be mitered, I copied (Ctrl+Move) the already selected cutting plane and moved the copy off the end of the drawer back, right clicked on the copy and chose Flip Along>Green direction and then moved the cutting plane into place. Then I selected all of the drawer back geometry and the cutting planes, did the intersect thing and deleted the waste ends.
When this is finished the miters are complete. This takes longer to read than to do.
Notice in Peter's last image, he has the miter cut but there's no face skinning the miter. In my method you are left with face on the end of each part.
Now, from a woodworker's point of view, do you really want to use miters for the back corners of the drawer? Miters aren't the strongest joints. There's little glue surface, most of it is end grain, and with most of the drawer sides and back only 1/4 in. thick, there's not much meat for mechanical fasteners. I would expect over time the contents of the drawer will hammer the back off when the drawer is closed. I think you'd be better off rabbeting the sides into the back or using box joints or something. Those sides seem to be pretty thin consider the size of the drawer.
The 1/16" lap on the fronts over the drawer sides also seems to me likely to break off. And the drawer groove isn't deep enough or wide enough. The lip on the drawer bottom is going to be prone to breaking and the drawer bottom might slip out of the groove if it shrinks a little with seasonal humidity changes.
-
Hi,
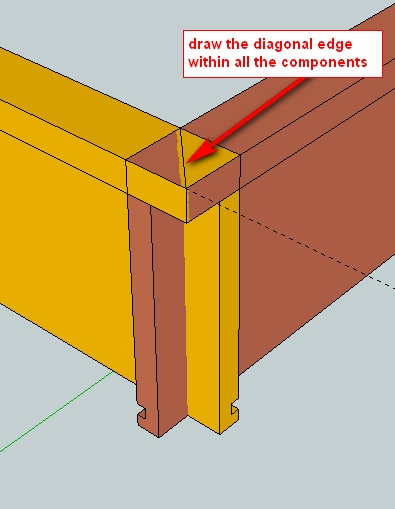
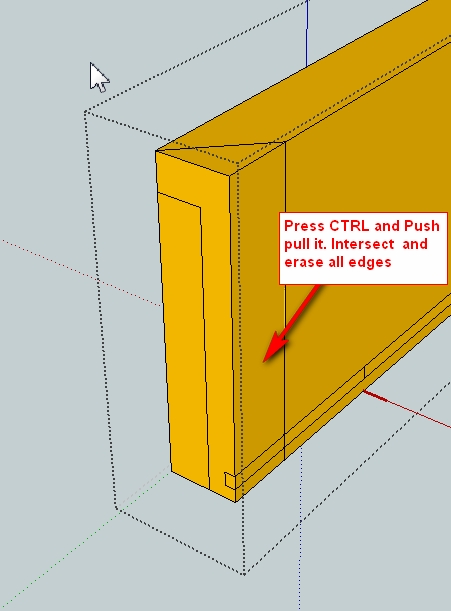
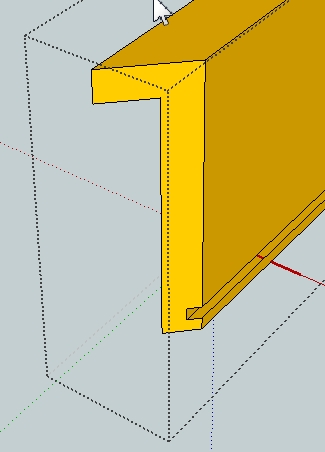
perhaps this method is somewhat simpler.
-
Indeed, Charly, that is quick and easy.
Bruce, as you can see, there are often several ways to get most things done in SketchUp. Charly's method is quick and easy. Although the methods Peter and I show are a little more involved, they would be useful in other situations as well. Miters on complex moldings would be one example. Charly's method only works if there's a face perpendicular to the miter cut. I can think of at least one more way to do it but I don't want to confuse you.
Advertisement


