Mies @ home
-
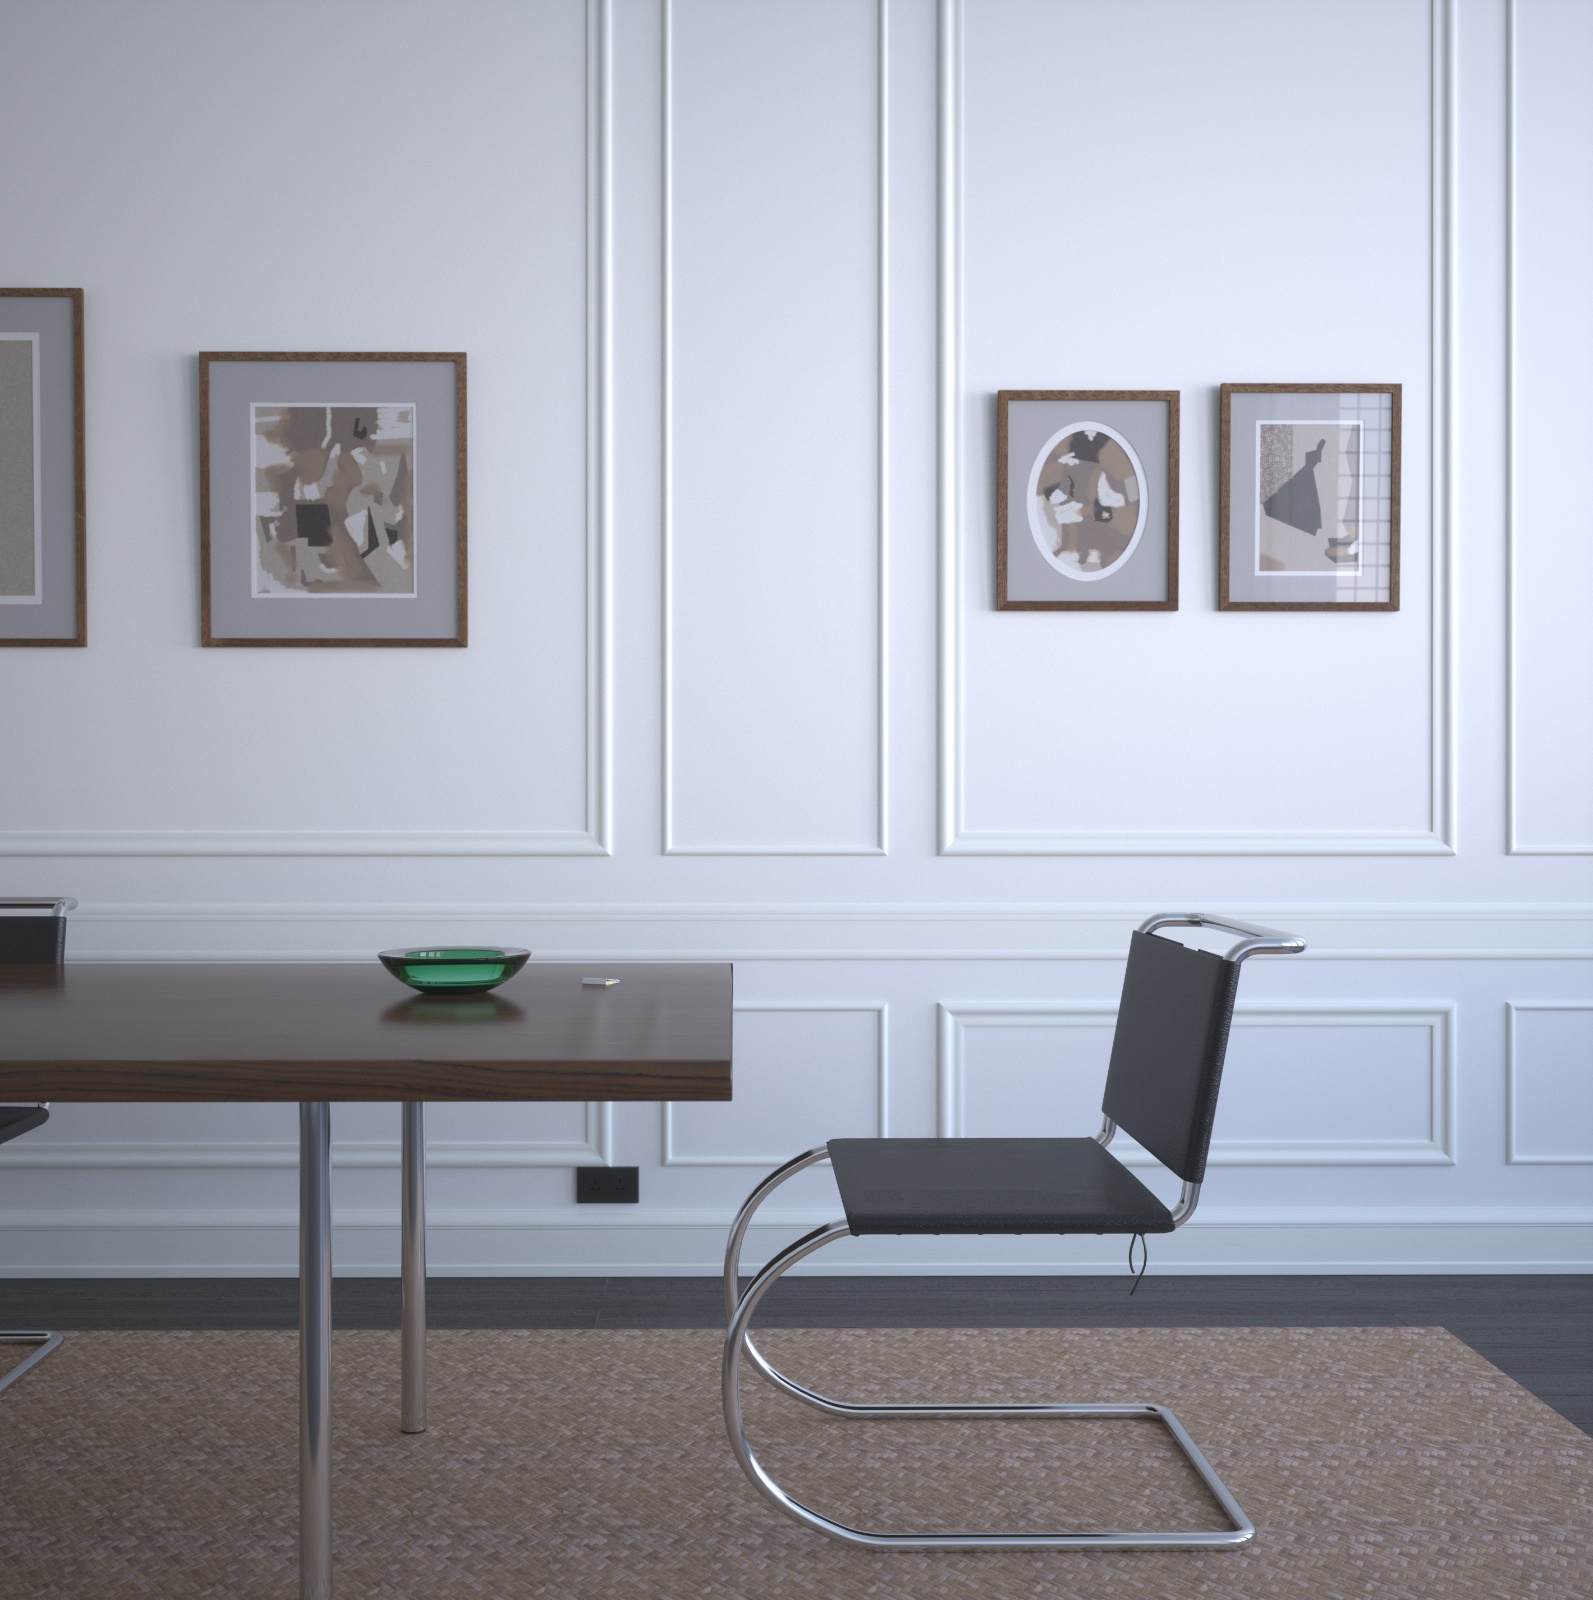
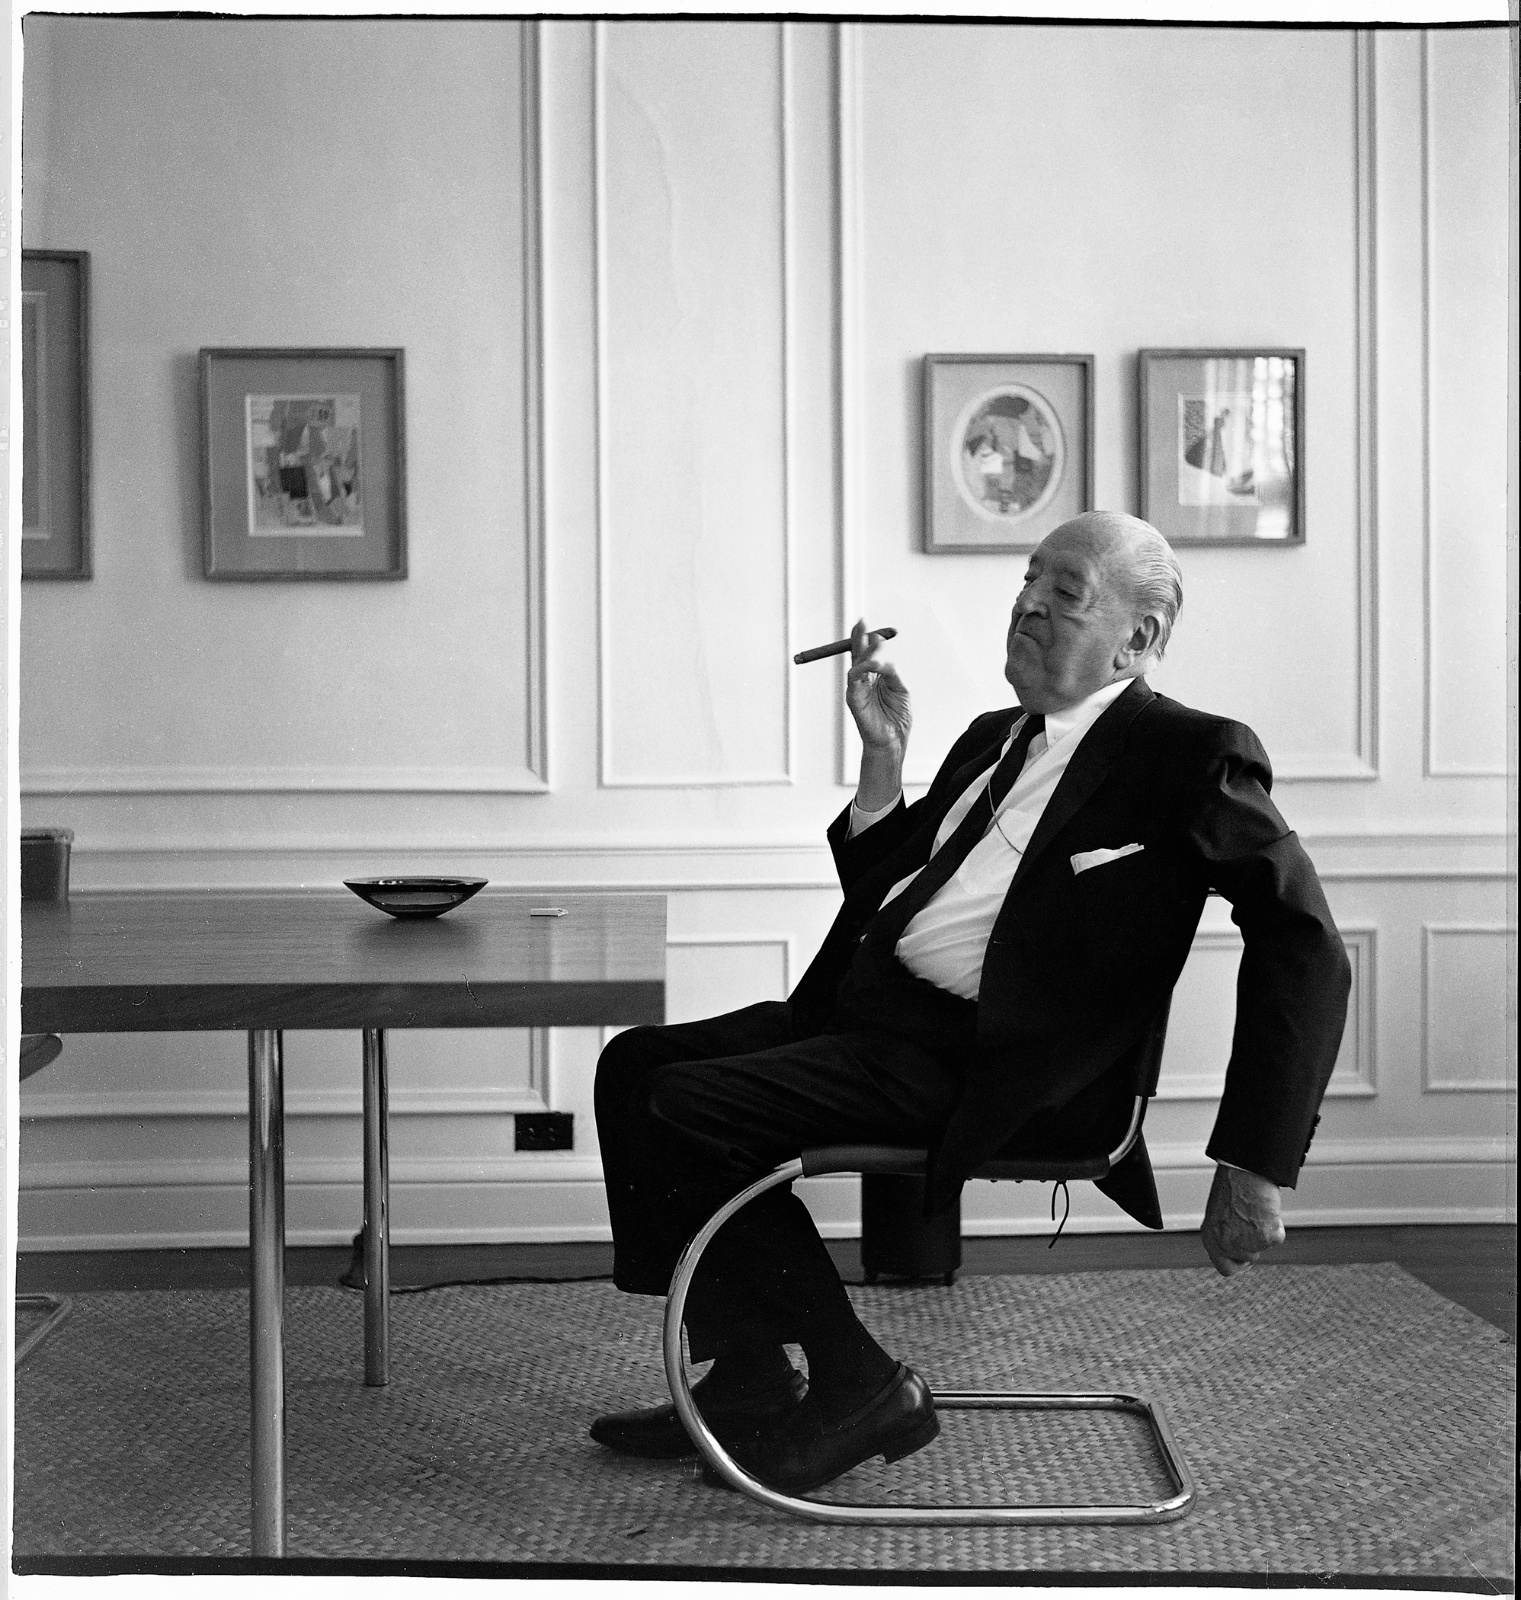
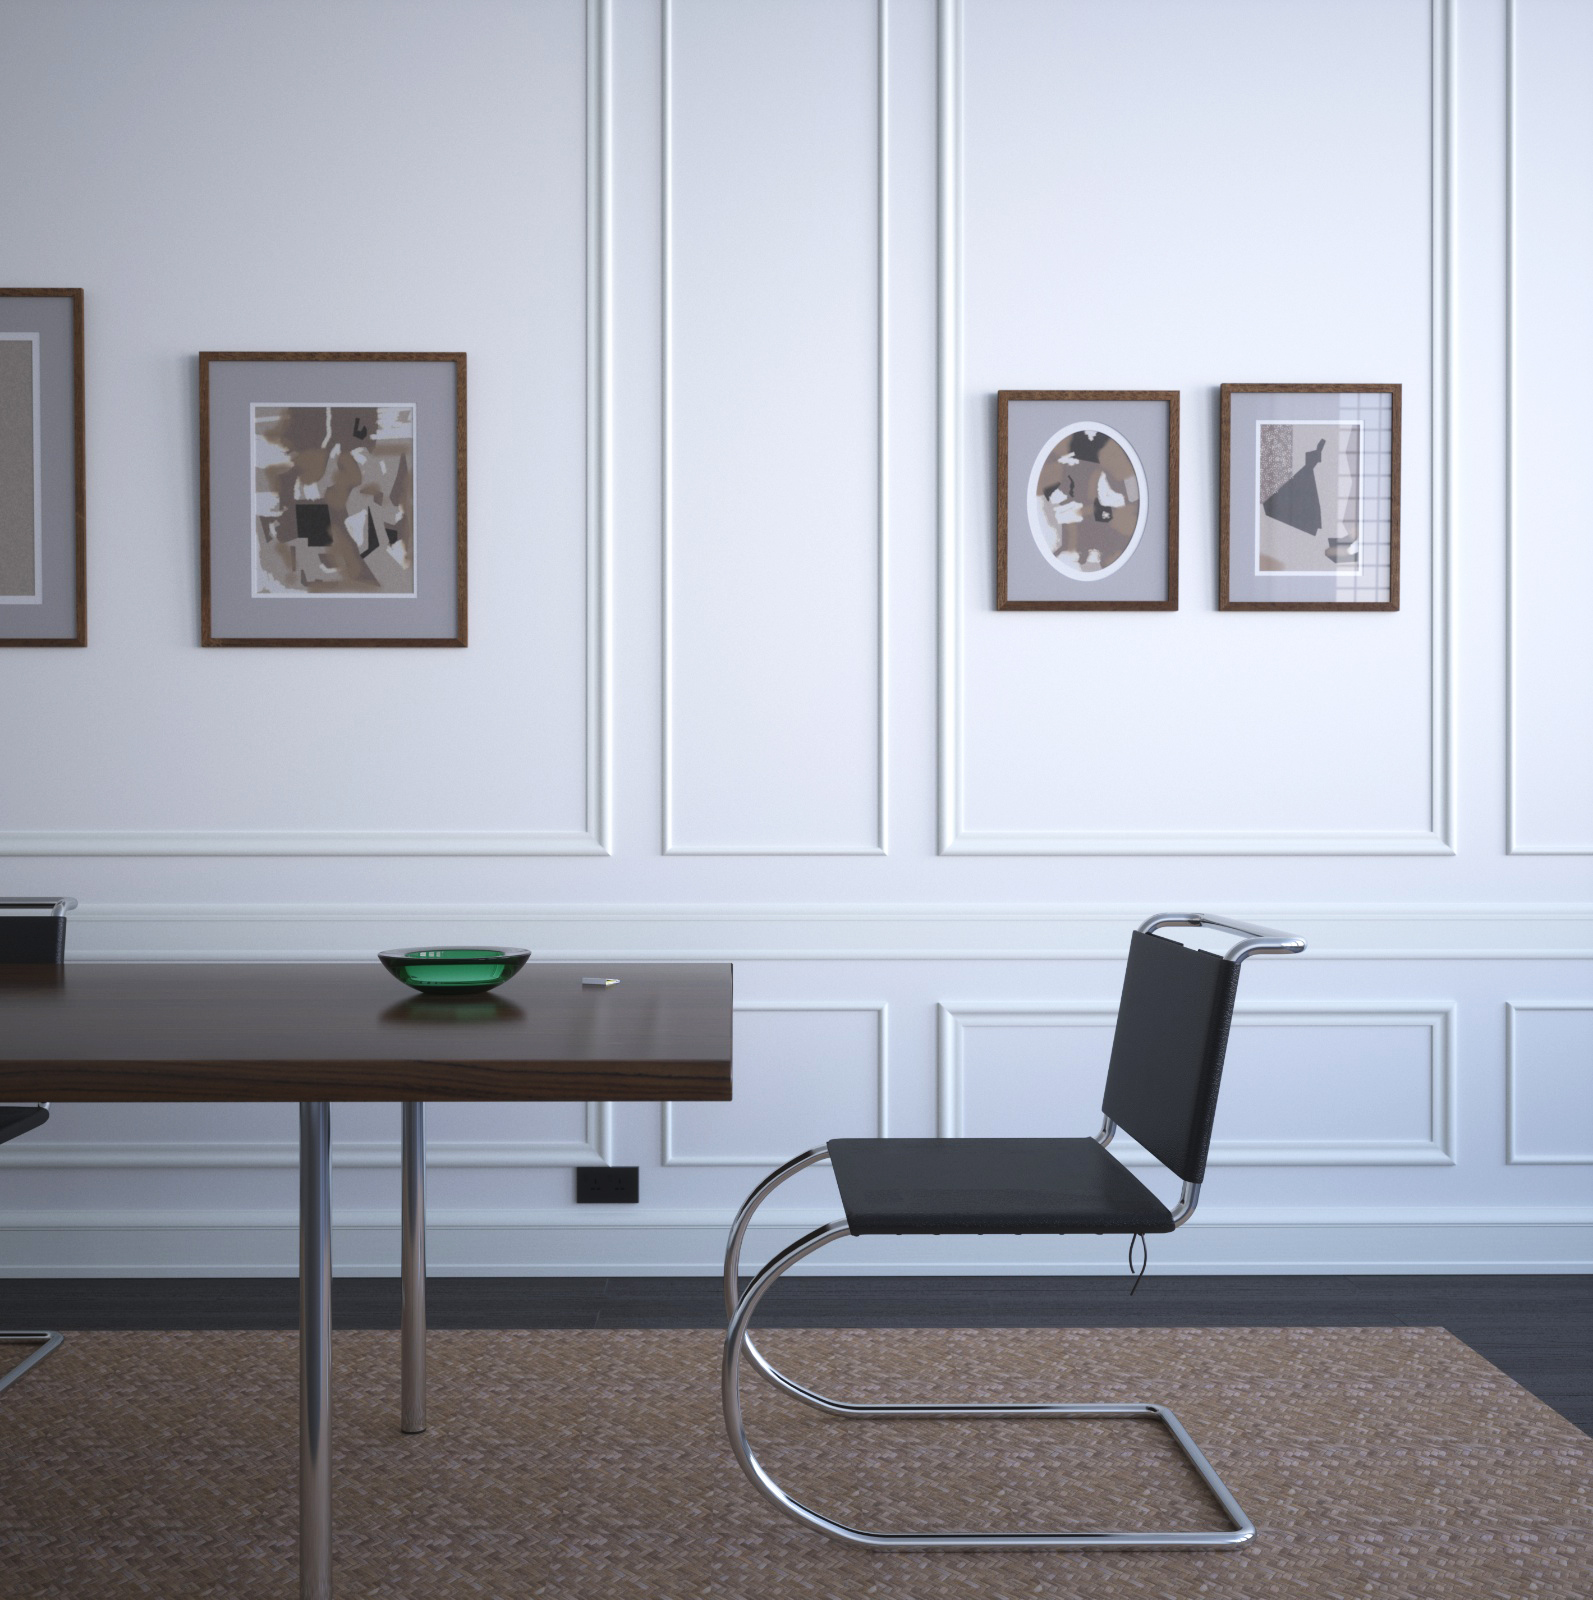
This is another Mies van Der Rohe tribute from me. Modelled in sketchup & rendered in Maxwell. I believe the original photograph was taken at Mies's home. The image has been haunting me for a long time, i thought it would make a good challenge.This took a lot of fiddling with the camera and geometry until i was happy (ish). Many thanks to forum member Richard who helped me up the benchmark so the white areas had a chance of clearing up.
-
Very nice - I like it a lot. It could do with a touch more contrast but you can sort that out in post-pro.
If you were thinking of doing any more with this, things like distortion on the wall and bumps in the rug would really help to sell the image.
So, when are you going to model Mies?

-
Thanks Hieru, your right about the contrast but i think i could create a B&W version in post for that. I thought a color version without any tweaks should be first, the image you see is straight from maxwell. Regarding the figure, well that's another challenge ! Perhaps i will come back to that later lol. I have been trying to master makehuman but i just cannot operate the pose tools. I can get his face pretty close, but in the best case scenario he is going to be naked ! I have been searching for ages for a similar figure it's near impossible. I do have a seated man from axyz which i was going to try perhaps i will update the thread later. For now i think it's kind of poignant that he is missing (plus easier). Happy 125th birthday Mies.
PS if any uber modelers want a crack at modeling the figure please jump onboard.
-
Cool adaptation!

-
Seems shadows of the original photo on the ground are not enough present ?
-
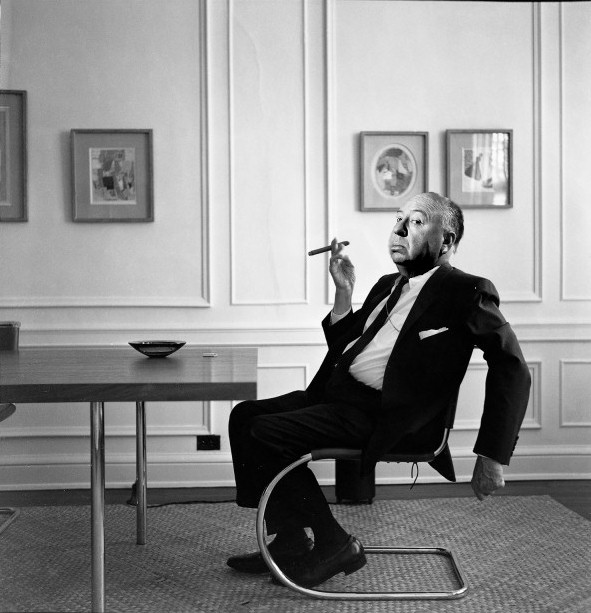
Replace Mies with Alfred Hitchcock.
-
Thanks Frenchy, i think your right some shadows are missing but they could be from him. I have fiddled with this image for ages to get it to this stage and i can still see many mistakes ! I remember as a child i was taught to copy comic strip characters, later i learned to overlay a grid when emulating an image so the proportions could be matched. Now if that had been in possible sketchup it would have been a lot easier. Perhaps i could have placed a line grid in front of the camera ? Or i suppose even easier would have been to photomatch ? Alas i did it the mind blowing way of making constant adjustments.
-
@chedda said:
For now i think it's kind of poignant that he is missing (plus easier).
I agree. You could add a smoking stogie to the ash tray as if he's just walked out of shot.
-
Solo you defiled the image LOL !!
 I found the cigar texture already...
-
Yes Solo he does somehow fit the bill ! Now to find a rig-able model of Hitchcock....... I did make a billboard from the original image of Mies but this was a cop out i thought. Solo what would be your approach to modeling him ? (fishing)
BTW making those picture images was a challenge enough
-
Chedda
Great work mate!!! Love it! Like Hieru suggested, some curves adjustment could draw out contrasts. Varied spec to the walls and bump to rug and walls would help.
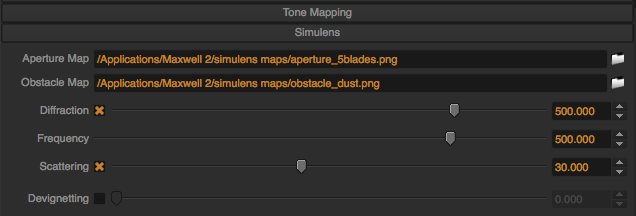
It also looks like you have used may be a bit too much scattering?
VERY VERY nice render though mate!!!
-
Cheers Richard for the comments. I have attached my simulens settings what would you adjust ?
-
Mate I'd just test but the scattering I'd suggest maybe 15 or so for this image.
Here's a bit of curves adjustment.
BTW a bit of bump mapping to the picture framing glass wouldn't go astray.
-
Thanks for all the help Richard, can i apply a bump map directly in sketch up through the maxwell plugin interface, or is this something that has to be done in studio ? I am guessing mapping the crack in the wall in the centre of the image would be difficult to position, the glass bump would be easier.
-
@chedda said:
Thanks for all the help Richard, can i apply a bump map directly in sketch up through the maxwell plugin interface, or is this something that has to be done in studio ? I am guessing mapping the crack in the wall in the centre of the image would be difficult to position, the glass bump would be easier.
- Position your bump map to the model in SU, this will by default set it for both the bump map and colour map.
- In the plugin material editor bump channel under source set to "use specific texture" and link to the same map externally,
- In the colour map channel again select "use specific texture".***
This should drop the colour map from this material yet maintain a bump map that utilises your UV's. Use this method for both your wall map and glass bump.
*** you may want to use a map here with a VERY low contrast mottling created using your wall colour and a slightly off tone mixed using photoshop's Filter > Render > Clouds.
Hello! It looks like you're interested in this conversation, but you don't have an account yet.
Getting fed up of having to scroll through the same posts each visit? When you register for an account, you'll always come back to exactly where you were before, and choose to be notified of new replies (either via email, or push notification). You'll also be able to save bookmarks and upvote posts to show your appreciation to other community members.
With your input, this post could be even better 💗
Register LoginAdvertisement


