House in a forest render
-
Hello, this is my first post here,
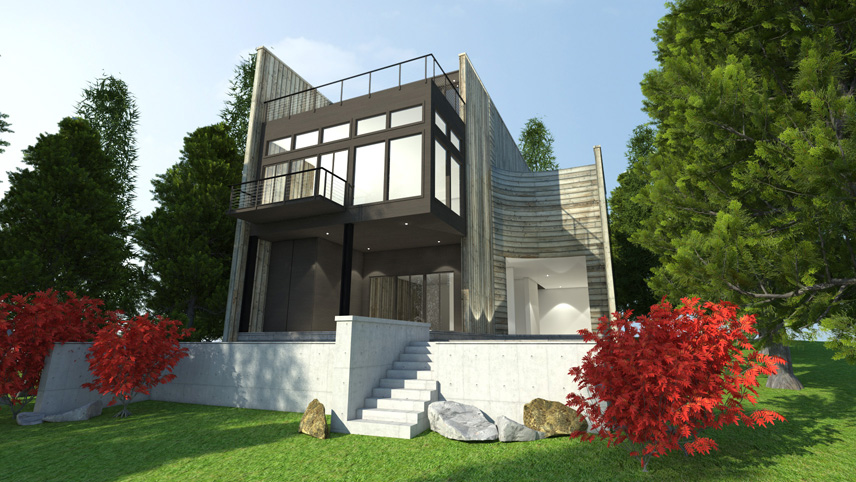
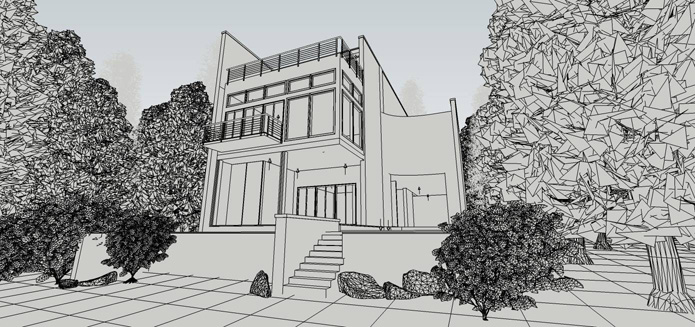
ive mingle here alot and i can see a lot of very good rendering almost photorealistic with just using sketchup as tool for modelling, so i think i can learn a lot if i also post some of my WIP work here. I want to do something that is almost photorealistic but the final results is not up to my expectations. so guys if you could kindly point out whats wrong with it maybe i can start to better improve the quality of my rendering. cheers!
-
Hi
Try ShiftN for start.
Also doing grass in post pro would improve it.
-
@srx said:
Hi
Try ShiftN for start.
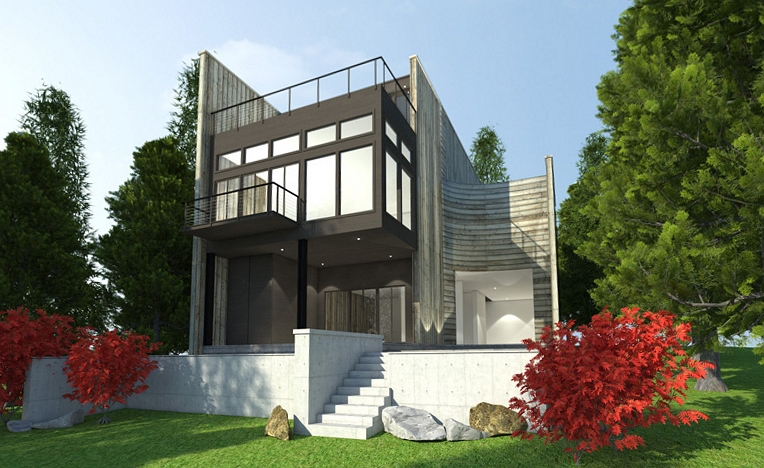
Also doing grass in post pro would improve it.wow thx very useful tool, didnt notice it at first, but it do help making it more 'undistorted'
for the grass ive always thinking to use displacement inthe grass texture but it took to much time to complete, maybe the best way is to PS it. TQ
-
Nice scene. The glass is a bit reflective for my tastes, almost mirror like. It would have more depth if you had a sense of the rooms behind.David H Hieru`s Villa looks good that way as a recent post.What renderer did you use?
-
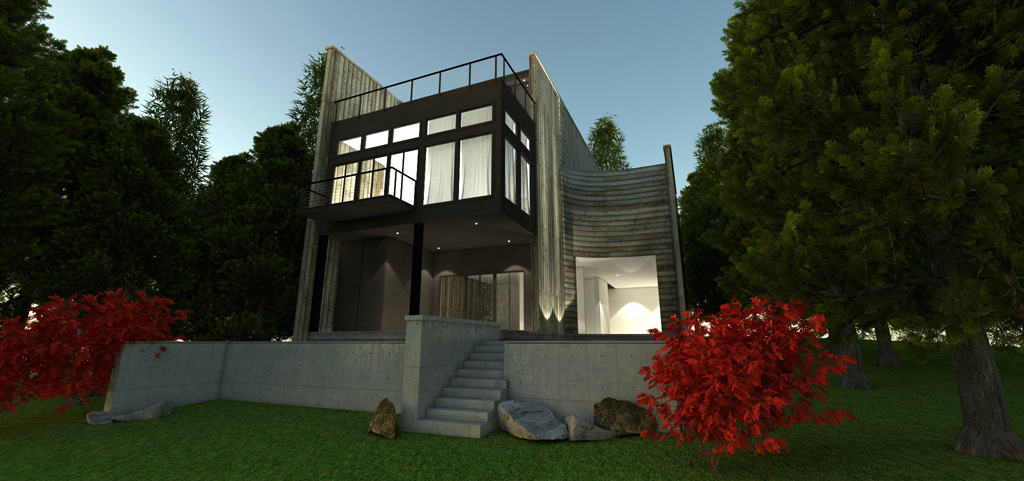
@Guy im using vray for sketchup, ive been trying to create a glass material to suite any situation, but to no avail. i have to keep doing it over and over for each model to reach the desired effect, sometimes it works and sometime it doesnt. here i post another rendering, still not using shiftN yet because i want to make it right first,
-
SRX, what is "Shift N". I tried it and nothing happened.
-
I would say the first thing that jumps out at me is the perspective.Use a lower angle without looking up as much or pull back more with the camera and if necessary, render out at a larger size so you can crop it later in post processing.
The second thing is that there is no foreground,middle ground and background.By that I mean is everything is in focus and consequently there is no depth to the image.this can be easily added in photoshop,add some foreground elements and use gaussian blur on the foreground.the best thing about adding blurred foreground images is that they dont have to be high resolution as the blurring hides most inaccuracies,and yet it immediately adds depth.
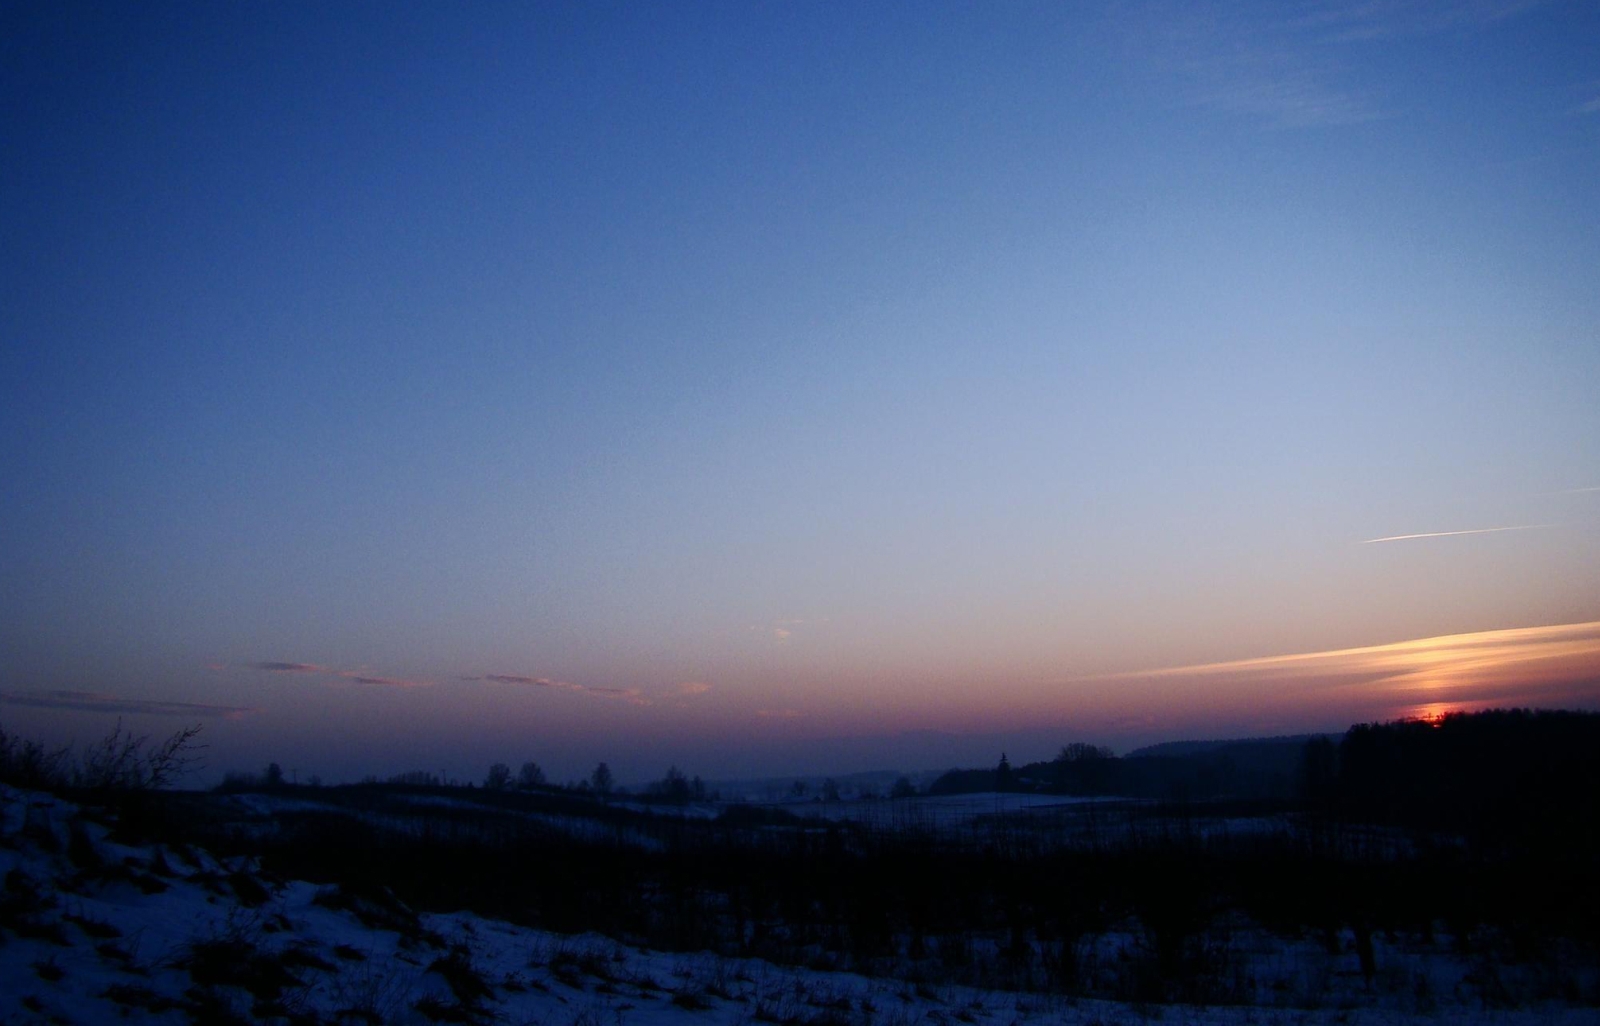
Thirdly,there seems to be some conflict between what type of lighting you are trying to achieve.On the first image,it looks like a blue sky but with what looks like up-lighters on the side.Turn these off for the daylight and for the night time/dusk shot use a bitmap/hdri for lighting.I have attached a dusk jpeg that I often use to light my models when also using internal lights.
Normally what I do is use this image for the environment(Value 0.3) and background(value 1) so I get the correct colour cast on the model,but render out with an alpha channel so I can simply drag the same image in as background in photoshop.Increase the multiplier of the environment if you need or use a proper hdri file but this one works for me.Finally try and keep the same colour values in your scene,the red bush just jumps out,reduce the saturation of the red so it sits easier with the other colours.
Regarding the glass change the reflection to 2.2 from 1.5 to get a better effect and add an orange colour to the lights for good contast with the blue sky.Sorry for the longwinded post but this strategy works for me!
-
Roger,
ShiftN is http://www.shiftn.de/
by the way, good suggestions by davidh -
thx davidh , i will try that backgroud image of yours, your setting for the night render could it also be appliy to to daylight scene as well, because i some times confuse about the value that should be put in for the BG color and GI color. so the GI color is basically the color/tone that we want to achieve for the environemnt or is it something else different?
-
Found this tutorial. might help. http://sketchupvrayresources.blogspot.com/2011/07/making-modern-minimalist-house-by.html
Hello! It looks like you're interested in this conversation, but you don't have an account yet.
Getting fed up of having to scroll through the same posts each visit? When you register for an account, you'll always come back to exactly where you were before, and choose to be notified of new replies (either via email, or push notification). You'll also be able to save bookmarks and upvote posts to show your appreciation to other community members.
With your input, this post could be even better 💗
Register LoginAdvertisement


