Artisan Plugin (SDS2).....Cave
-
Would be brilliant if it would glow in the dark like that in real life

-
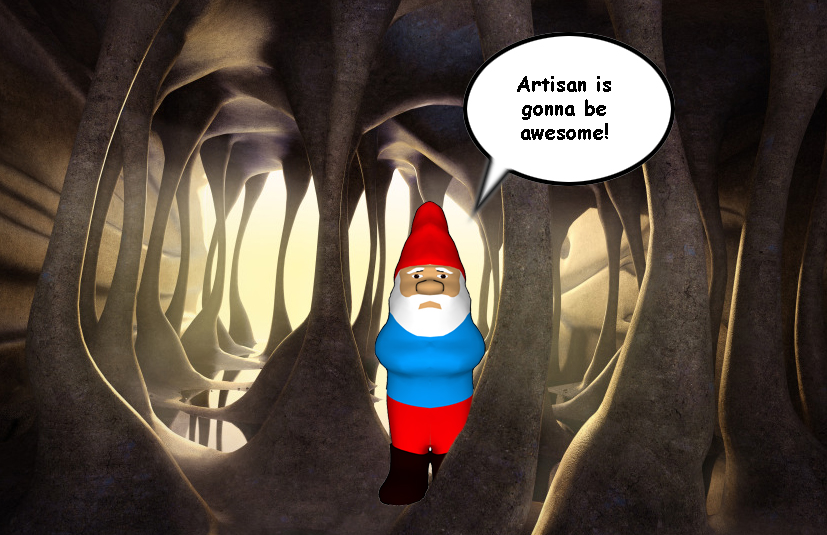 looks so cool! I can't wait either!
 -
@hfm said:
Would be brilliant if it would glow in the dark like that in real life

yeah i wouldn't need a light on my camcorder

stop bastardizing my renders lol


-
Something its happening with this cave oli, I tried to tell you but you didn't listen.

Lot of weird creatures will visit it, I know. -
@unknownuser said:
stop bastardizing my renders
Think of it as An "Homage"
Its only cuz they are just so awesome.
We're not WORTHY!!!
-
thanks man hehe, i'm making a tutorial for this scene...from modeling to rendering to photoshop touch-up. It could literally be made in minutes, although it took me hours of fannying around.

-
@olishea said:
i'm making a tutorial for this scene
That's, like, totally awesome, as the Bard would've put it.

-
it'll be done in march. very simple for rendering etc...there are only 2 materials, water and rock.
a view from above. look how clean the mesh is around the column caps, its completely homogenous, no intersecting or anything....thats a typical proxy to the right. Deleting internal faces helps create a clean result. (remove inner faces.rb). this is an early version of the model before I sculpted the floor, notice how it was flat.....you can paint contours into it.
 i removed the walls for clarity....they were made using the free hand tool, push pull and then artisan, about 5 minutes each.
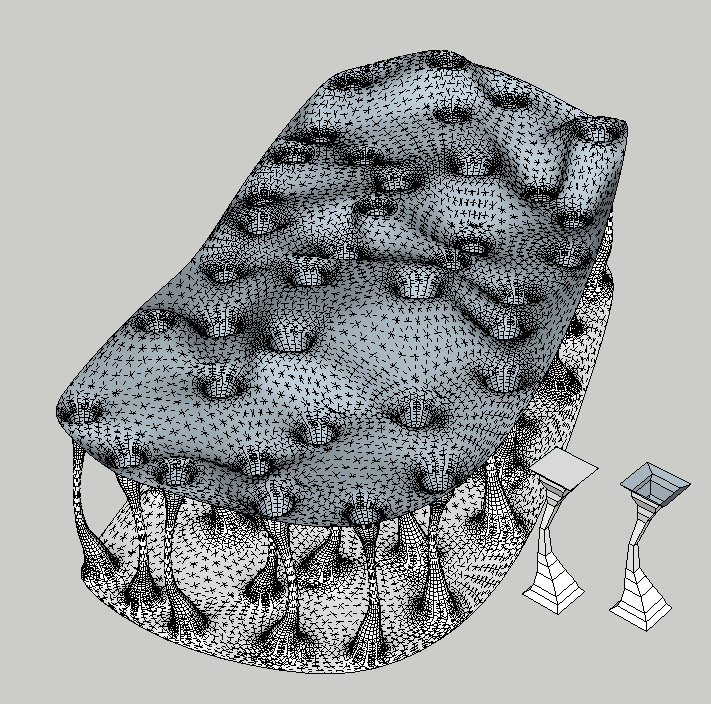
just messing around:
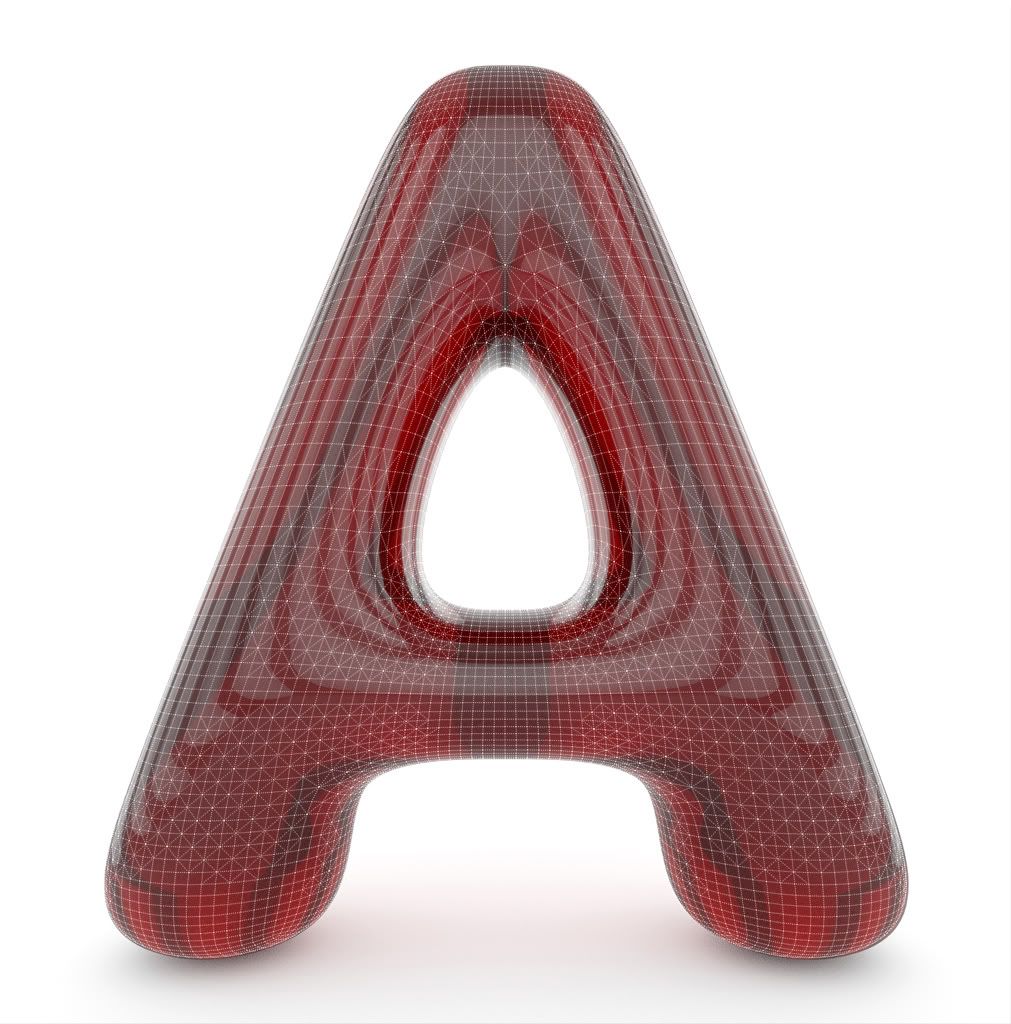
a remake of pollen, to see if its possible in SU.

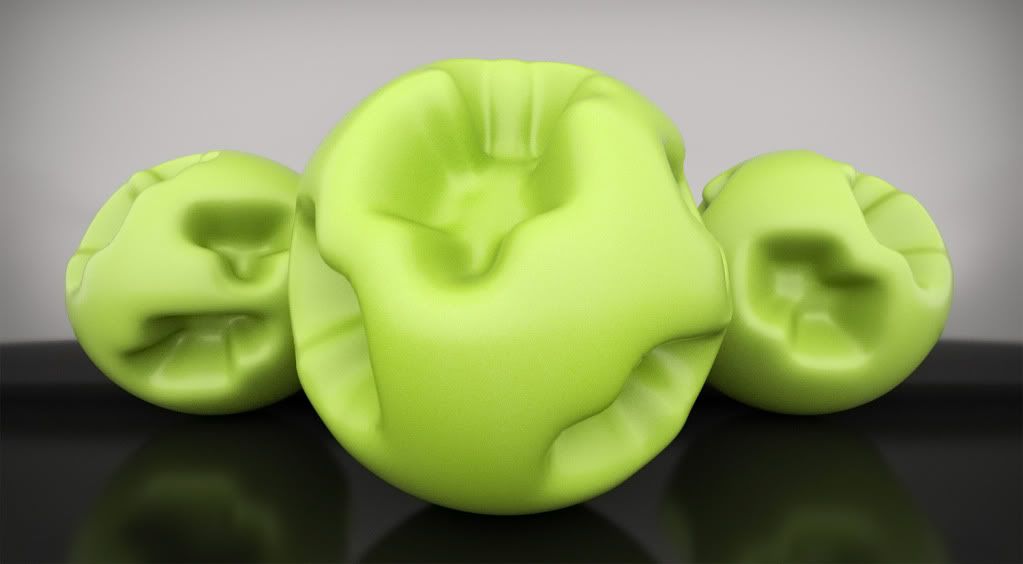
-
To beta testers:
Does it behave like Wings 3D, where you can toggle from proxy view/smooth view with just a key press? -
Have we mentioned we can't wait.
Really cool stuff. -
Ecuadorian: you can subsmooth in one click yes....it previews the geometry so you don't have to execute the command unless you are sure.
I used Wings3D a lot, thats why I remade some images just to see if SU can do it. Instead of using spheres I use geometric domes instead, resultant subdivision is always cleaner (for these ballsy images haha)
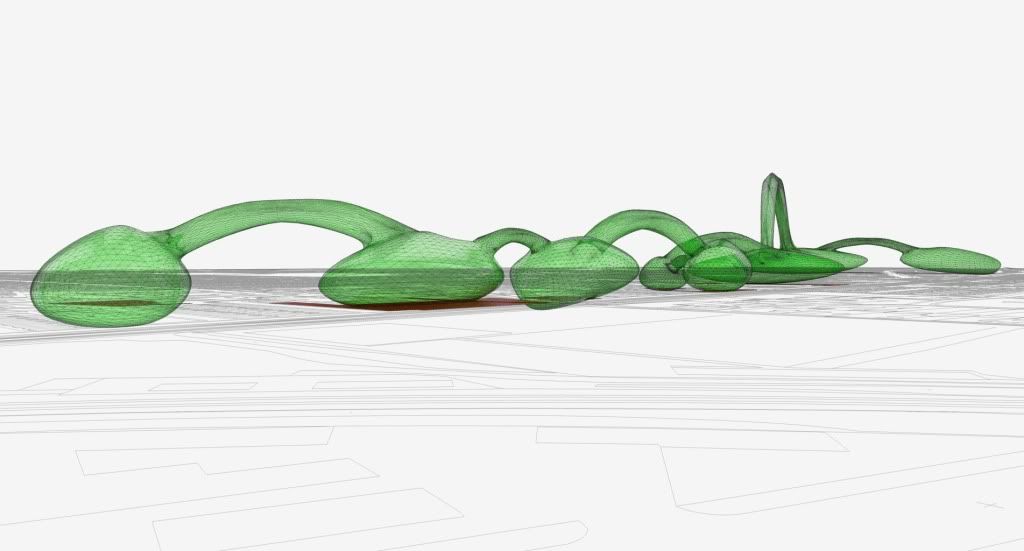
here is an image I used to help describe a uni project....an undulating, evolving programme moving between sites of potential intervention.
-
Nice last one oli.

A tip for box modeling:
Instead of using pushpull and remove inner faces rb, I found more helpful to use [F] command and move tool. -
thanks michalis, yes you are right.
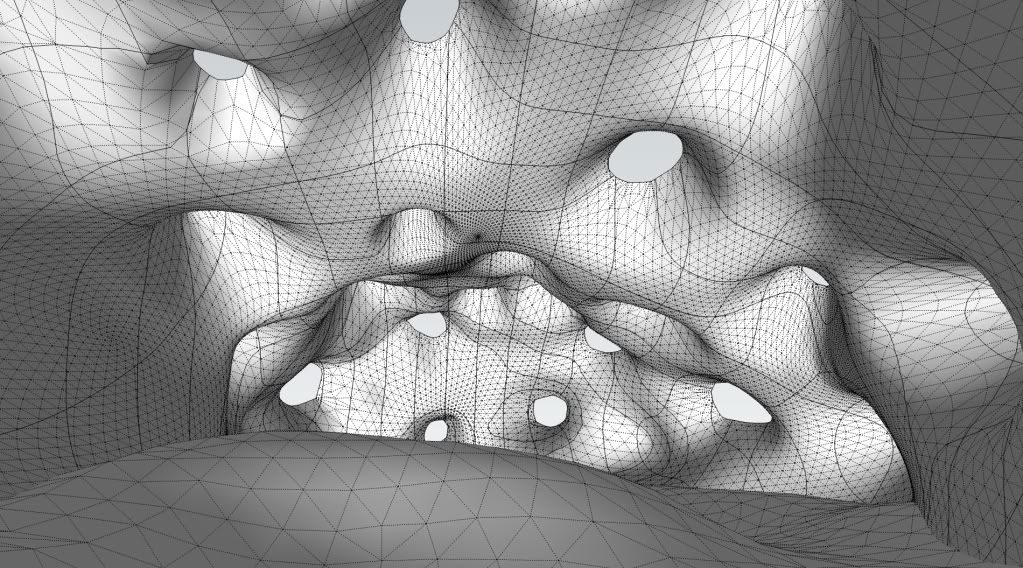
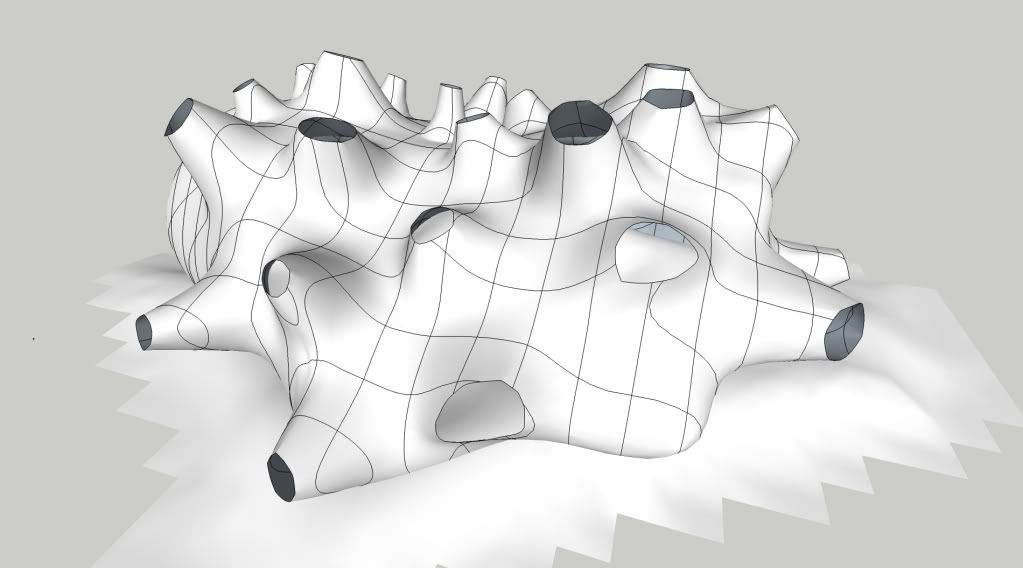
here is another scene I'm working on, kinda like the kunsthaus, graz. http://www.google.co.uk/images?hl=en&xhr=t&q=kunsthaus+graz&cp=11&um=1&ie=UTF-8&source=og&sa=N&tab=wi&biw=1934&bih=1102
-
I'm a little confused, this grid doesn't seem to follow geometry-topology. How is this possible?
-
i intersected the geometry with a grid after subdivision....its just a WIP to get some framing in there, its not supposed to follow the topology
-
I don't have a lot of call in my daily workflow to design caves or sea monsters.. . .but this is gonna be so cool!
Oli. .. Now yer just showin' off!

-
You mentioned "textured in SU" in your first post. Is there any texturing/UV tools in it?
Also is it possible to revert back to the unsubsmoothed version for further editing? -
No UVs exactly. It was a really good seamless texture, its dirty concrete so its hard to tell if the alignment isn't correct. Any places where it was a bit distorted I used the paint brush tool in artisan. I have the material if anyone wants it, also the thea .mat file.
If you were gonna do this properly, would slice the columns and the top and bottoms (using knife tool)....then cylindrically map the texture onto them. The walls and floor could just be textured seamlessly, no UVs.
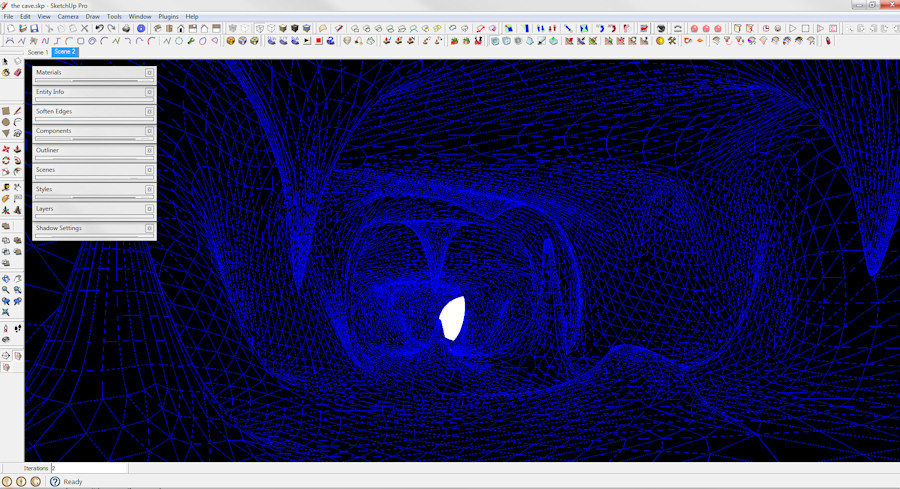
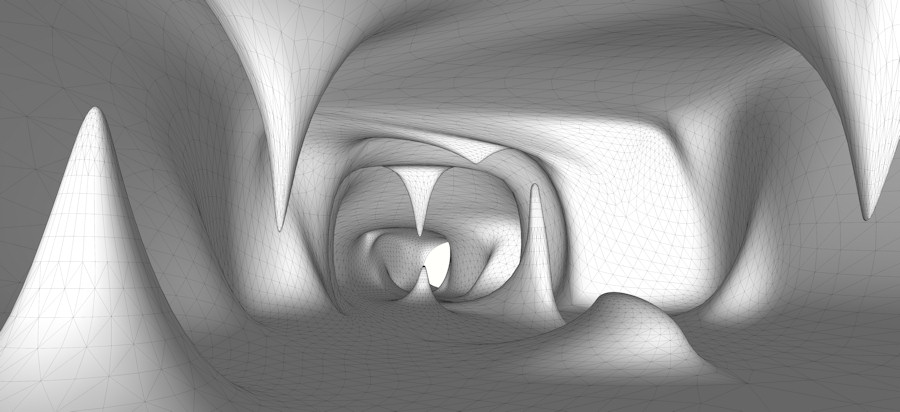
Pixero, you are given a preview of the subdivision so you don't actually have to execute the command. I just click space bar and it returns to the proxy. The preview will let you change the amount of iterations also....but once you have executed the subdivision/smoothing then you would have to 'undo' to get back to proxy.
-
Pixero, when you select to subdivide you get a preview and an option to contine (hit enter)
See images, first the basic proxy:
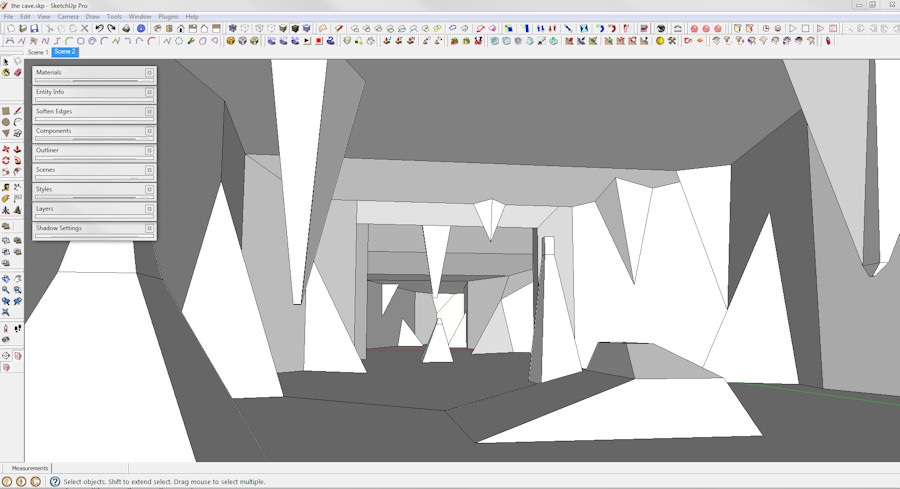
Then here is the 'Preview' of how it will look with 3 iriterations:
And then finally how it looks after subdivision:
-
that is so awesome.
Hello! It looks like you're interested in this conversation, but you don't have an account yet.
Getting fed up of having to scroll through the same posts each visit? When you register for an account, you'll always come back to exactly where you were before, and choose to be notified of new replies (either via email, or push notification). You'll also be able to save bookmarks and upvote posts to show your appreciation to other community members.
With your input, this post could be even better 💗
Register LoginAdvertisement


