A couple small dining tables
-
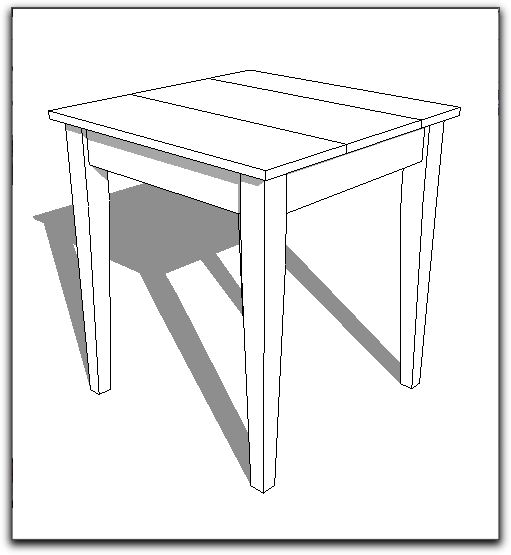
I'm making a couple matching small dining tables. My son just changed colleges (from OU to Texas A&M) and his apartment this year is a little bigger than last year's dorm. But, there's no real place to sit, except the couch, and the only place to set anything is the "coffee table". So, I told him he needed a table, but he didn't think so. His buddy, (buddy since 1st grade), hearing our conversation, said "I want one!" Well, I decided to build 2 tables, and they will be a surprise for both of them. They are identical (for all practical purposes, if you don't consider wood grain itself). First, I drew them in SketchUp:
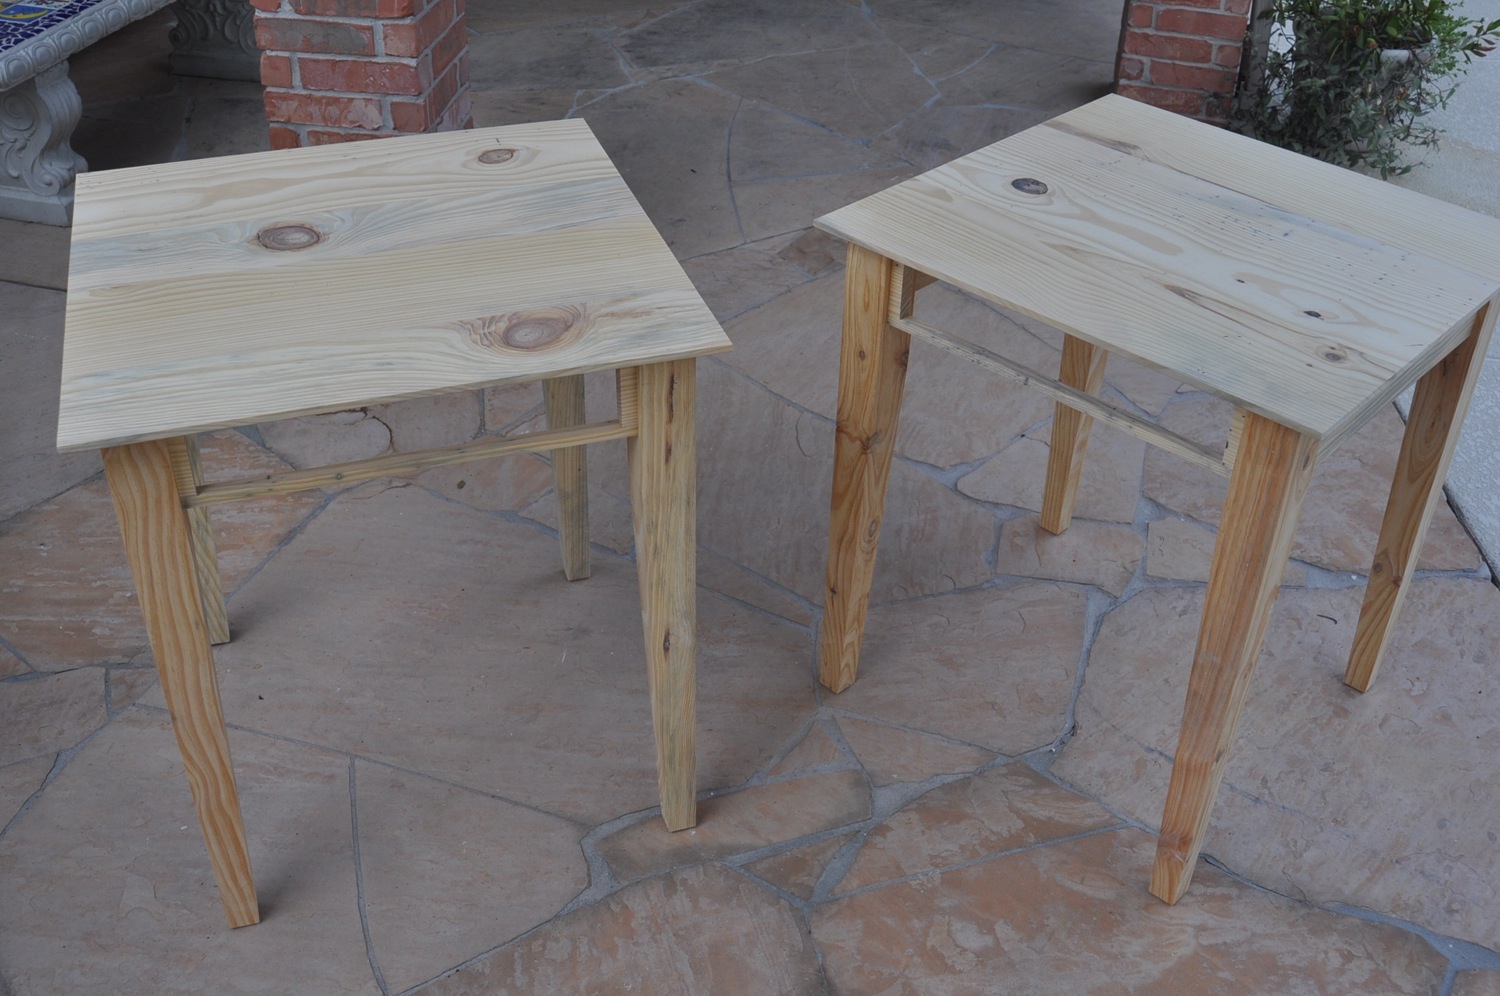
Then, I scrounged some wood I harvested back in 2001 and started cutting. Came up with these:
I decided to finish them with milk paint. I thought red would look nice. Then, I thought about putting a checkerboard on top. I came up with this:
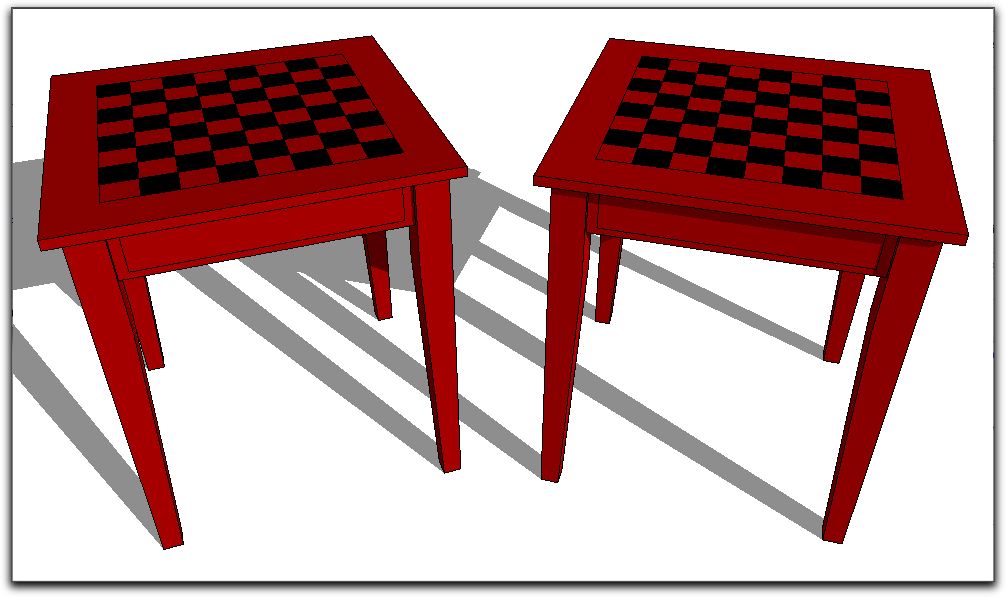
Each square is just over 2" square. Kinda oversize, but not too big.
I'm not finished with them yet. Friday evening, I pick up the silk screen for the checkerboard pattern from the silk screen guy. Then Saturday, I'll screen the pattern in black milk paint, let that dry, then shoot some lacquer on them to finish them off. Delivery will be Sunday. Here's what they look like as of this afternoon:
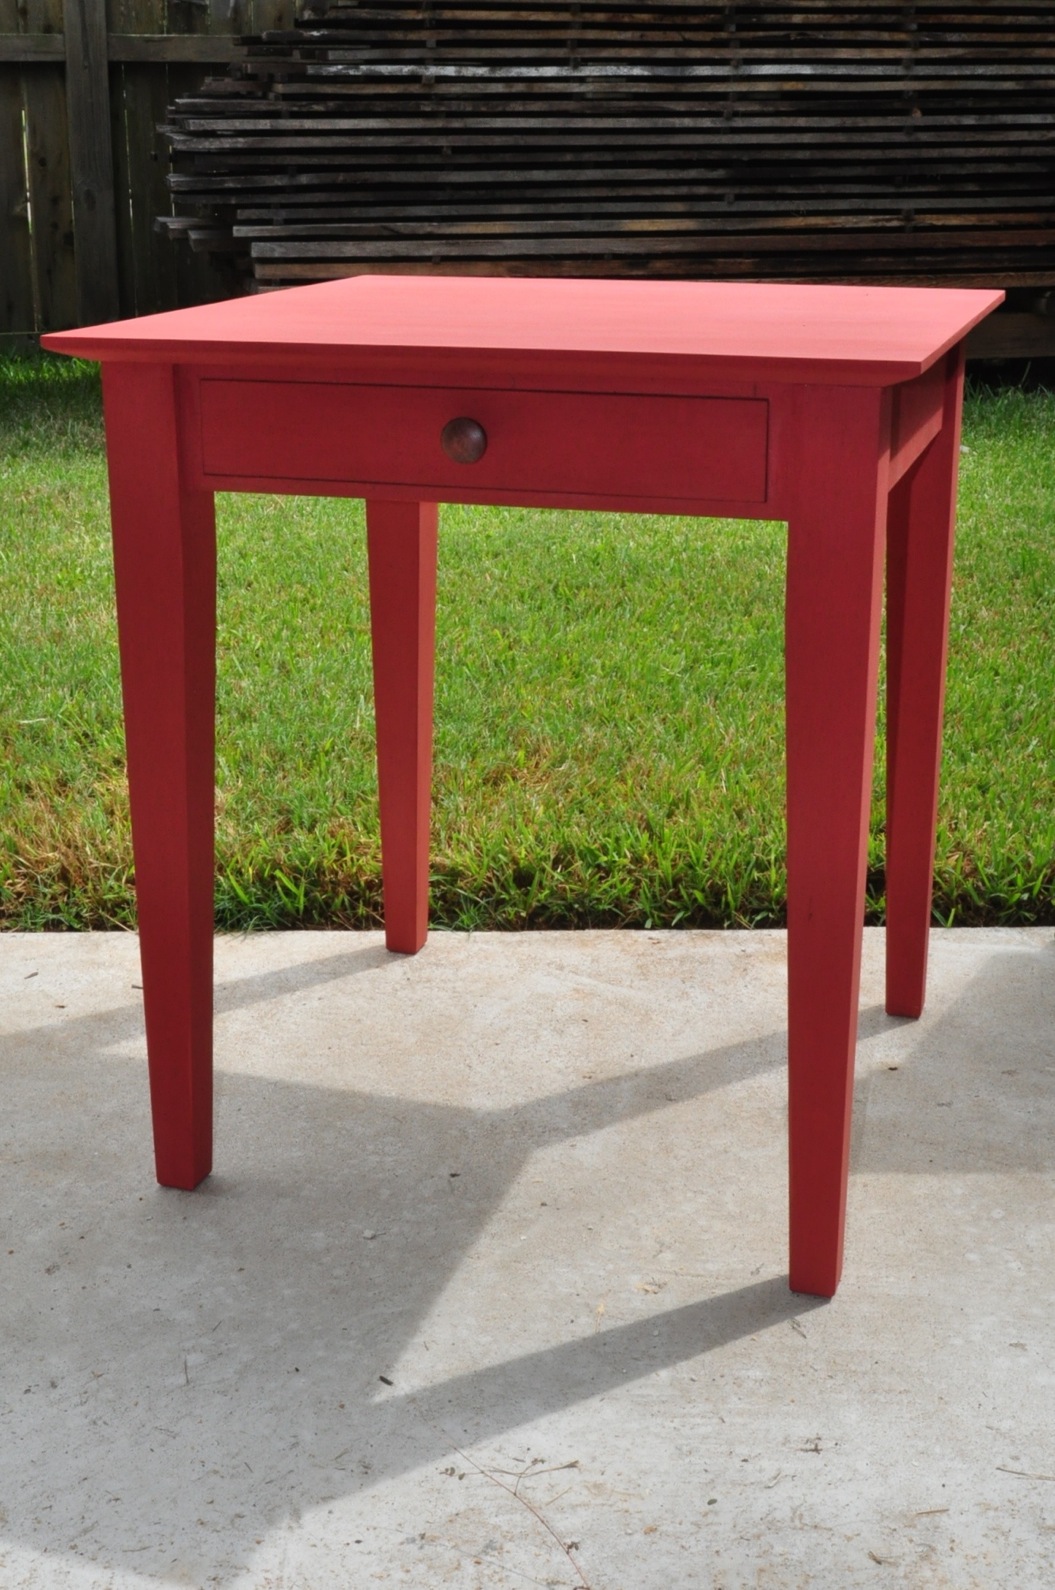
They'll darken up some once the lacquer hits them.
The drawer is pretty good size. Almost 18" x 22". From what you normally get for a drawer of a table this size (27" x 27" x 30" tall), the drawer is enormous.
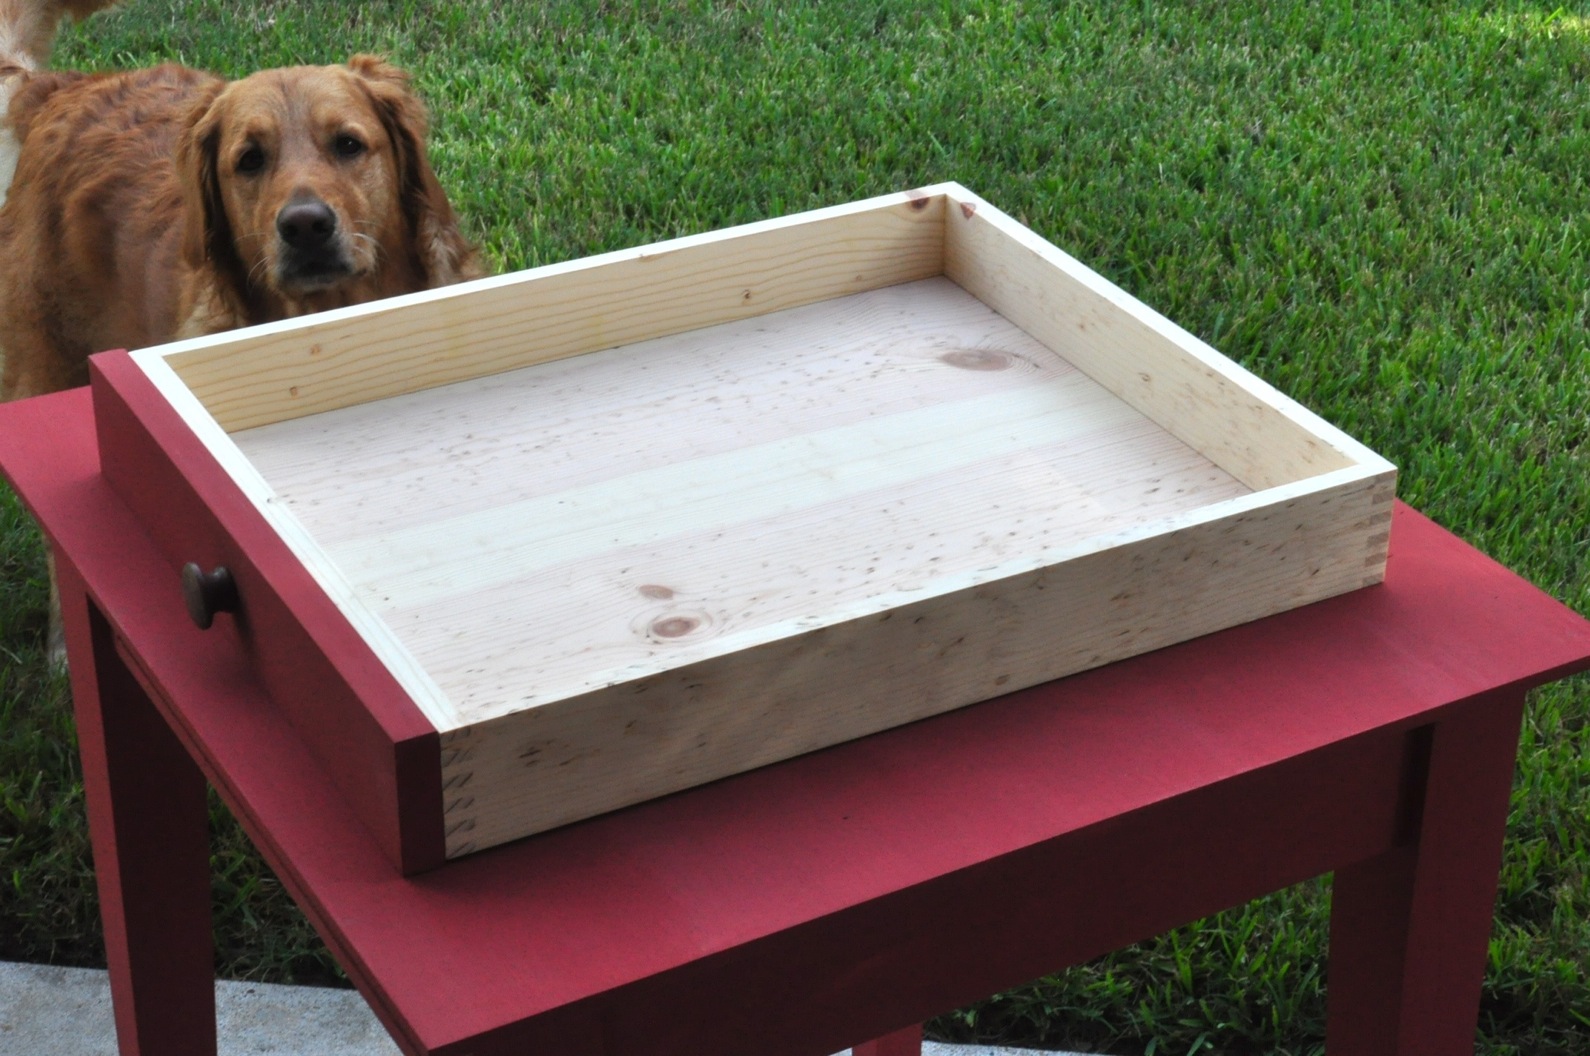
And yes, the dog approves.

I'll post pictures Saturday evening of the "twin" finale! Thanks for looking. Todd
-
those joints are pretty damn good. excellent work
-
Else you can try this excellent game : Go !

It's the perfect age for play it !
5 minutes to learn it, a life for master it!

-
Really nice work, Todd...

Great to see a 3D model being brough to life...
(and great to see you back... Seem that you're not visiting SCF as frequent...) -
Thanks everyone.
Yes, I have not been visiting very much. Been busy with life.
Next project: bathroom remodel.
-
@unknownuser said:
Thanks everyone.
Yes, I have not been visiting very much. Been busy with life.
Next project: bathroom remodel.
Nice to see a post from you Todd. Yea that life thing gets in the way of fun sometimes. I still have dreams about that Stromboli...Hope life is treating you well.
-
Hey Phil - missed you at Basecamp.
Well, change in plans. Second table is changing from Salem Red to Barn Red. Already got two coats on it. Now, out to the shop to screen the checkerboard!!! (And, when I got home from basecamp midnight Friday night, my son was already home (surprise to me!). So, delivery will be next weekend.)
-
Wow Todd those are great, congratulations.
-
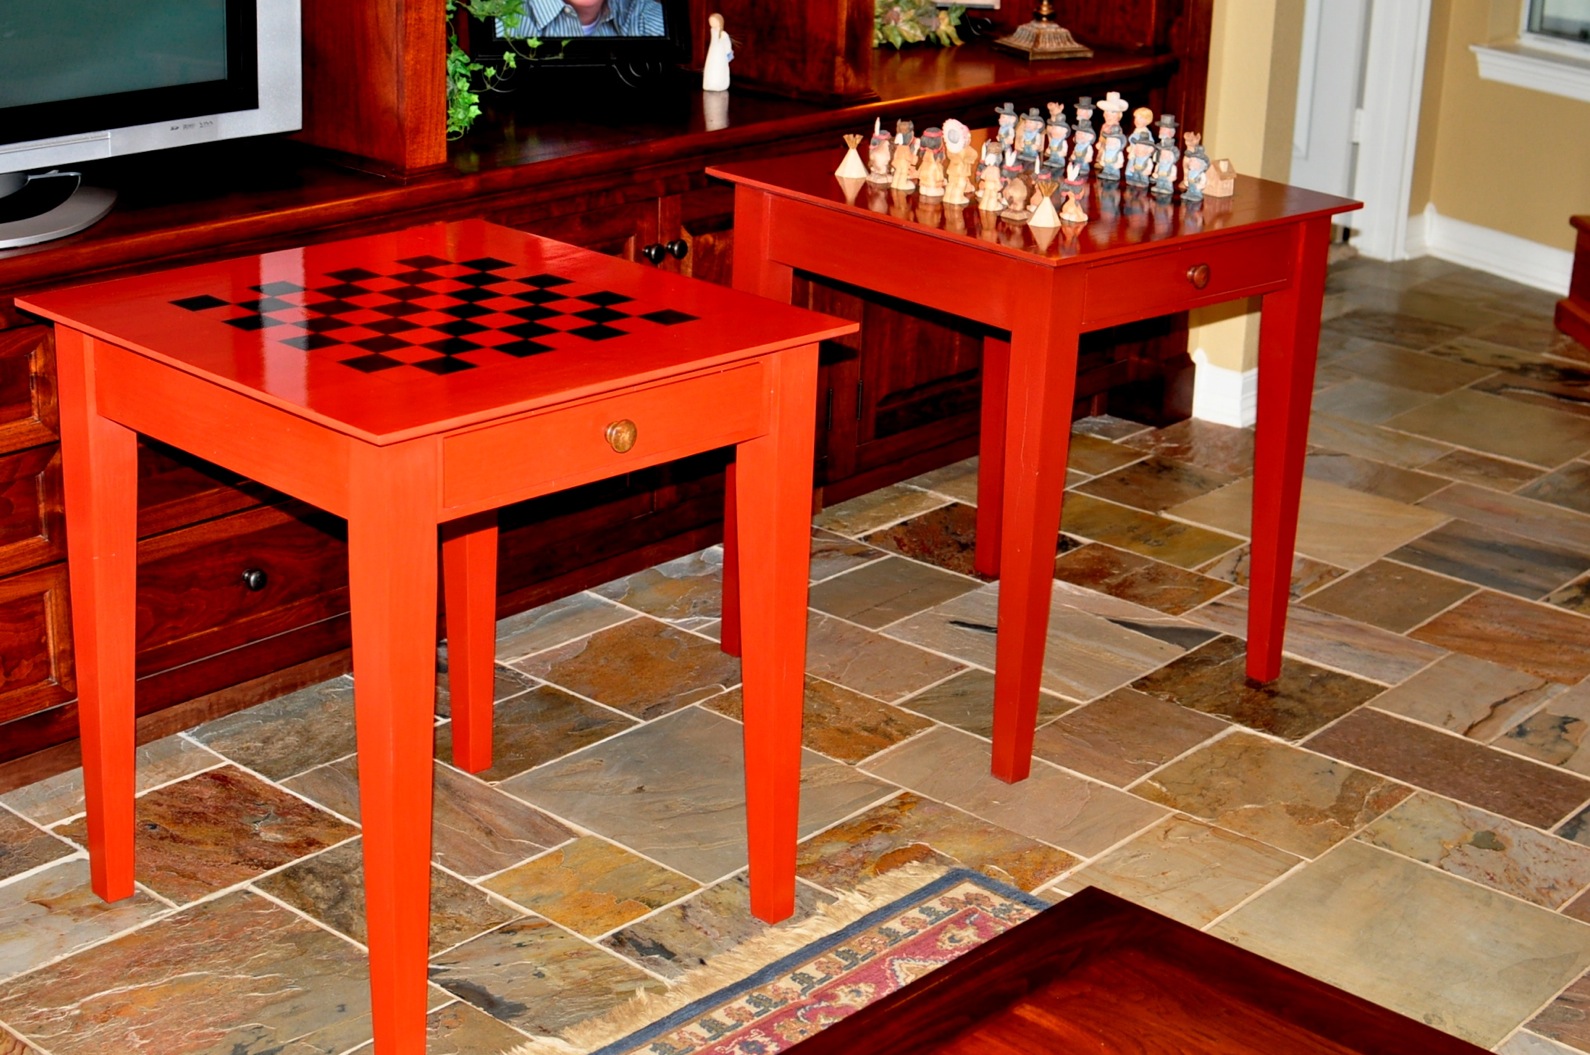
Well, the tables are finished. They'll get delivered next weekend. I ordered 4 chairs today - 2 for each table. Should be in on Wednesday. I've attached a couple photo-montages of the processes. The first is a documented screw-up... but nicely recovered via a "do-over". The second is the finishing and some final pics. In the still photo, the closest table is Salem Red, and table with the chess set is Barn Red. (The chess set is a set I commissioned several years ago from a woodcarver in Albuquerque, New Mexico - Cowboys and Indians)
Just got an order for 2 more... for the Mrs!
Thanks for looking. Todd
-
Todd
Great looking project. I havent seen that screen printing technique used on furniture before - can you give me a heads up on where I can get the screens / scraper for such a project. Love the carved chess set too - a talented carver!
-
Hi Dermot - thanks. Looks like this outfit might be able to help you with screens: http://www.millerg.ie/ and if not, perhaps they can tell you where to go.
I created the checkerboard image in SketchUp, and exported to PDF. I emailed the PDF to my screen printer, he printed it on clear film and then made the screen and stretched it over the 26" x 26" frame I made. The film, screen and squeegee came to about $150 US with tax. I used this outfit: http://www.leessupply.com/
My supplier had suggested an enamel ink to use over the milk paint, and when I said I was top coating with lacquer and the enamel would not work, he suggested a lacquer based ink. However, he said it would take several days to cure before I could topcoat. I then decided to just use black milk paint. He had never heard of using milk paint, but figured it might work. It worked great.
In reviewing my technique, I believe I should have had a lower angle when dragging the paint across, and perhaps thinned the paint a bit more too.
Todd
-
Cheers Todd
I will give them a call to see if they can help me out.
Cheers
Dermot
Advertisement


