HDRI's
-
I have a Canon t1i and it works very well for HDRI's. What I have not figured out yet is how to set up to shoot a full 360. Everywhere I keep finding online just talks about how to setup cheap 360 shots with a simple garden mirror ball. Well, I would like something more professional. So I do not know the answer to the 360 degree panorama type shot, but for hdri images, any of the canon dslr's will do the trick.
You can even use cheaper cameras that give you a manual mode, and you just have to control the shutter speed manually. The only thing you really need is the ability to shoot at different exposures.
I'd be interested if someone here has a good resource for probe (mirrored ball) shooting, or some other technique for making those great full 360 degree panos.
-
This is a good example of why I asked the question
 , because I would have thought you just used a tripod, and manually 360'd the camera, and then composed in photoshop, but your right that would not give the hemispherical probe.
So yes I'm interested in what people can add to this. -
I asked this guy what he used to make his 360 pano's.
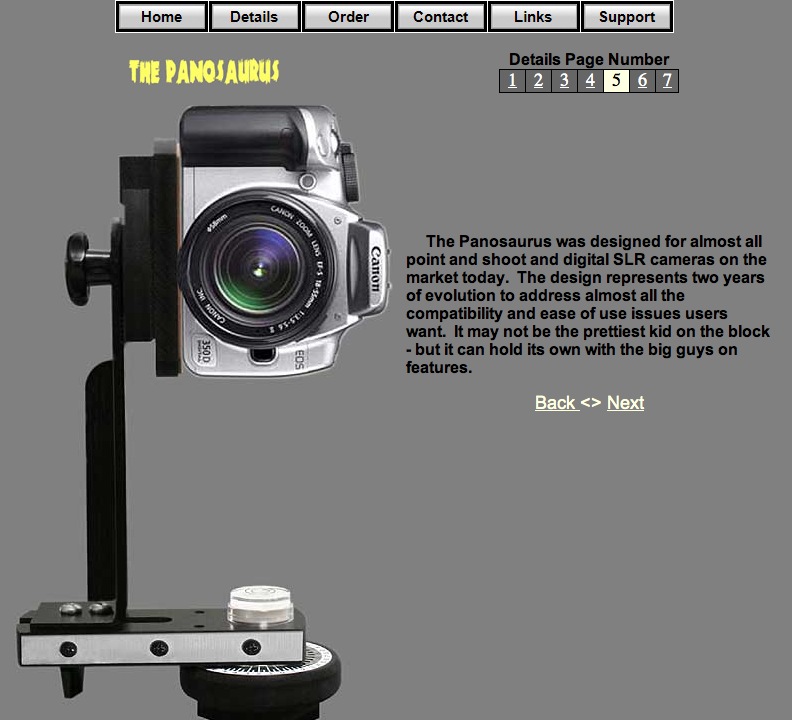
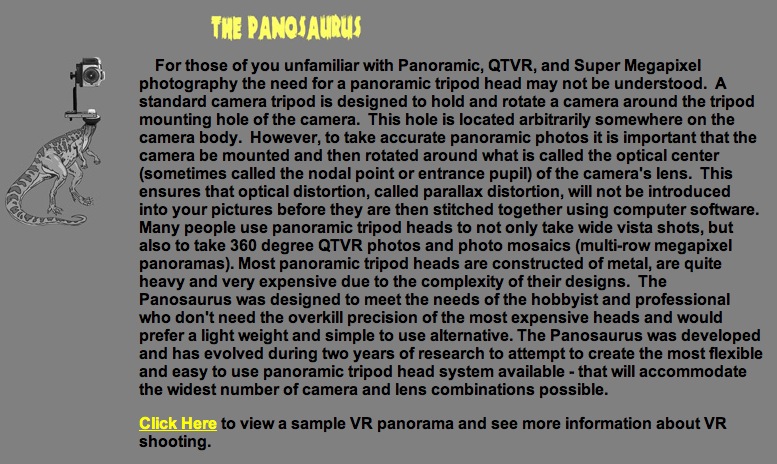
It's the 'Panosaurus' a quite affordably priced panoramic tripod head. Find it here.
It's only just expensive enough to keep me from buying it at once... -
pyroluna... Thanks 2 great links. The Panosaurus is one cool piece of equipment!
flipya... Thanks for the information. I am really quite camera illiterate, but feel like it is time to learn. especially with what is possible in conjunction with rendering software.

-
Although the link is above on pyroluna's post I'll put it here as well. For $86.00 Canadian plus $12.00 shipping this is very reasonable. http://gregwired.com/pano/Pano.htm
Really good source of information too.

-
notareal gave me a link to this site. http://www.hdrlabs.com/book/index.html
-
I don't know about the 360 panoramic images although I have seen a tutorial on it somewhere in the last months. If it wasn't here it might have been on the Twilight forums...

Like Chris said, pretty much any dSLR should serve you well. I've done HDRI's with a 350D (digital rebel XT), 5D and 1DSmkIII, and they all give satisfying results. Bracketing is a nice option and that's where a fast fps-rate really works towards preventing ghosting of clouds, foliage etc. Few tips: use a sturdy tripod, preferably weighed down with your camerabag or sandbags. Don't set the camera to spotmetering for establishing your 'middle' exposure. Shoot in Manual mode and not in Av or Tv. Avoid any alteration done by the camera's software (such as image styles or 'intelligent' exposure balancing). Shoot testimages and check your histogram, there should be no clipping on the dark side in your overexposed images, nor on the light side in your underexposed ones.
You mentioned a budget of $1K, I'm positive you will find a very decent consumermodel Nikon or Canon that will serve you just fine.
My $0.02
-
Yeah those panoramic heads are pretty sweet. That link from notareal looks like it's gonne serve you well.
I built one myself a few years back, a fun project for a rainy sunday. There's loads of blueprints and explanation to be found on the web by searching for 'DIY panoramic' or similar. Only costs a couple of bucks to make one but it does take some trial and error to get the measurements right (mainly the distance from the rig's pivot to your sensor) and even then works for one lens only. Wouldn't recommend it unless you enjoy pointless stuff like that as much as I do

Keep us posted on this, will ya?
Oh BTW, forgot to mention this. For tonemapping the HDRI's (the process of making them look like a proper image instead of a camerafailure) try Photomatix Pro as well as Photoshop's built-in tool. I've found Photomatix to give slightly better control over the details.
-
+1 on the photomatix. I like that software from the little I've played with it.
Chris
-
I'll have to look into photomatix, but isn't it a Photoshop Plugin?
-
-
@flipya said:
@dale said:
but isn't it a Photoshop Plugin?
The 'Pro Plus Bundle' comes with a plugin indeed.
Oddly enough they state 'Photoshop CS2/CS3/CS4/CS5' but when you click on requirements it says 'i.e. versions other than Photoshop CS2 or higher will not work with HDR images.'
....If you wish to create HDRI images and HDRI maps, you should use PhotoshopCS3/CS4/CS5 EXTENDED
-
I googled HDIR and the explanations I found have to do with adjusting an image's dynamic range. Some examples had to do something with using different photos of the same view to produce a usable image. Can someone explain what HDIR means in this discussion? Thanks.
-
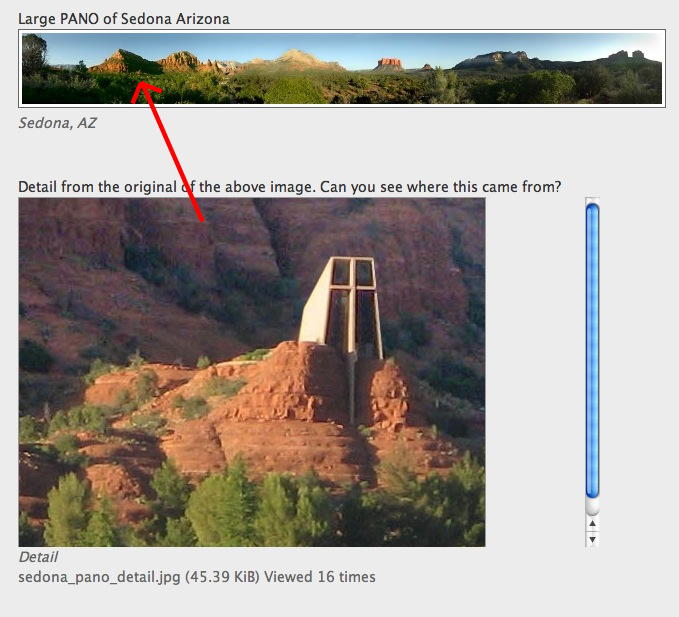
Large PANO of Sedona Arizona

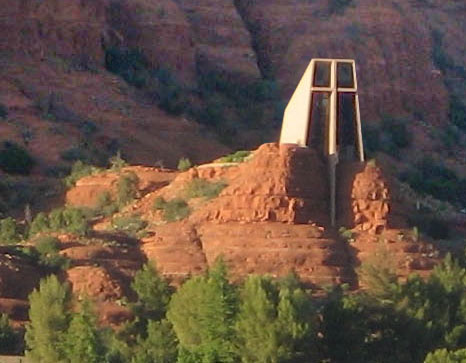
Detail from the original of the above image. Can you see where this came from?

Here is a much reduced panorama. It was shot handheld in about 15 frames and stitched with MicroSoft Image Composite Editor (MSICE)which is a free download from Microsoft. When you shoot you want to overlap each frame by about 30 percent. If you are doing HDRI with bracketed exposure, it would be better to shoot from a tripod with a precise rotator head to mike sure the frames are properly aligned.
With narrow strips like this, nodal point alignment is not a big deal. Nodal points are a bigger issue as you begin shooting above and below the horizon. The nodal point (some people say this terminology is inaccurate but I will use it now for convenience)is where the light rays seem to cross as light is inverted by the lens. The actual point can be in front of the lens in the lens or behind the lens. For an accurate image all movement of the camera between shots has to pivot around this point. The tripod screw under your camera is may not line up with the nodal point and the up and down rotation of the tripod head certainly does not. This is the reason pano heads are sold that go from $85 to $500 and $600. Without a perfectly aligned nodal point, the dog hiding behind the fireplug in one frame may reappear next to the fireplug in the next frame. This becomes a real issue in close foregrounds. Some software will try to compensate, but it will cause a quality tradeoff.
The most convenient system comes from gigapan.com. These guys are Carnegie Mellon University graduates that designed some of the robotic camera systems for the Mars rovers. There gadget is a robot cradle that will align your camera over your lenses nodal point, move the camera rapidly between exposures, and take into account the bracketing requirements of HDRI.
Gigapan images can be almost unlimited in resolution, which raises what is the use of an unlimited resolution image. Previously end use has been limited by the resolution of your screen or the printed page. However, with extremely large gigapan images you can host the image on their server and let users dynamically interact with the image. On famous picture of the Obama inauguration shows the whole capital mall with 10,000 people in attendance. However a viewer can still zoom in until you can see Joe Biden's cuff links
This is the high end. Pano heads are in the mid range bur require more work from the camera operator. You can also use low quality gimmick lenses.
However some of the low end gimmick attachments might work just fine if you are using your HDRI images as ambient lighting references and background not requiring a great deal of sharpness.
This turned into more than I intended to write, but if you have specific questions I would be glad to help.
-
Wow roger! You are clearly a pro! That is one awesome pano!
Uh... So Im guessing the detail is from the left of the original, right between that big tree and that little one? -
Yeah great info Roger!
Is the detail from the left (maybe 25% in) just under the shadow of the mountain?
-
My guess


-
Wow FireyMoon, close, but not quite. The mountain on the left has a sunny side and a shadow side. At the bottom of the shadow side and just above the tree line are a couple of reddish pixels. The inset detail comes from the area those pixels represent.
I actually was working on design of a pano head and was using SketchUp as my design tool. I was going to order extrusions from the 80/20 company to build some of the components. They offered a custom design service for special components not in the catalog. I designed a special rotating part and sent the drawing to their design department for custom manufacturing, but they said they would not take SketchUp as an input when, in fact, I had made conventional plans and elevations as well as 3D views. They go to great lengths to create comprehensive catalogs and operate a custom manufacturing department, but it is all for naught when you have to talk to someone with a lot of wax in their ears.
-
Ah Mike et al, you got there before me. Thank you.
-
They don't call me old eagle eye for nothing ..... trouble is I sometimes see to much and that can get you into trouble

Advertisement


