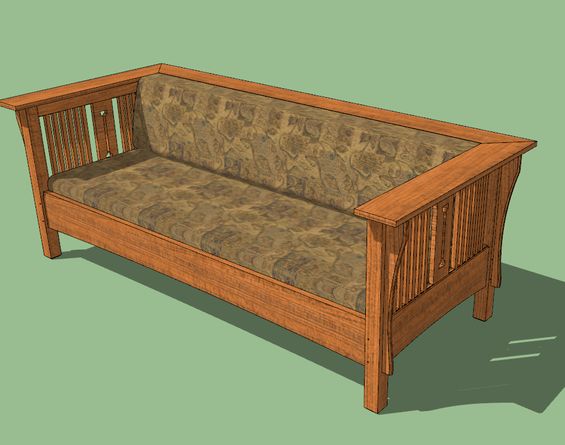
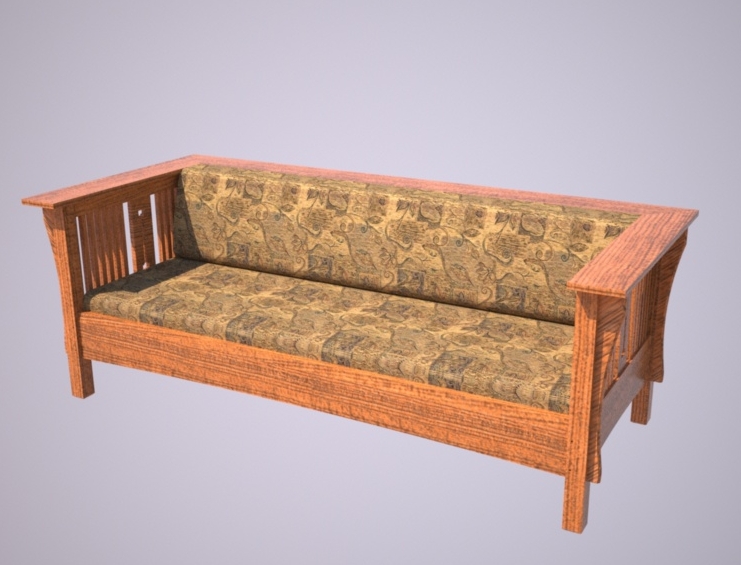
Just finished (new)
-
I had a quick look at your model before leaving for work. It's pretty nice. Here are somethings my thoughs.
First, regarding the modeling, I would delete the vertical oak texture. You don't need it and I think it is that material that is contributing to the file size.
Construction:
As I said before, the sides of the plate rack should be thinner. No more than 25mm thick. Take it off both sides so you don't have to change the position of the upright nor the sockets for the tenons.
The tenons on the skirting board should continue farther down. As it is, the little detail things at the bottom of the skirting will easily get broken off. Those details at the bottom of the skirting boards would likely be separate pieces from the skirting that would be added on. They might be joined to the leg with a dowel while glue would be plenty strong for the joint between the skirting and the detail piece.
I wouldn't use biscuits to join the lower blade, the piece that runs under the drawers to the legs. Biscuits are good for alignment but add little strength to a joint. Mortise and tenon joints would be better. Or even loose tenons would work well. The top blade--the piece above the drawers should be joined to the legs with dovetails. This would improve the strength of the assembly. Consider someone accidentally kicking a leg from the side. The end of the lower blade acts as a fulcrum. That kick has a lot of mechanical advantage to pull the joint apart at the top. A dovetail would resist that better.
I wouldn't use biscuits at the back edge of the table top. Seasonal changes in humidity will cause the top to expand and contract. Most of that movement will be across the grain. Restraining the top with the biscuits may make the top warp and it would likely work on the joints between the rear legs and the side skirting and eventually break those joints. A better way to attach the top would be to screw it down through the drawer kickers. A screw midway back in a hole, one toward the front and one toward the back through short slots in the kickers. Use flat head screws in countersinks to avoid fouling the drawers.
I don't recall how the drawer dividers were attached to the blades but they need to be attached. Mortise and tenons, dowels or loose tenons would work fine.
The back end of the drawer sides should not have the half socket for the dovetail joint. The lower back corner should either be square or there should be a slight bevel which would make it easier to insert the drawer into its opening. Traditionally, the lowest pin on the drawer back would be a half-pin as in any other dovetail joint. This means that the lowest socket is immediately adjacent to the groove you plowed for the drawer bottom. the bottom edge of the socket is thus horizontal instead of angled.
You did good making the drawer with a slide in bottom. Add a slot in the center of the back edge for a screw into the bottom of the drawer back and you're all set. The slot can be open out the back and allows the bottom to expand and contract. I forgot to look at grain orientation on the drawer bottoms but it should run the same direction as the top so that when it expands with increased humidity, it'll expand out the back. If the grain is turned 90Β°, the bottom will try to force the drawer sides apart. This could make the drawers stick in their openings or possibly break the joints and cause the drawers to fall apart.
Of course until someone comes up with a humidity plugin for SketchUp, you don't need to worry one bit about expansion and contraction. You wouldn't need to worry about this stuff unless someone is going to build it in wood.
From a design standpoint, I would be inclined to carry that detail from the bottom of the skirting up onto the uprights for the plate rack.
Keep up the good work. You do nice work.
-
Thanks - very helpful for a newbie like me!! Is this what You mean for the drawer?
-
One more - I made the drawer with the Dovetails Drawer plugin and maybe we should call the author for this "half pin" adjustment.
-
That's better. Turn the grain on the drawer bottom 90Β°, and make the bevel slightly longer though. The bottom pin on the back should be a half pin and right on the bottom edge. I've got several models at home that show that. I'll see if I can post an image.
As to the plugin, I don't think there's any need to change it. You don't want to make that change to the front ones. It would be easy enough to modify the lines from the plugin before running Push/Pull.
-
I had a few minutes at lunch so I banged out this example for you.
Notice how the horizontal edge of the lowest socket on the drawer side intersects the groove for the drawer bottom.
-
I see - thanks. I think we are talking about different plugins - the one that I used creates the whole drawer at once.
-
Oh, I see. I found that plugin to be more work than just drawing the drawers by hand. I thought you were referring to the dovetail plugin I mentioned in another thread.
-
I gonna check it out. I started a new project - this time in inches
-
Looks like a good one. I did a similar one awhile back. It doesn't have the spindles in the rails at the ends, though.
-
Dave you seem to have an example model "you did awhile back" for almost everything!
-
I use this projects as way to master SketchUp and learn woodworking. In my country the MDF and melamine are all over the place - it is getting boring. And the old masters are fading away
-
These are the legs - never seen like this before!
-
Gai, you're right. The problem is remembering that I've already drawn them.
Dedmin, it is unfortunate that furniture and cabinetry have gone that way. I suppose it is mostly a cost issue. It's cheaper to use "termite poop" and plastic. Unfortunately, as you say, the masters are disappearing. You should get into woodworking (real not virtual) and revive the art of woodworking there.
Those legs are sometimes done to get quarter sawn faces on all sides. I think there's an easier way that only requires three pieces of wood. For that matter, I prefer a couple of plain sawn faces since it is impoosible to have four quarter sawn faces naturally anyway.
-
Yes - it is more manufacturable and technological! And the time - people wants everything now! But we are still waiting to see 250 years old MDF cabinet!
Here is a Bulgarian house from 19 century
http://liternet.bg/publish9/mkoeva/teoria/dom.htm -
There are 2 dovetail plugins from this guy. The second one gives you more control but it is in french only.
-
Yes, I think someone translated it, though. I have an English version of it. It puts the dovetails on the blue axis starting at the origin and outside a component even if it is open for editing.
My drawing process doesn't require that I know things like the width and height of the drawers before I draw them because I draw the parts in place and draw them to fit the opening. I edit the components after they are all in place to add the joinery and other details. Drawers are never at the global origin in my models because there's always some other structure, a case or table frame which has its lower, front, left corner at the origin. That dovetail plugin isn't really a time saver for me because I would have to either move the dovetail layout it draws or copy/cut and paste it into place to modify the drawers.
That's just my method of work, though. Everyone has a different way and that's what makes SketchUp so cool. You can arrive at the same point down different paths.
-
Excellent
-
Thanks. Time to start a new one
-
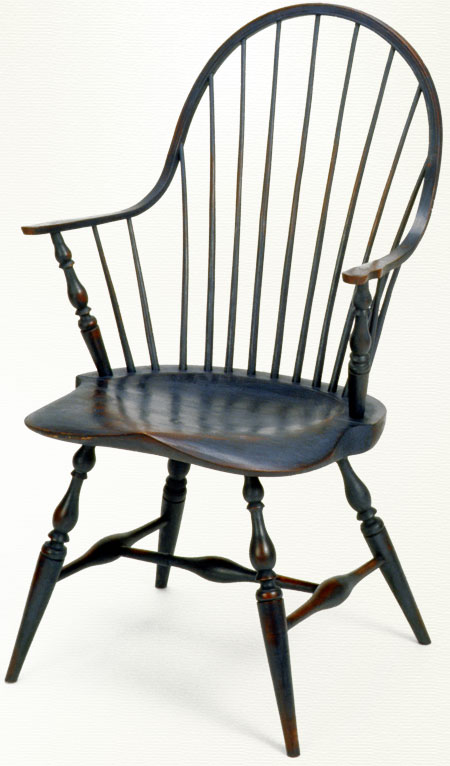
How about a Windsor chair?
-
Here we go:
Advertisement