Applying an image texture to several faces - beware:new user
-
Hello! I'm a new SketchUp user, and I'm using it in a little design studio in Spain. In fact, right now we'll be using it only to do mockups for some conference and fair stands. So far so good, but I've run into trouble when trying to use an image as a texture for a curve shape. I want the image to be the texture for a shape with several faces, only one image, and not to be repeated in every face. Can this be achieved? How?
PS Thanks all, I've been lurking for a while, and it's certainly a friendly place

-
Hi Sergio,
First of all, you need to make sure that the texture is scaled correctly. To do so, you may want to make a single face first - whose size is the same as the size of your curved surface and apply the texture on that first - this will give you the possibility to scale it to your needs upon import.
When you finished,
- turn on hidden geometry (View menu) this will reveal the softened facets of the curved surface
- apply the already scaled image on ona facet of the curved surface
- right click > choose item "Texture" from the context menu > Position
- do nothing but hit Enter
- now sample the positioned texture with the Paint bucket too while holding the Alt key down
- turn off hidden geometry
- apply the texture on the curved surface
This will work "best" only on surfaces which do not curve in all 3D just in one direction (like a cylinder for instance) of course. Here is an example I made for exactly this issue:
http://sketchup.google.com/3dwarehouse/details?mid=672e39e6eed2aab4f5e0eb0152f85f19
-
Hello and welcome!
I think there are many similar threads on the forums and many more competent people to clarify this, but check http://www.youtube.com/watch?v=HHsRRLCAOm8 for some explanation regarding applying textures on curved surfaces (if that is the problem ) -
Thanks all, that was fast!!
I checked all the list you so kindly assembled, Gaieus, to no avail... And then I discovered the problem. I reproduced the situation with a cylinder, having no problems, but, when I tried an irregular object, composed of several arcs and straight sides that's when I run into trouble. I spotted the difference between the two when I toggled Hidden Geometry on and off. The edges that cause me trouble are the "hard" ones, those that come as a solid, non-dotted line when in Show Hidden Geometry mode.I hope I made myself clear. So, now, is there any way to push/pull a complex object, formed of several arcs or straight edges so that the extruded surface is "one curved surface" and not a lot of faces? Thanks again, in advance
-
Seriously, if I had noticed that this was answered already, I wouldn´t risk playing a wise guy here.
I don˙t really understand what you mean. How about uploading a picture or a model so we both can learn something? -
there is a plugin called jointpushpull that will let you pull curved faces.
http://forums.sketchucation.com/viewtopic.php?f=180&t=6708&st=0&sk=t&sd=a&hilit=joint -
@zhenghe said:
...The edges that cause me trouble are the "hard" ones, those that come as a solid, non-dotted line when in Show Hidden Geometry mode...
You can always soften any edge by first teriple clicking on ("raw" or "loose" geometry - thus selecting all of it) or by "simple" clicking on groups/components and then Right click > Soften/smooth edges > and by adjusting the slider in the dialog, get those "hard edges" disappear.
Also, use the Eraser tool with the Ctrl key to soften edges (like with the Shift key to "simply" hide them)
-
@unknownuser said:
Also, use the Eraser tool with the Ctrl key to soften edges (like with the Shift key to "simply" hide them)
i always forget about that, need a SU tattoo on my arm with all the tricks

-
-
it also tells you the modifier keys in the status bar when a tool is selected, after a while you forget to look though.

-
Yes, exactly.

-
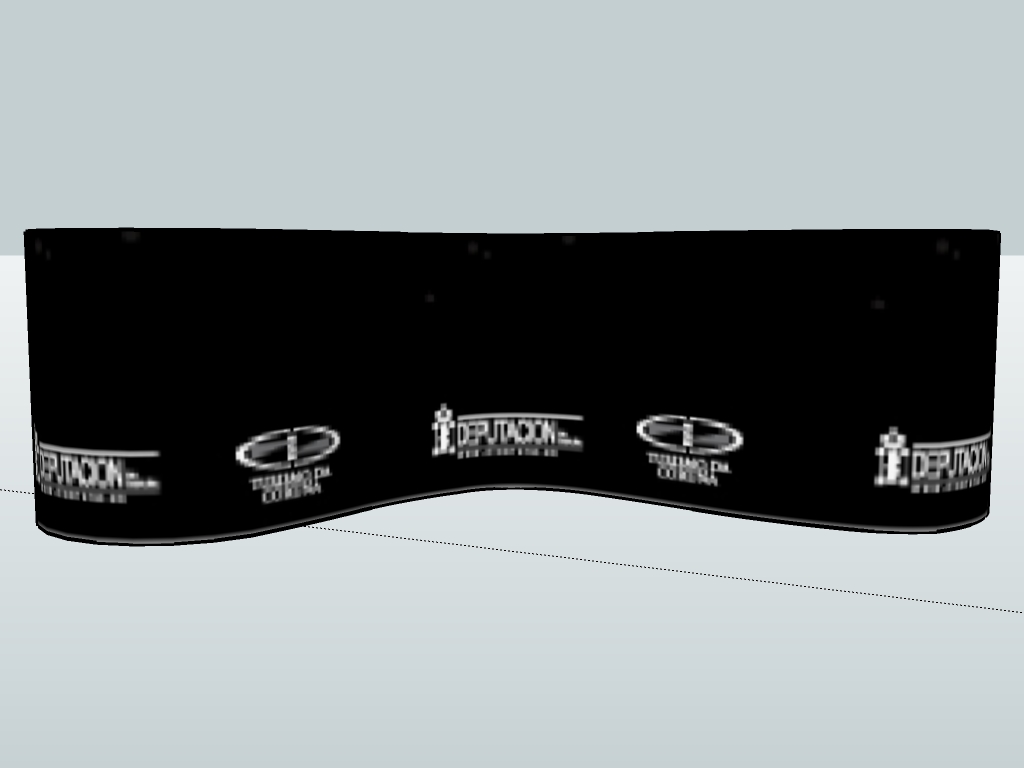
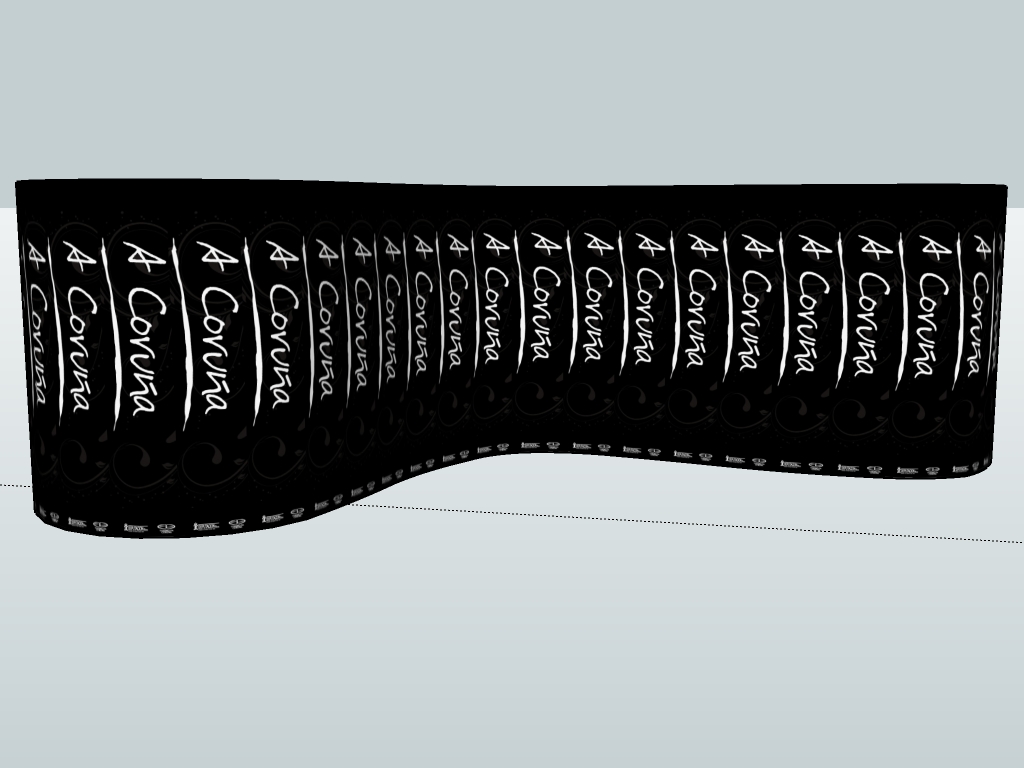
Sorry for the delay, been with other things at work... I'm afraid I'm stuck with the same trouble, even now I'm done with hard edges and only have smooth ones. I thought I better attach the example of where I'm now. I have a curved surface but I cannot apply the texture image in one piece. Any thoughts on what the problem may be? I promise I applied the steps several times in the correct order...

-
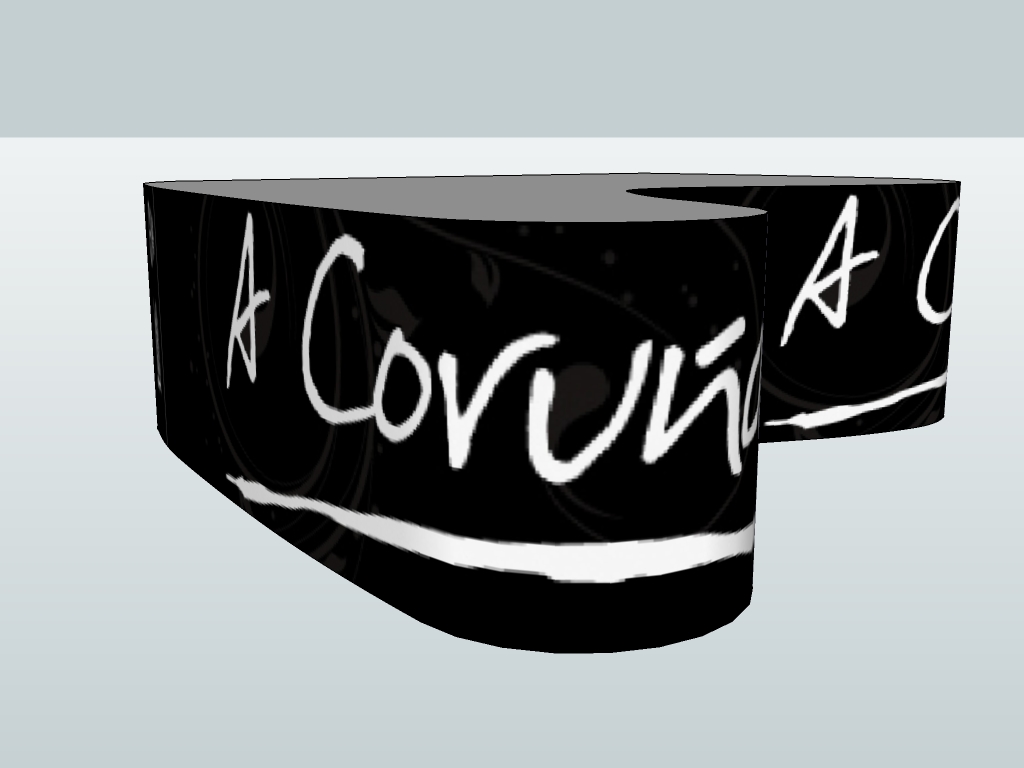
Is this how you would like it to look?
If so, I did the positioning exactly like described above (stating at one end of the curve)

Note that the image is not the best quality/resolution...
-
Thanks, but in fact, it's the other way around... It's vynil sticked on a plastic surface all along. The problem is that now I cannot edit the "global" texture orientation. How did you did it?
-
This way then?

(It's kind of hard to keep guessing...)Note that you always have to start with scaling your imported image for further use.
-
No, thanks a lot for the trouble you're getting in to, but it's not that way. I think the image is scaled allright. It's an image of 250 x 49 cm, that runs all along the curved surface. The motto "A Coruña", should be read only once, in horizontal, if you orbited around the element. I hope I made myself clear (my English is quite limited, too, I think it shows) this time. Please ask me to go into any further clarifications if needed. Thanks again
-
That surface is lomger than the image just running along once (unless you distort it considerably)
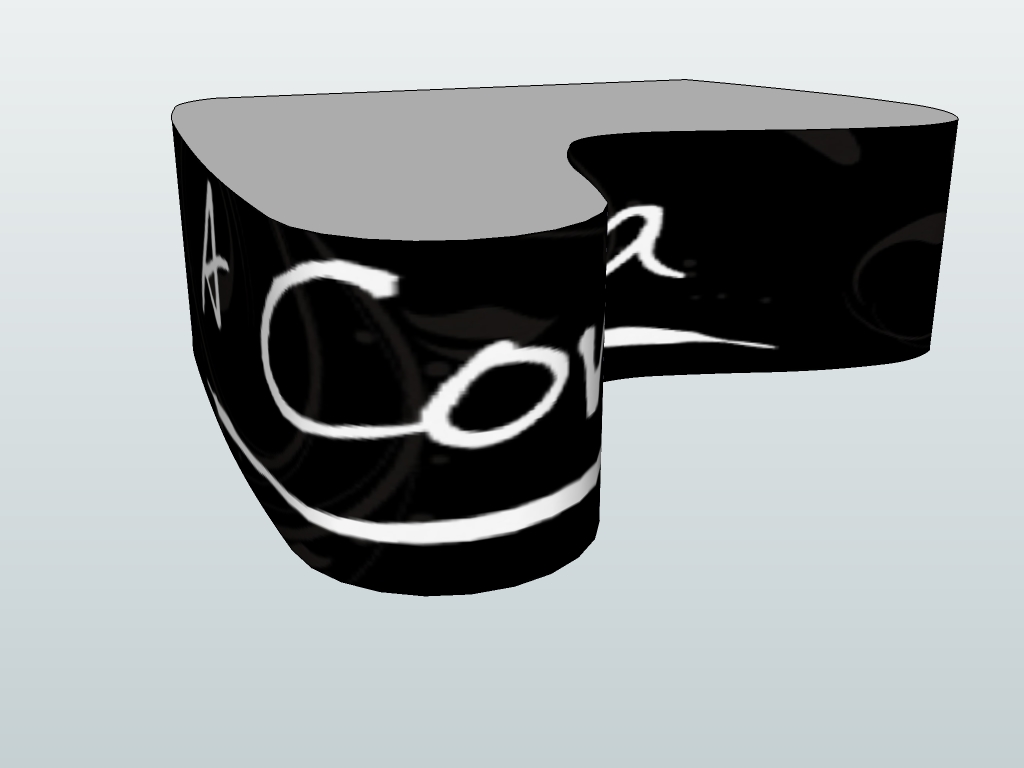
Here is one where it is horizontal:

The length of that curved surface is 2372 mm while the height is 271. So what I did now was that I made a single plane with the exact dimensions like this, positioned the texture onto it so that it fits on it exactly (and doesn't repeat)Now made this texture unique (right click menu again) and then appled it to the curved surface. Here is the result:

And the skippy (if you don't use the original texture any more, you'd better delete it from the model so that it won't affect file size)

-
OK Gaieus, I am obviously DUMBthumb, but could you please tell me the difference between what you´ve been so patiently doing here and this http://www.youtube.com/watch?v=HHsRRLCAOm8 ?
It´s not that I am pretending to be smart, I just don´t fully understand this. -
In that video, Aidan is "projecting" an image on that curved surface while I "wrapped" it around.
The difference is mainly obvious in the result when you need to get the image around a very curvy surface as the projection method he uses there will distort the image when you get to the "side" of the surface (where the surface is already kind of parallel with the direction of the projection). In this case you need to wrap the image around rather than project it.
Read about the differences at the bottom(ish) of this SU Guide article (this is the Windows verion but it's essentially the same with both versions):
http://download.sketchup.com/sketchuphelp/gsu6_win/Content/D-Modification_Tools/ModTool-PositionTexture.htm -
OK, thanks for the explanation.
Advertisement


