Couple of small cabin projects
-
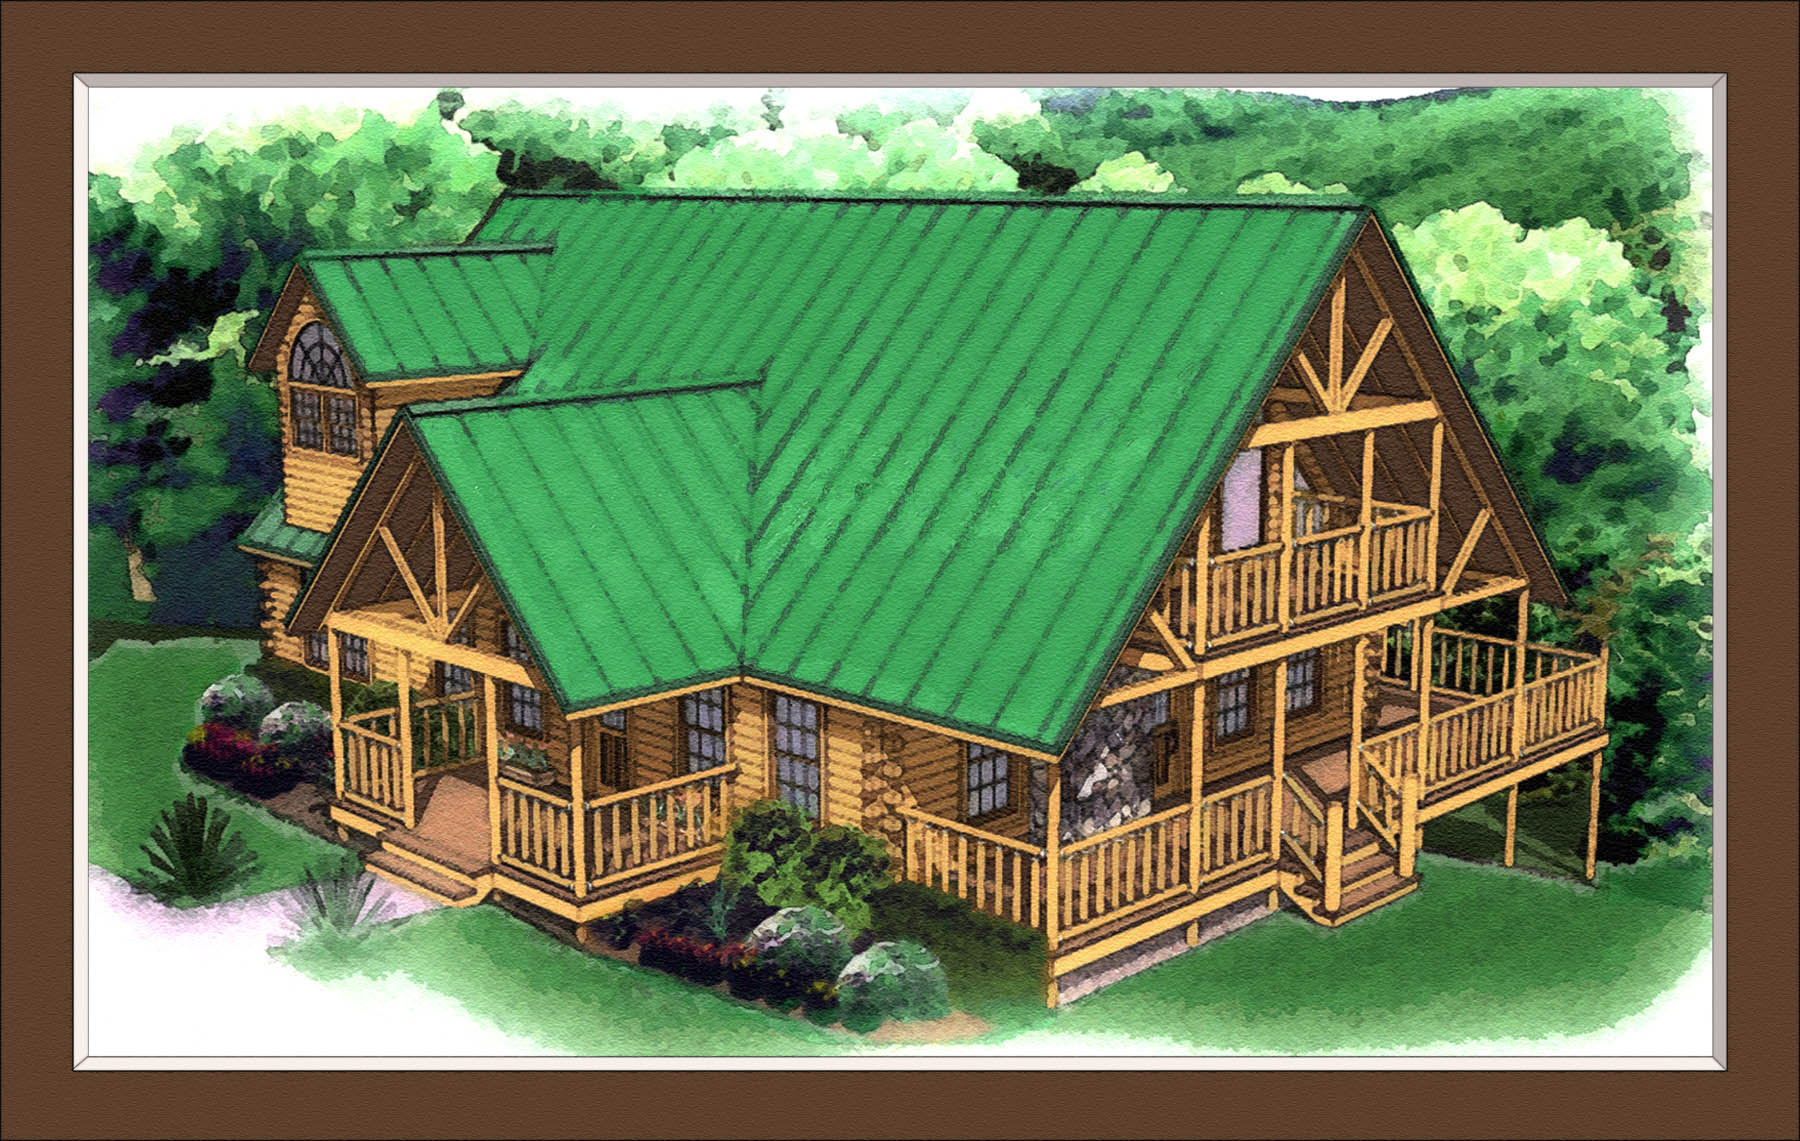
re-did the grass a bit and toned down colors. looks a little better.
jb
-
looks real good. do you use a pen and tablet?
-
allright i think i messed with it enough. hope you like it.
no pen and tablet - just my duct taped 2 button scroll mouse.
this may seem complicated - but it is not. it is a lot easier than how i used to do it. should only take about ten to fifteen minutes once you have the hang of it.
i opened up your rendering in photoshop 4.0(haven't upgraded in years)and resized it to 24" wide leaving the height and resolution the same. duplicated the layer twice so i had three of the same in case i screw up (which happens a lot). you should have three layers of the same picture. apply virtual painter plug-in filter - color pencil set to master with everything else set to subtle, follow that with 2 passes of the virtual painter plug-in filter - watercolor set to screen with everything set to subtle to the top layer (3rd) of the layers just duplicated. adjust opacity to allow detail of the 2nd layer through (this keeps detail intact on house otherwise looks blurry). adjust saturation as necessary so doesn't look to bright. link 3rd and 2nd layer together then merge linked layers. now you should have just 2 layers, the filtered one you just created and the original. from here on out i mostly concentrate on the vegetation and the big color areas like the roof and grass, messing with the house generally leads to, well, a mess - so i leave it alone until the end. i use the magic wand to choose areas from the original and copy them to a new layer. on the new layer i apply the filters in the same order as above - 1 color pencil and then 2 watercolors. i then adjust opacity and saturation/hue of this layer until it looks good. then link it will layer 2 and merge. repeat this over and over for different areas of the drawing all the while using the original to select the areas you want to filter. this technique should be giving you the classic watercolor-bleeding-wet-edge-look and imperfections that are characteristic of watercolor paintings. once you've worked over the drawing (and you've finished a 6 pack) it should be looking pretty good. then duplicate layer 2 and apply the standard photoshop water color filter set to brush detail at 9, shadow intensity at 0, and texture to 1 to layer 3. again adjust opacity and saturation/hue until looks good, link 2 and 3 and merge (that sounded a little bit like an aerobics instructor - link 2 and 3 and merge). anywho, at this point you can go back over areas using the same technique that might need work until it looks good. once it is to your liking use the texturizer set to sandstone on a 56% scale and 2 relief. this will give it a nice watercolor paper texture.
well now that i have throughly confused you, i hope this gives you some ideas at least that maybe you haven't tried before. it is working well for me and is saving me a bunch of time. you can also mix in a sketchUp extended or sketchy line style by multiplying it over the original for a more sketched-first-then-watercolored look.
let me know if you have questions.
jb

-
A really nice collaboration guys! The original model...wow! I love that kind of home and the details are great! Then the Photoshop work really ended up nice. The intermediate pics were muddy, but you really brought the depth and the detail back, giving it a stylized 3D look! Beautiful!
Nice job recounting the steps too! That's one of the skills that is a necessity in my line of work too!
Great to see this kind of online collaboration! Really cool!
Cheers,
-
Hi Canoek
Beautiful job. Thanks for passing on your methods of achieving such a wonderful result. I have not started anything like this yet so have saved your text in my 'how to do' folder for future reference.
Thanks
Alan -
 thanks canoek for taking the time to write and share your process! i will give this a shot this weekend and see how it turns out.
thanks again.
-
i look forward to seeing it. let me know if i can help.
jb
-
Thanks jb for the tut, I shall give it a try later, hopefully before the first few beers!
Dylan
-
modelhead, please post some of your results. i would really like to see what you've been working on. i tried the same technique on one of eric's models - here's the link http://www.sketchucation.com/forums/scf/viewtopic.php?p=32626#p32626
thx,
jb -
jb,
been watching this thread with great interest (but haven't had time to play
I did download VP5 a few minutes ago (longer I guess since I used up my free trial already) and really like what it does...might just buy it and an edger/outliner I've had my eyes on.
Thanks and more please, Tom.
Hello! It looks like you're interested in this conversation, but you don't have an account yet.
Getting fed up of having to scroll through the same posts each visit? When you register for an account, you'll always come back to exactly where you were before, and choose to be notified of new replies (either via email, or push notification). You'll also be able to save bookmarks and upvote posts to show your appreciation to other community members.
With your input, this post could be even better 💗
Register Login


Advertisement