Exterior : vizdepot model [update page 3]
-
Fantastic stuff Chris...

-
Thanks Sid

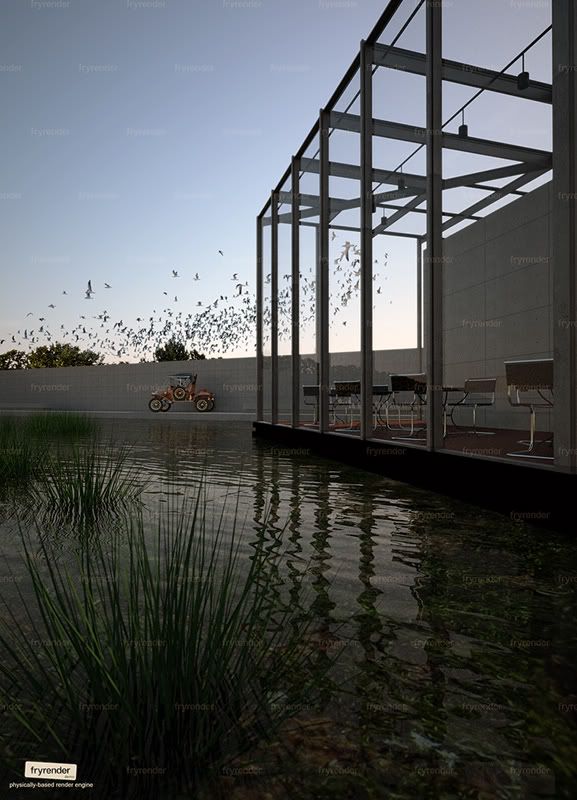
Another Fry image. Less focus on the car. Bloom added in Pshop:
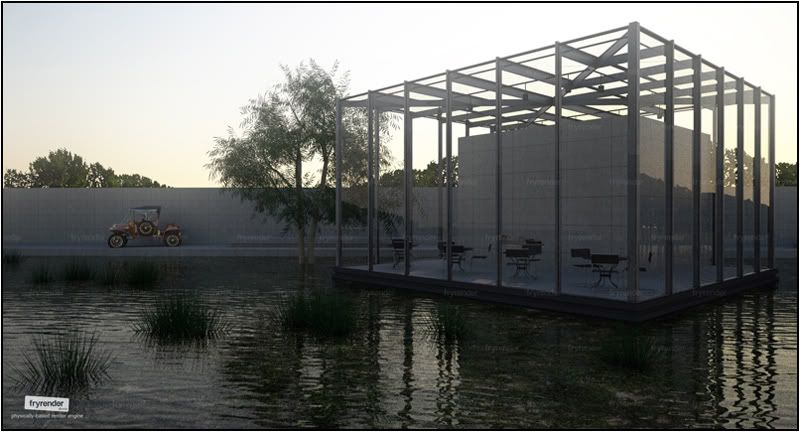
I can't get rid of the watermarks as the Fry license is installed on my desktop and not on the laptop I use to make these images .
R-time 1 hour.
-
Looks good again...
I did take a look at fryrender, but shure it's verry different than podium what a settings.
my first try was a nightscene totaly black
so have to read the manual... -
Thanks.
@Alexander: You are right. It's not an easy app to control.
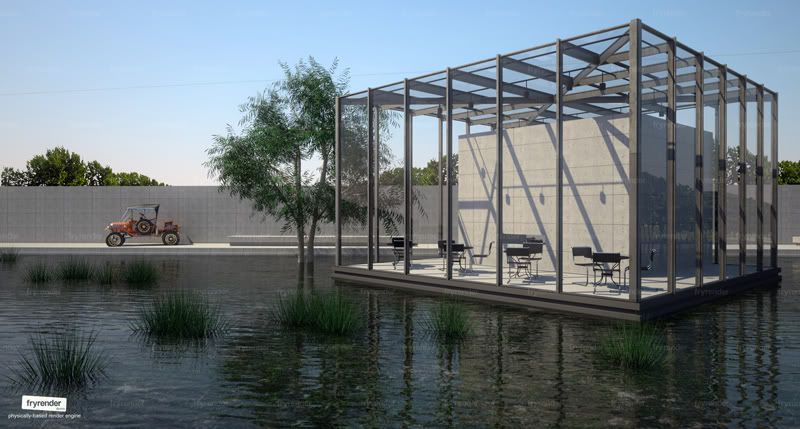
Same view, different time of day:
-
My attention went back to the car.....

-
Boy Biebel.
verrrryyyyyyyyyyyyy nice -
Thanks alexander

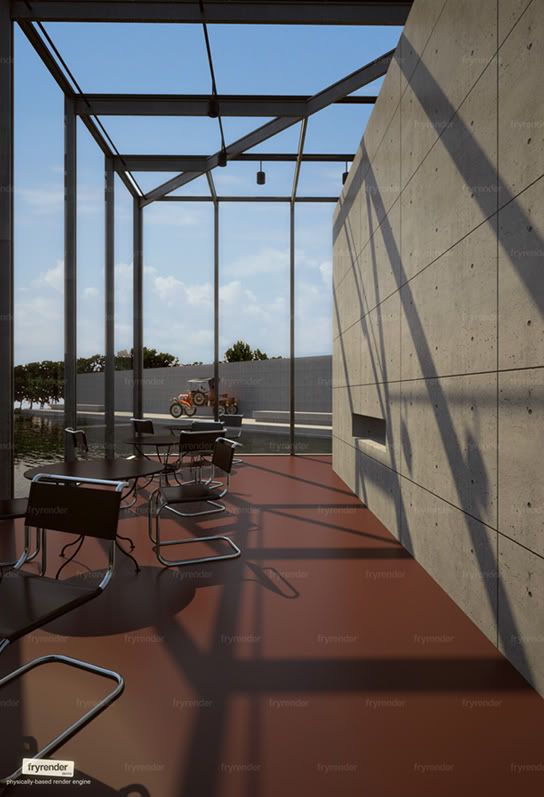
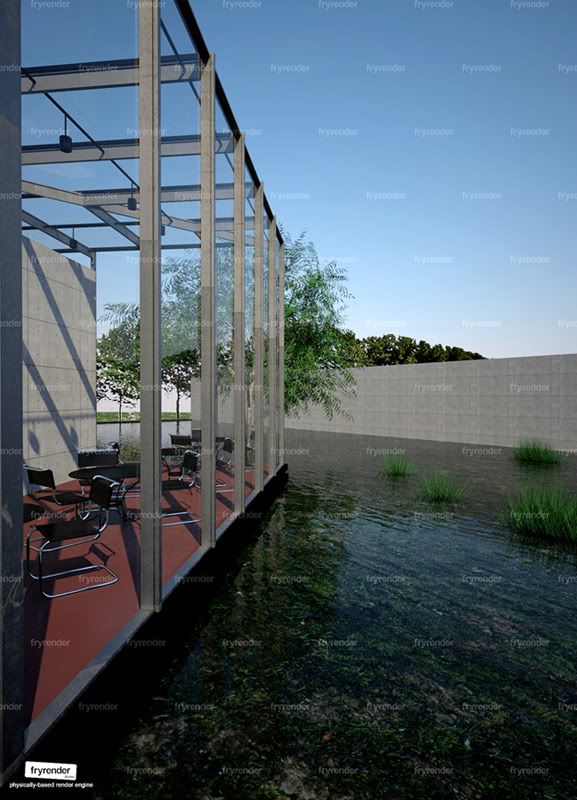
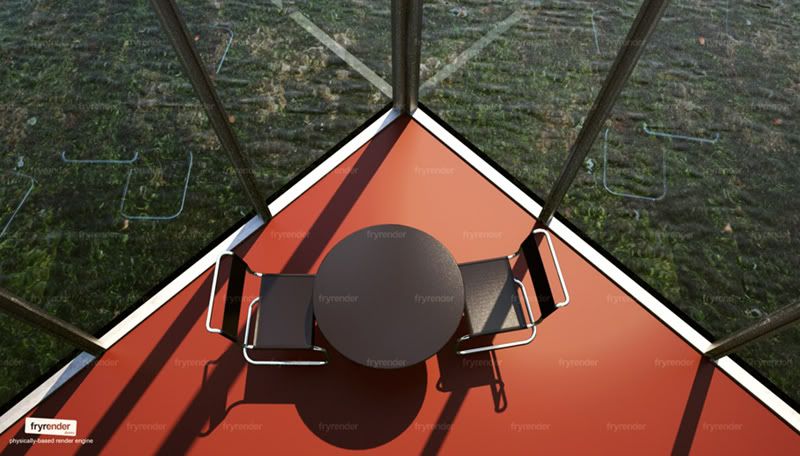
An interior tryout...The furniture needs to be re-arranged though
-
-
Still having fun
 :
:
-
Kwist,
Looking amazing, that water is fantastic- it's not so much the reflection that makes it, but the refraction of the lake bed.... absolutely beautiful. How did you create the wave bump map or was the material bundled with Fry?
-
Hi Jackson,
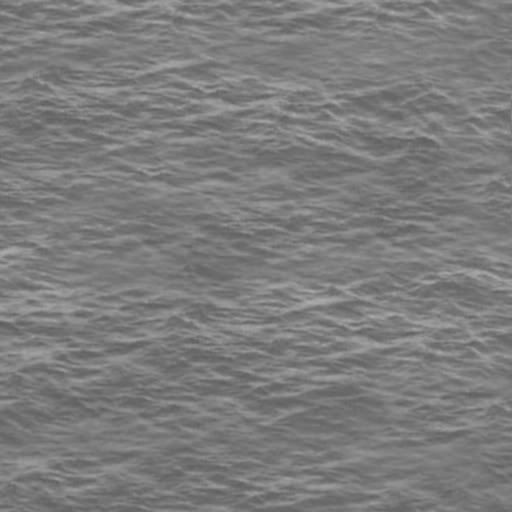
It's a simple low-res bumpmap on the default Fry water preset material which is basically a ghost glass (AGS) I guess.
Here is the bump map I used (works as well with all different render engines):
-
Thanks very much for posting that, very generous, can't wait to try this out. As a relative newbie to "standard" render progs (I'm a bit of an old hand at Vue, but it's material editor is very much self-contained including a bump map generator (which doesn't export
 )) one of the things I struggle with is creating and finding seamless bump maps. Obviously wood floors, tiles, bricks, etc are pretty easy to desaturate and edit in Photoshop, but I'm a bit stuck on how to produce waves, ripples, window deflection bump maps, grass, etc. Any tips re: bump maps? Sorry for picking your brains like this, but most VRay forums I've seen are predominately concerned with render settings (which perversely I find reasonably easy in VRay) and not so much with materials.
Thanks in advance,
-
Amazing images,thanks for sharing.
-
Thanks Mateo and Modelhead.
-
Last one.....I am done with this scene.
Thanks for watching.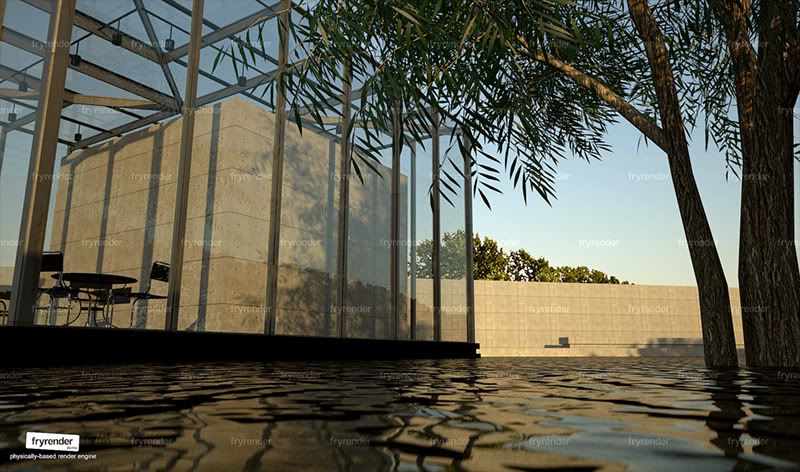
-
And I will be first of the last to comment. Amazing renders. The Fryrender really loves you, no doubt. Beautiful images.
-
Thank you Sid...Your comments are always appreciated

-
wonderfull..
i thought i almost saw some fish swimming in the water.
looks good biebel, can you show more how you did it ??? -
@alexander said:
looks good biebel, can you show more how you did it ???
Thanks Alexander.
That's a difficult question to answer.Basically I use Fryrender in following steps:
- open the Fry toolbar
- select the SU material (in SU material browser) and click on the 'paint bucket' button of Fry toolbar to start editing the material...From now on a corresponding Fry material is created.
- push the 'A' button (fry toolbar) and click on the viewport to set the cameras focus point.
- push the 'environment' button (fry toolbar) to setup the sky and sun. Beware that the sun does not match the SU sun so you need to experiment.
- push the 'camera' button (the left one) to setup your camera settings. For exteriors I mostly use following settings: iso 200, shutterspeed 1/250, fstop 12
- push 'render settings' to setup the image width/height
- 'export as 3d' in file menu to render. Most of the time I uncheck 'export all cameras' as it often causes a crash. See to it that 'export all geometry' is checked.
About the water: there are 2 planes: 1 water plane which is basically a (ghost) glass material with a water bump applied and 1 surface below that (app. 50 cm) containg a moss texture I downloaded from http://www.cgtextures.com.
Cheers,
Kwistenbiebel -
biebel, i notice you render using fryrender. what was your workflow from skp file to fryrender.
Advertisement


