Bunk Beds by Amateur Woodworker / Amateur Sketch Up User
-
Hi there folks,
I was so excited to find the woodworking group. I have enjoyed seeing your posts and seeing your models I have much to learn from so many experienced folks.
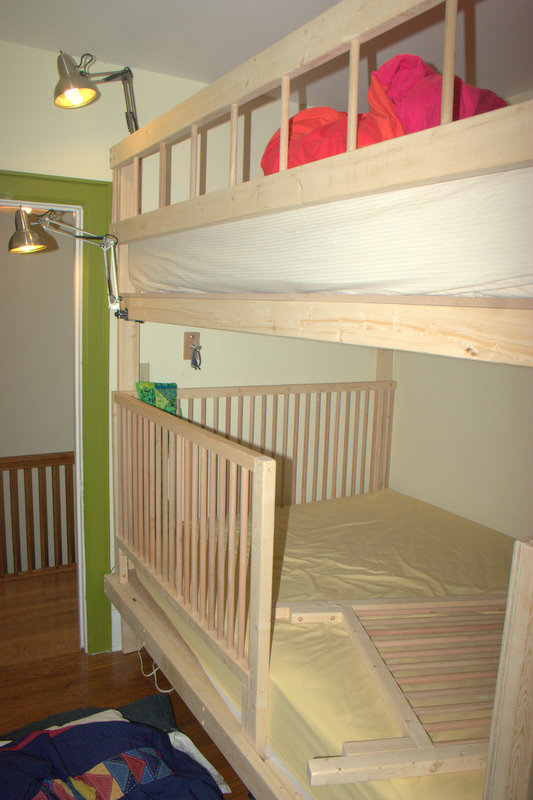
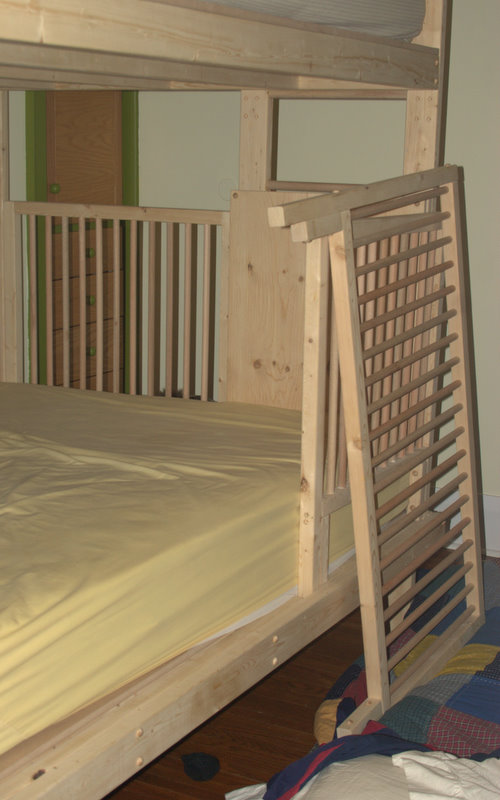
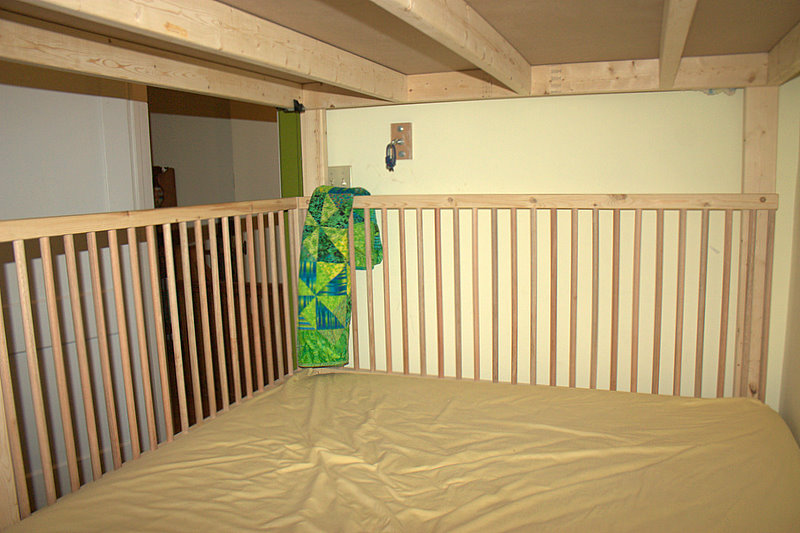
I have been using SketchUp to help in designing a couple of projects around the house. I just built a set of Queen Sized Bunk Beds for my kids. The bottom bunk is going to double as a crib for my 1 year old son. I built it so I could remove the side rails of the crib just in case I need to find somewhere else to sleep for the night

I wish that I had found this group earlier because I am sure I could have benefited from the expertise here.
I saw CutList 4.0 mentioned as a useful plugin and think this would have been useful in the purchasing stage. I have installed it but it seems my work flow in designing my model doesn't really work well with how I have created my model. I would like to go back and play with this so I can get my mind around it for future projects. If anyone wants to give me a hand I would appreciate it.Kids Room with Bunk Bed
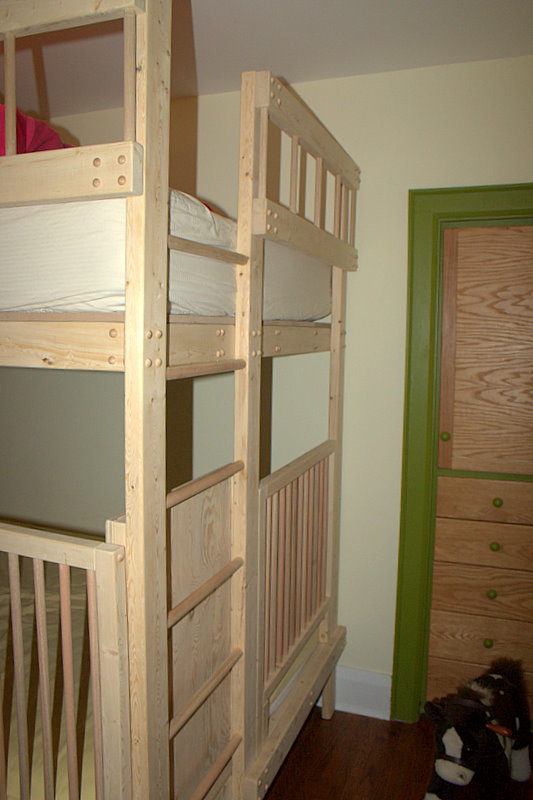
I built it out of Spruce that I gave lots of love to with the Ryobi 1/4 sheet sander that was on special at the Home Despot, with 5/8 mdf for the sheet material. I blew the budget on the hardwood dowel for the crib sides, I think it came in around $300. The plan is that if one of the kids eventually ends up in this room by themselves is to transform this into a loft bed by removing the bottom bunk. This was built in a weekend with a borrowed chop saw, my neighbours shop smith (drill press and table saw)the sander and a drill (throw in some clamps and a little glue too).
I would appreciate any constructive feedback and would love to hear about your SketchUp work flow specifically for woodworking.
I am ignorant about rendering if anyone wants to help point me in a direction that I can use on a PC with Vista and preferably for free I would love to hear about options.
Here are some pics of the model below...
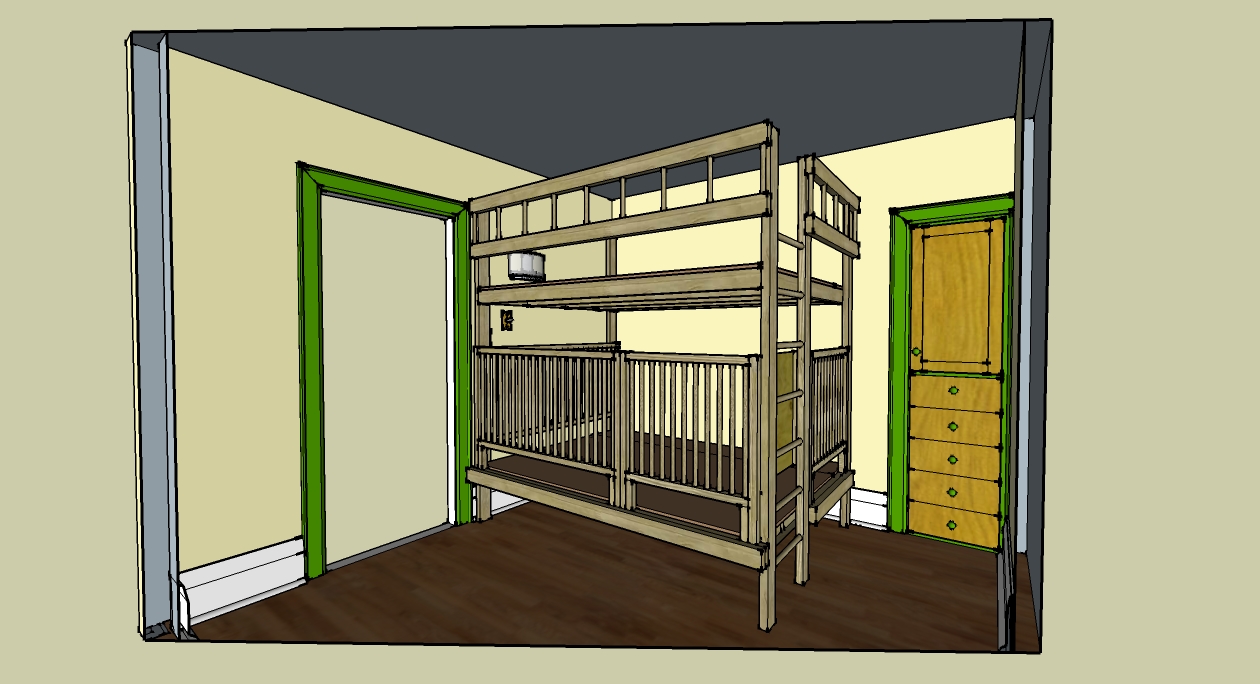
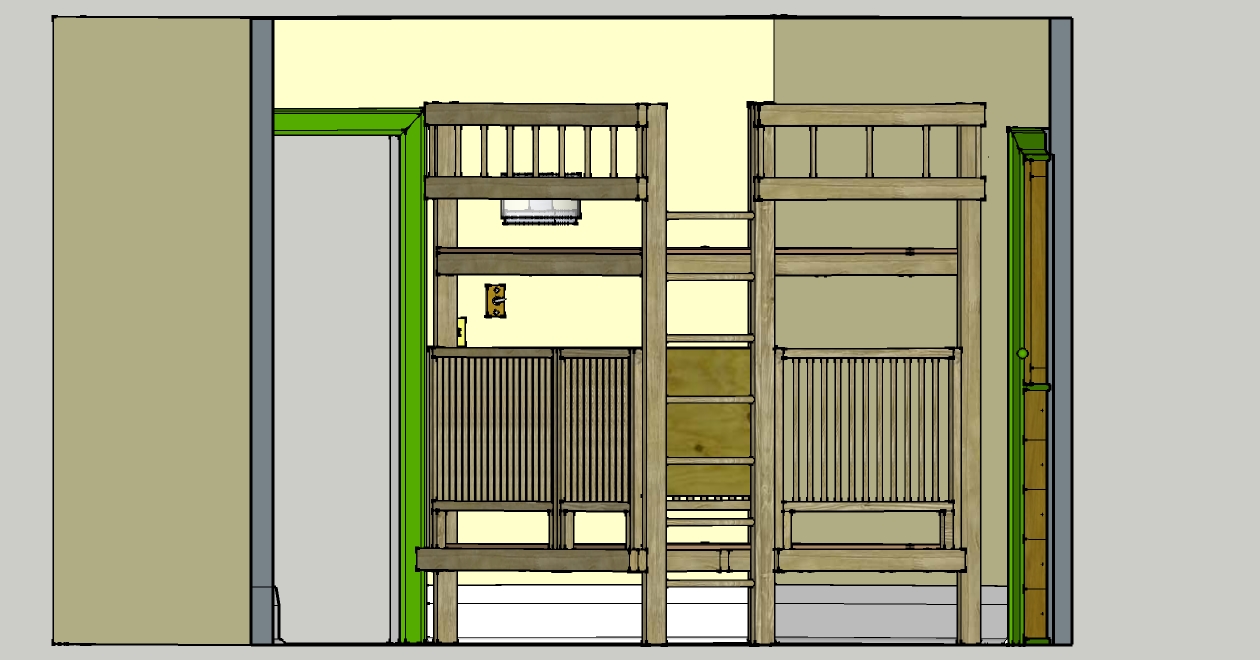
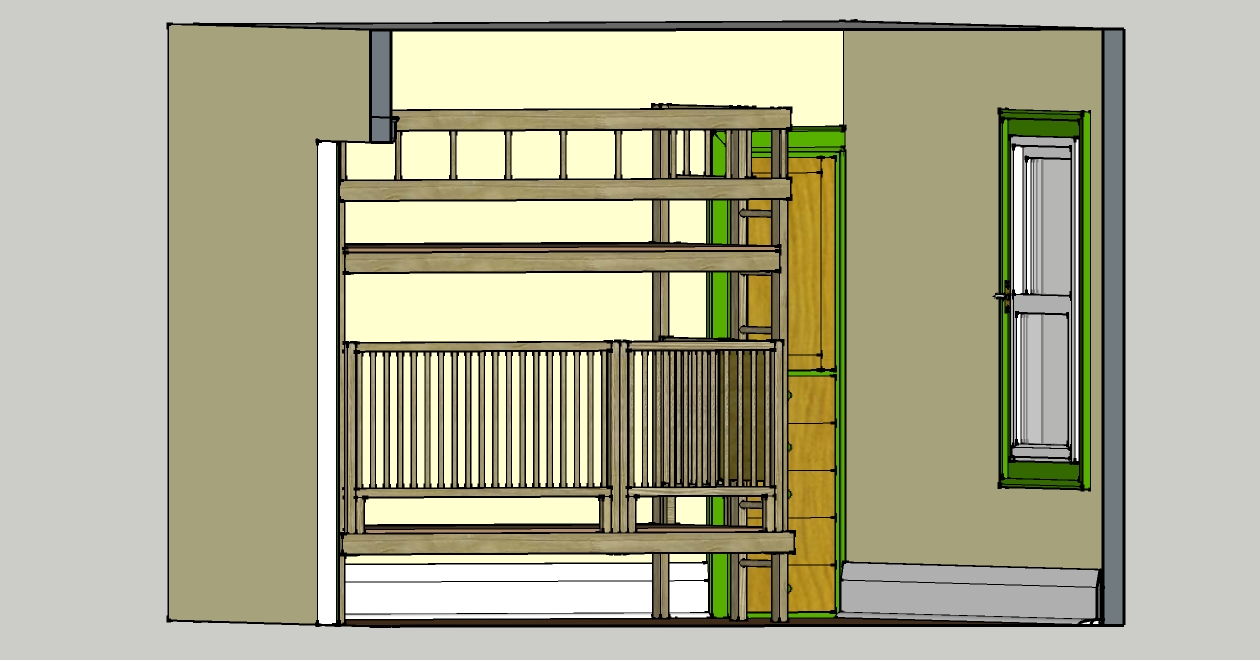
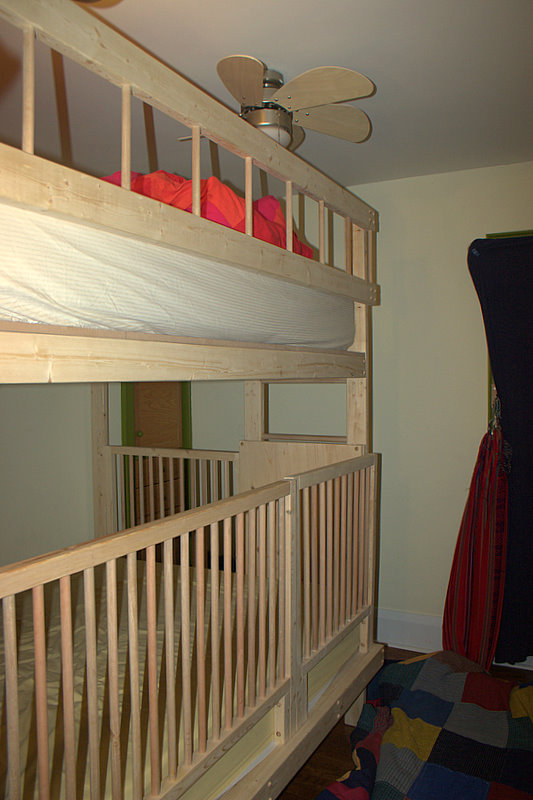
Here are some pics of the real deal...
Note the ceiling fan (has been disabled and am waiting for my electrician buddy to help me move it)He's going to help with the wall sconce that needs to go too
-
Nice looking bed you've built there. You should be proud. Looks like the kiddles like it.
As far as workflow goes, here's my approach. It works for me. Exactly where I start depends upon how much I know about the project before I start drawing.
For something like your Bunkbed I would start with a leg. Every part I would make in wood will be made as a component. Components that would be duplicated will be instances of the same component. If one will be a mirror image of the other, I flip the copy. This results in putting joinery (when I draw that in) being in the right place. I keep plugging away drawing in and copying as needed until all of the parts are done. I generally work from largest parts to smallest since that is frequently how I would work in the shop. I also draw in things, like legs, that define the footprint and add the rest of the intervening compoennts as needed. By placing the legs correctly, I don't need to know how long the rails have to be. They just have to fit between the legs. I also draw things in place. So I don't draw a leg laying down and then stand it up. I draw it standing up to begin with. Rails would be drawn in place between legs.
I don't draw in joinery initially. I just get the parts in place. After everything is located, I add in the joinery. that way I don't have to spend time moving or redrawing the joinery.
For many details such as rounded edges, I either omit them or I insinuate them rather than drawing them in. If, for example, a drawer pull is to be part of a larger model--say a dresser--I don't draw it at a high level of detail. I reduce segment counts on curves of small details because they won't show that well anyway.
I try to avoid nesting components if I can but for things like drawers, it does make sense to do so if you do it logically. I see a lot of models with multiple layers of nesting. This just makes editing more difficult. For something like a drawer, I would make each part as a component and then select all of them and make a single nested component.
In my work I don't use groups at all. I only use components. I tend to think about the process in the shop so things like legs would all be related components. It might be however that the rear legs end up with extra mortises that the front legs don't get. When I'm ready to cut those mortises, the back legs get made unique to break their relationship to the front one. Until then they would all get treated the same.
HOpe all that makes sense.
What's your next project?
-
Well done.
-
Dave,
Thanks for your feedback and details on your work flow. Your use of components makes all kinds of sense, I'll keep the flip for joinery in mind in the future (Granted I have never built anything with joinery and really don't really know what I need to do).
The next project is to build some drawers on casters for under a king size pedestal bed I built a year or so ago... I think I will need some help so I will post my model and look for some feedback before construction here. (Would like to use some sort of joinery for solid drawers).
Eric,
Thanks for your note. Your post about the bed you built inspired me to get this up here. How did you create your cut list? What do you use for rendering your models?
-
Jon,
Even if I don't draw joinery, I tend to flip symmetrical components anyway. I find it save time later in editing and once in awhile, I do go back and draw in joinery. By always flipping the symmetrical components from the beginning, I never have to worry about doing it later. It's not just joinery either. Suppose you were designing a table and you start with square legs. Later you decide to taper just the inside faces or you want to add a curve to the outside faces. If you don't flip the legs, the tapers or curves will end up on the wrong sides of some of the legs. As another example, think of a face frame. If you decide to make the stiles narrower and you haven't flipped one component relative to the other, you'll modify the inside face of one and the outside face of the other.
Your drawers will stay together better with joinery for sure so you should use some. ;
I'm looking forward to your next drawings.
Dave
-
@gasher said:
Eric,
Thanks for your note. Your post about the bed you built inspired me to get this up here. How did you create your cut list? What do you use for rendering your models?
I had all the parts made into components. I then copied the whole thing to the side and moved the components around and laid them out. Then dimensioned them. A bit tedious but it was the best way for me to visualize my workflow.
The first two images I made with Vray, the rest are straight SU and photos.
I am currently learning Modo and use Podium quite often as well. -
Eric,
Have you tried the cutlist plugin? It will give you layouts so you don't have to manually do it. It isn't perfect but it's usable and my friend who wrote the plugin is working on some improvements to that.
-
I remember you telling me about it but I have not used it yet. I have not a project to use it on the table. I did install the plugin however... ready for attack.
-
is the key to Cutlist having all the model as components?
-
Yes. That is a major key to it. It will read groups but then I believe you get a separate line item for each copy.
Components make sense anyway because they improve editing efficiency. If you are going to the cutlist level with a drawing, draw every piece you'd have to make in wood as a component. If you were going to make a solid wood panel, draw it as the separate pieces of wood you'd need to glue together. Otherwise it will tell you that you need a board the full width of the piece. That's fine if you can get it and control it but wide pieces of wood tend to be difficult to control as they'll want to cup and warp.
Advertisement


