Problem with object sinking
-
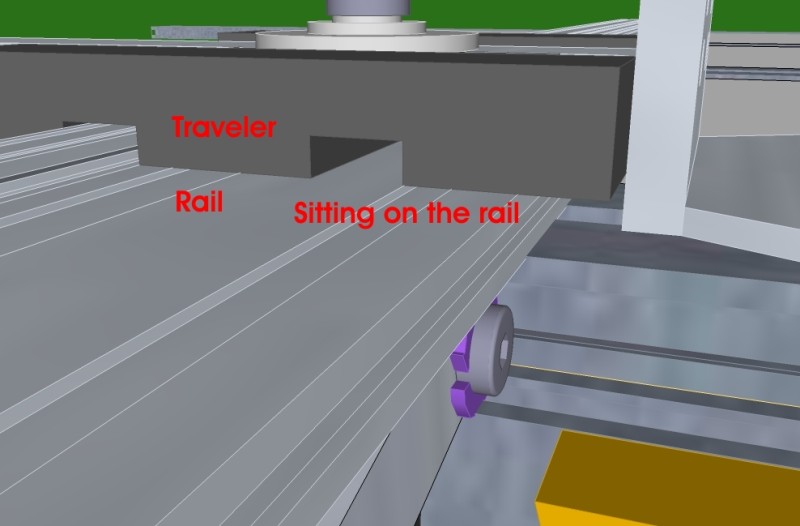
This pic is without SP running, the traveler is resting on the top surface of the rail as is desired.
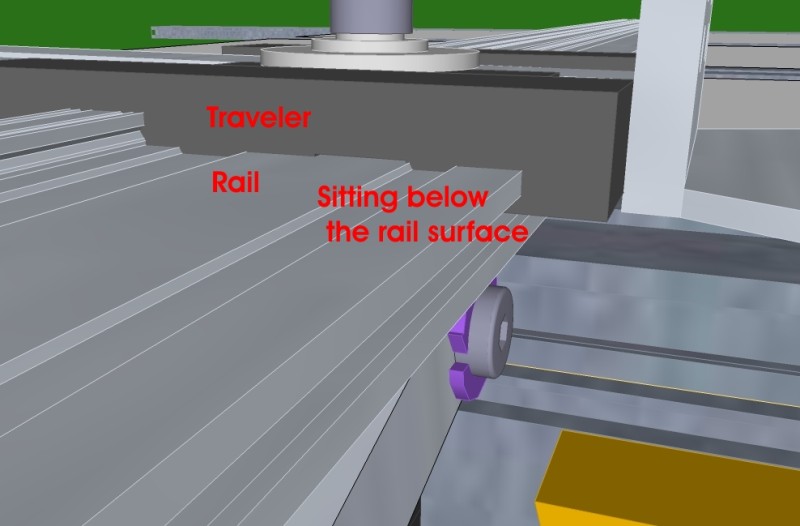
In this pic, SP is running, and the traveler is sitting about 1/4" below the top surface of the rail.
I will try moving the slider to the center of the rail, and let you know if that does the trick.
-
Ok. I took a long look at it and I am somewhat stumped. Its not the joint placement that is the problem. It isn't connected right. But for some reason I cant seem to figure out how to connect it.
 I'll take another look tomorrow.
 -
I took your advice and moved the slider to the middle of the rail. The result is a great improvement, but still a little sag/sink into the rail.
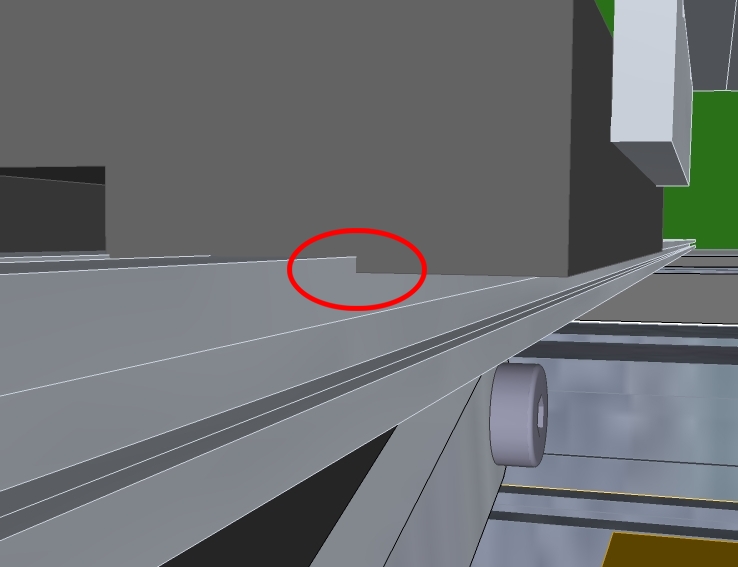
Lesson learned, always attach sliders to center of desired travel range.
Thank you for you time and effort. It never dawned on me that distance from the slider would have this kind of effect.
-
Just looked a little closer and discovered that the problem seems to be the unbalanced mass of the traveler/slider/sub-base combination. The left side, which has less mass, sinks less than the right side, where most of the mass is. This is a problem because I will be adding a router to the sub-base, which will greatly increase the mass of the right side.
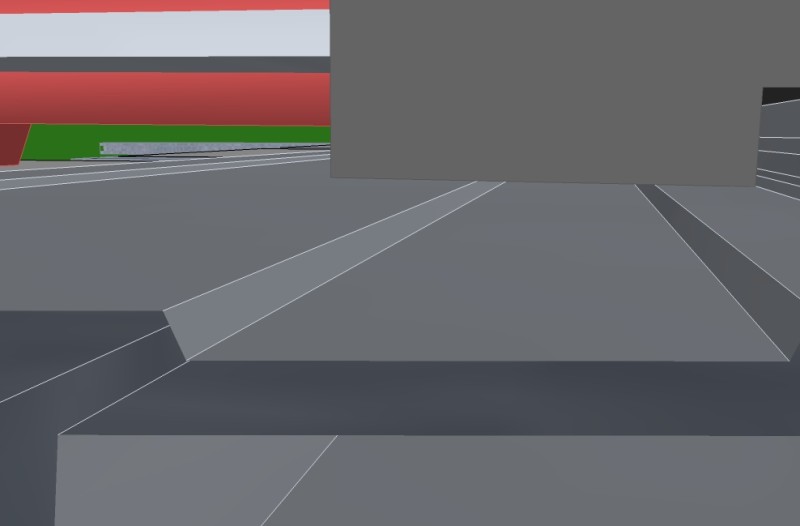
The left side has almost no sinking.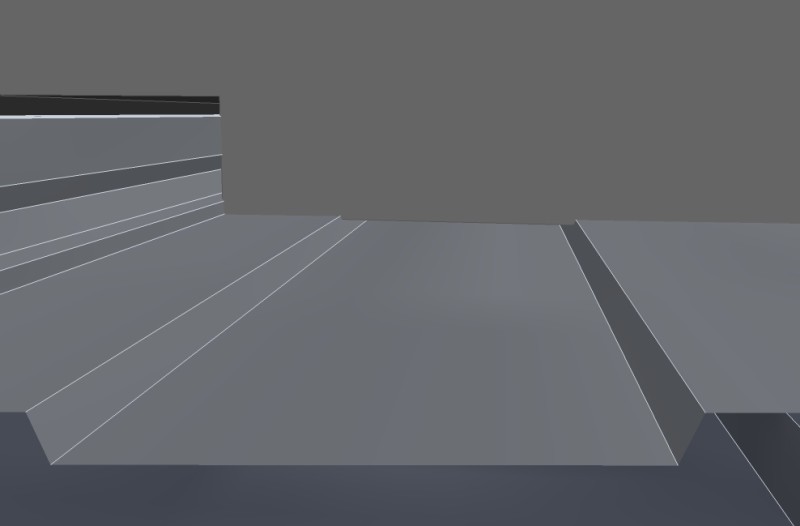
While the right side has the sinking effect.I tried moving the slider to the right, closer to the center of mass, with no change in the sinking. I would expect that the unbalanced mass would cause the left side to raise rather than the right to sink.
-
@dik harrison said:
Just looked a little closer and discovered that the problem seems to be the unbalanced mass of the traveler/slider/sub-base combination. The left side, which has less mass, sinks less than the right side, where most of the mass is. This is a problem because I will be adding a router to the sub-base, which will greatly increase the mass of the right side.
[attachment=1:2gfxrqbb]<!-- ia1 -->PBB-2550_SRKltSide (800 x 526).jpg<!-- ia1 -->[/attachment:2gfxrqbb]
The left side has almost no sinking.[attachment=0:2gfxrqbb]<!-- ia0 -->PBB-2550_SRKrtSide (800 x 526).jpg<!-- ia0 -->[/attachment:2gfxrqbb]
While the right side has the sinking effect.I tried moving the slider to the right, closer to the center of mass, with no change in the sinking. I would expect that the unbalanced mass would cause the left side to raise rather than the right to sink.
You could try using 2 sliders one at each end.
But I still think there is something about the way it is connected or shaped that is causing the the thing to sink. Not sure what tho.
BTW I was going to mention that you can make it a bit more stable and realistic if you adjust the Accel and Damp on the joints. Values of 0.0 mean it is unrealistically strong. Try something like accel=20, damp=15 for strong and slow.
-
Is there any place I can find documentation on how these settings work?
-
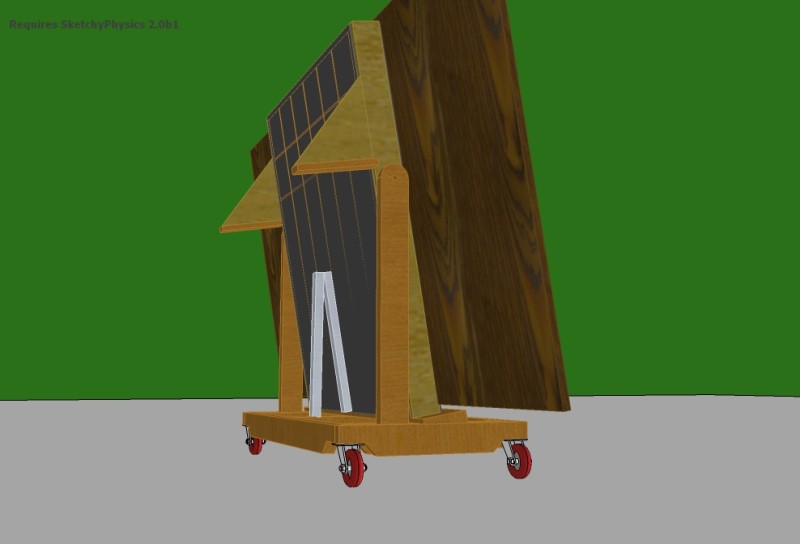
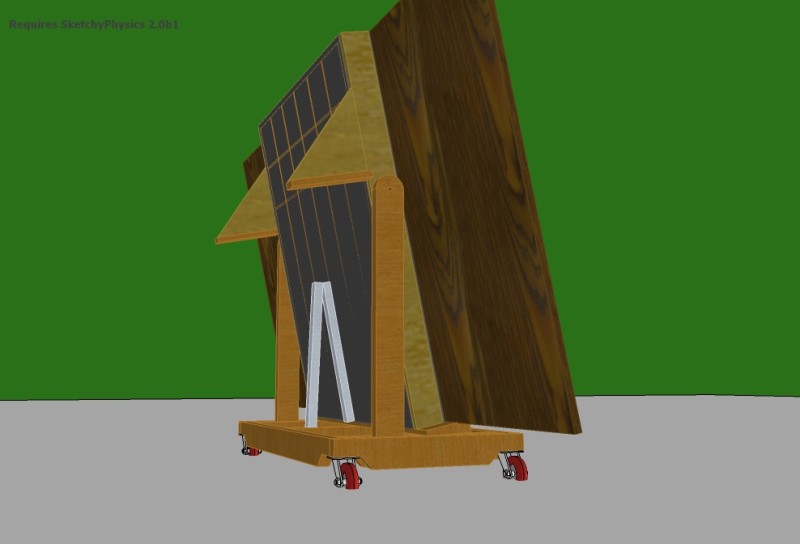
I have another drawing that has the same problem, the wheels of the cart sink into the SP solid floor about 1.5" when SP is run. I'm beginning to wonder if there is a scale problem, all of my stuff is drawn to 1:1 scale. I have seen that many SU users draw things way too large (i.e., not to scale). Or it appears so when I import their components from the 3D Warehouse. Am I missing something here?
-
Accel is how hard a object will rotate. With a hinge or servo it is about the same as torque. Damp is about the same as friction.
You can fix the latest model by going in and grouping the geometry in the wheels. Because it isn't grouped SP cant see it.
-
I hate that I'm being such a pain about this, and I apologize for the hassle, but I really, really like SP and want to use it making animations, and developing/designing my various projects and ideas. It makes these tasks several quantum levels easier and quicker.
Exploding the caster components and making them groups didn't work, I guessed a proper "mesh" was not created. So, I created SP wheels for the caster groups, and the problem was fixed. Lesson, make things with SP or they might not work as expected. I had tried adding a SP box to the rail in the other file, but that did not help.
There is now another problem that I had not seen before. Prior to the edit, the sheet of plywood lay on the table as you would expect (See the previous file). After the edit, it doesn't lay on the table, but moves to vertical and then stays at that same angle to the table, until it returns to vertical, at which time it falls off to the other side. In an attempt to fix this, I made a new sheet of plywood using an SP box, to no avail. What could make the sheet of plywood object act in this way?
-
Part of the table surface is marked as default shape. But it isn't aligned correctly. Try setting the readback collision features on the readback menu.
-
Thank you, I deleted some of the hidden structure and that fixed the mesh. This has all been very educational for me, I hope I won't have to bother you anymore.
-
No bother at all. Questions are always welcome. This thread acts as additional documentation and an examples.

Chris
Advertisement


