Build Rome
-
more images
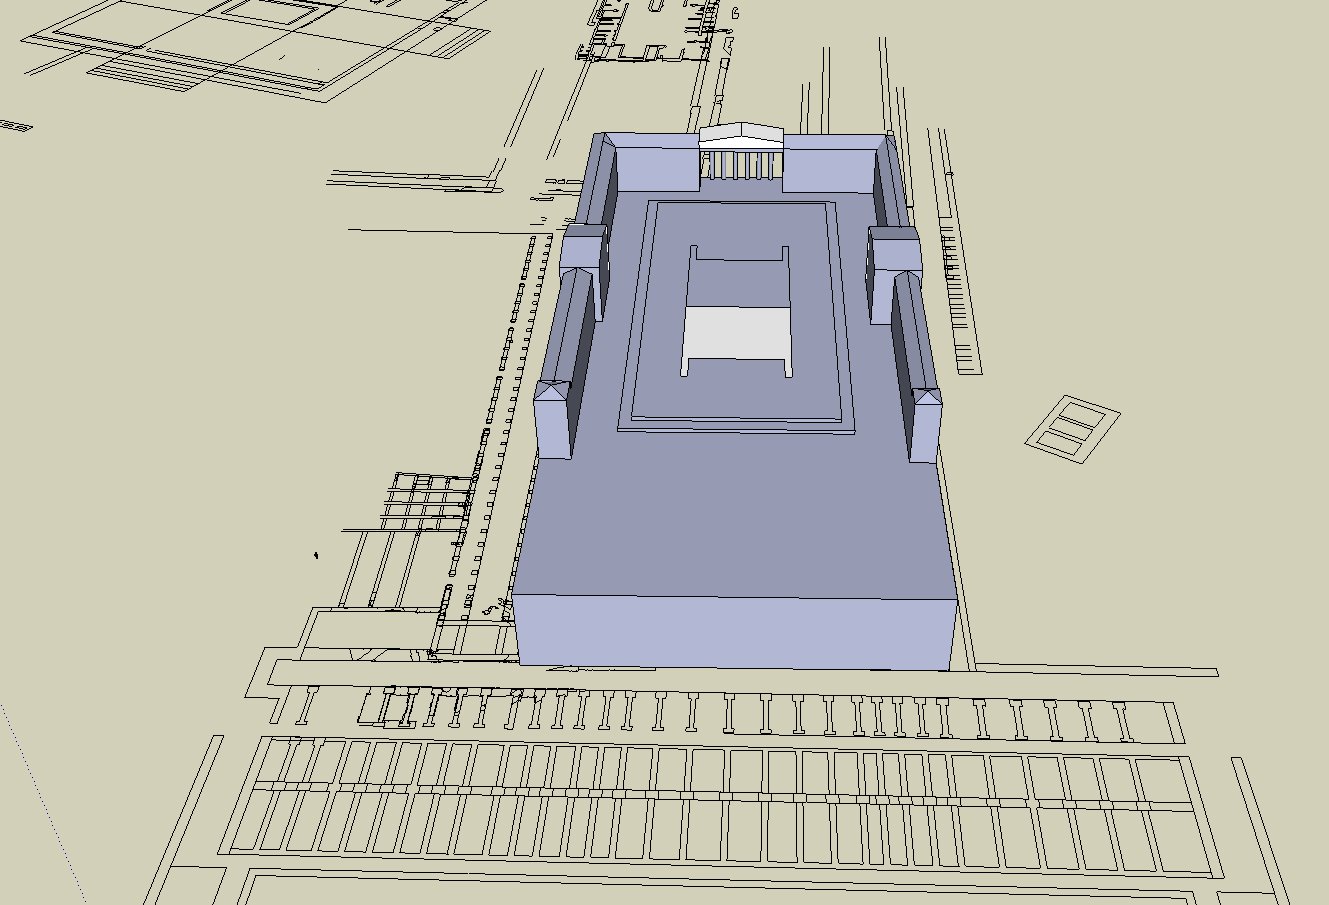
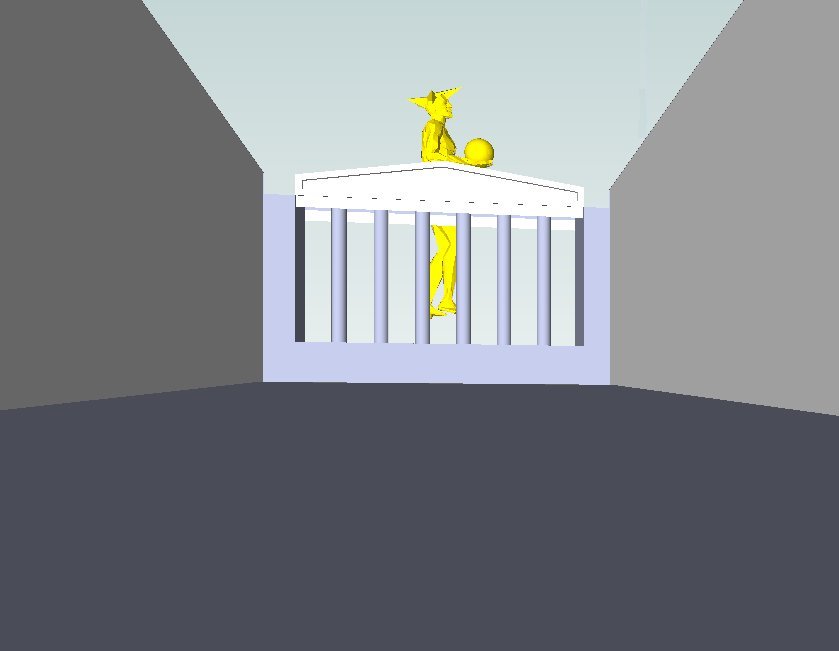
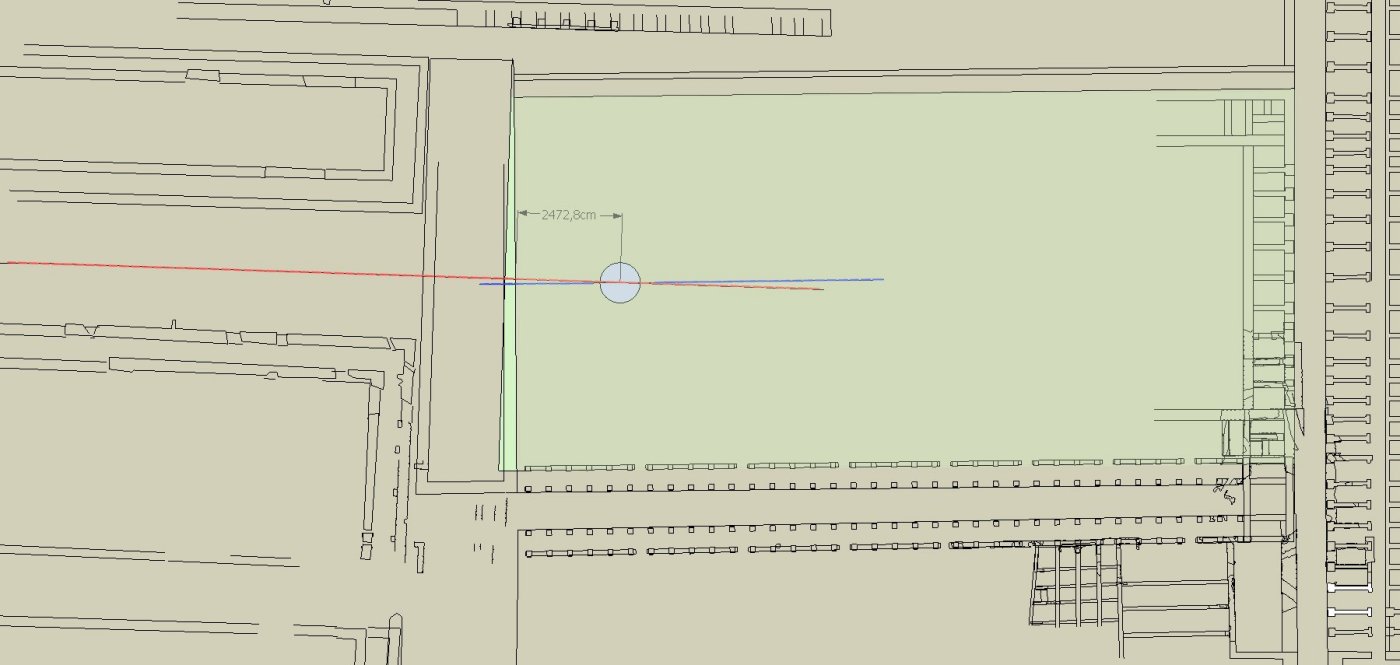
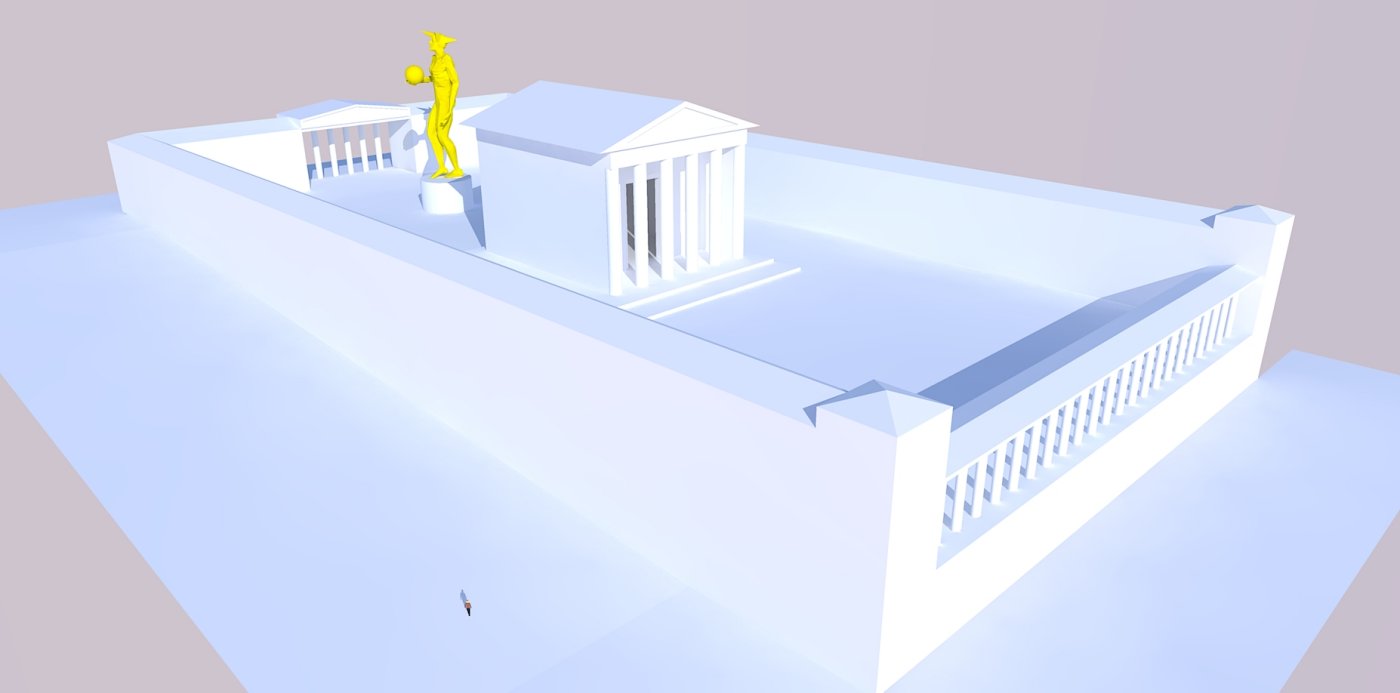
-
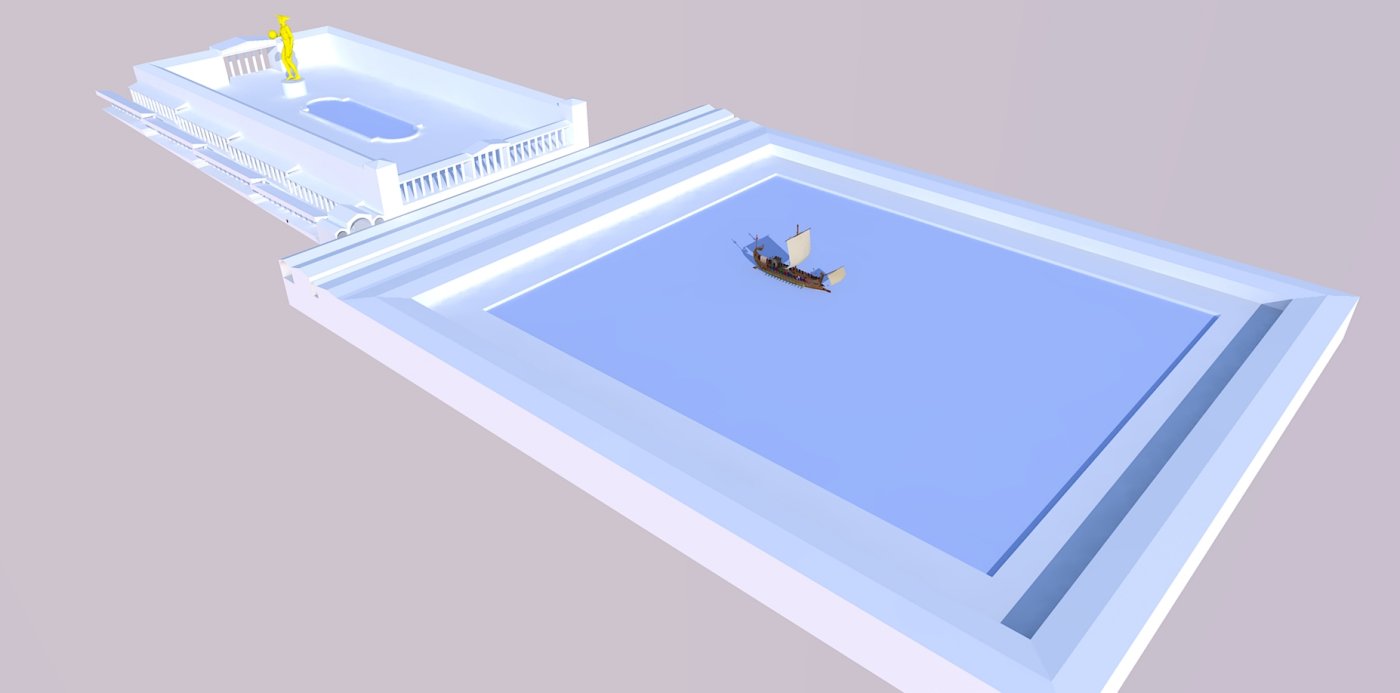
I don't quite understand what happens with file size. I eliminated the heavy elements I had used for rendering, and file size when saved remained at about 6 Mb. I tried several things, in the end I exported to dxf and imported back, and it went down to 500 kb. Then I inverted a couple of faces and some colors, and it jumped back to 1 Mb. ?????
-
I still see a bunch of back faces. Here is a plugin which (when activated from the Plugins menu) you can "sweep through" your model and no matter if a face is inside a group/component, it will reverse back faces to front faces.
Otherwise it is getting nice shape, indeed. Have I already told you that I am an archaeologist myself? (And top of all, a Roman age one - although admittedly here, in the semi-barbarian Pannonia Inferior, we have more military architecture than anything else - especially not like those spectacular buildings in Rome itself although the World Heritage site of my city is Roman archaeology).
Anyway, about your file size issue. Once you import any components (like a "heavy" statue), it will still be kept in your model after you delete it from model space. The same with materials, unused styles and layers that do not contain anything.
All in the dialogs of these four, when you go to "In model" there is a fly-out menu on the right where you can "purge" unused items.
If you want to purge everything (all four together), you can also do it from Window > Model info > Statistics.
-
Thanks again, Csaba. I did as you said and, miracle! The size dropped to 300 k.
Yes, you told me you are an archaeologist. Our contact in Pannonia is Tamas Besetzky, with whom we are frequently in touch and who comes to Rome from time to time, suppose you know him. Well, if you do come to Rome sometime you now have a contact too. -

I'll make sure to remind you!

-
Hey, good start. Hope we can see it as it progresses.
One thing you might want to do is rescale the whole model to actual size. Believe me, it will avoid hassle later.
Its current 46 kilometres long which I think even the Romans would struggle building.

FYI. You can use the tape measure tool by measuring an edge in your model, and then typing in the length you want that edge and SketchUp will prompt you as to whether you wish the whole model scaled.
-
@adamb said:
Hey, good start. Hope we can see it as it progresses.
One thing you might want to do is rescale the whole model to actual size. Believe me, it will avoid hassle later.
Its current 46 kilometres long which I think even the Romans would struggle building.

FYI. You can use the tape measure tool by measuring an edge in your model, and then typing in the length you want that edge and SketchUp will prompt you as to whether you wish the whole model scaled.
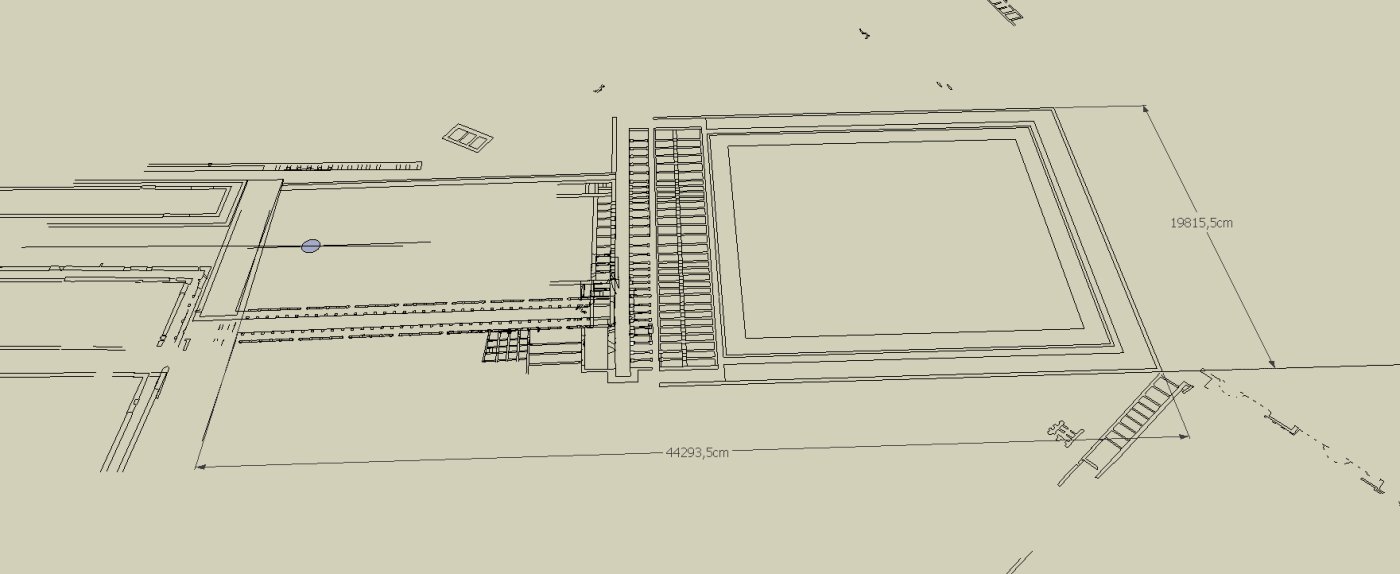
Thanks, but as a matter of fact the models are in scale, only that it's centimeters ...
-
AdamB is right the man in the model is 171 meters .
Your model is probable scaled up 100x i think.Bep
-
You are right, these were the starting measures. Somewhere along the line I must have done something wrong, and the scale went askew ...
-
-
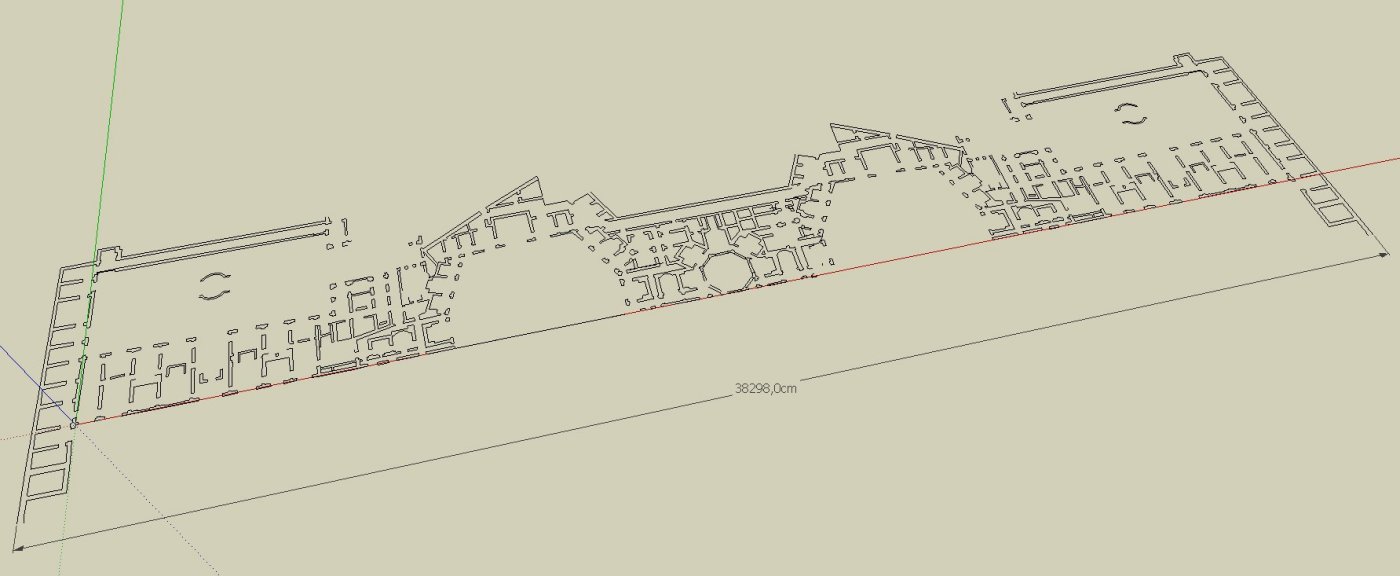
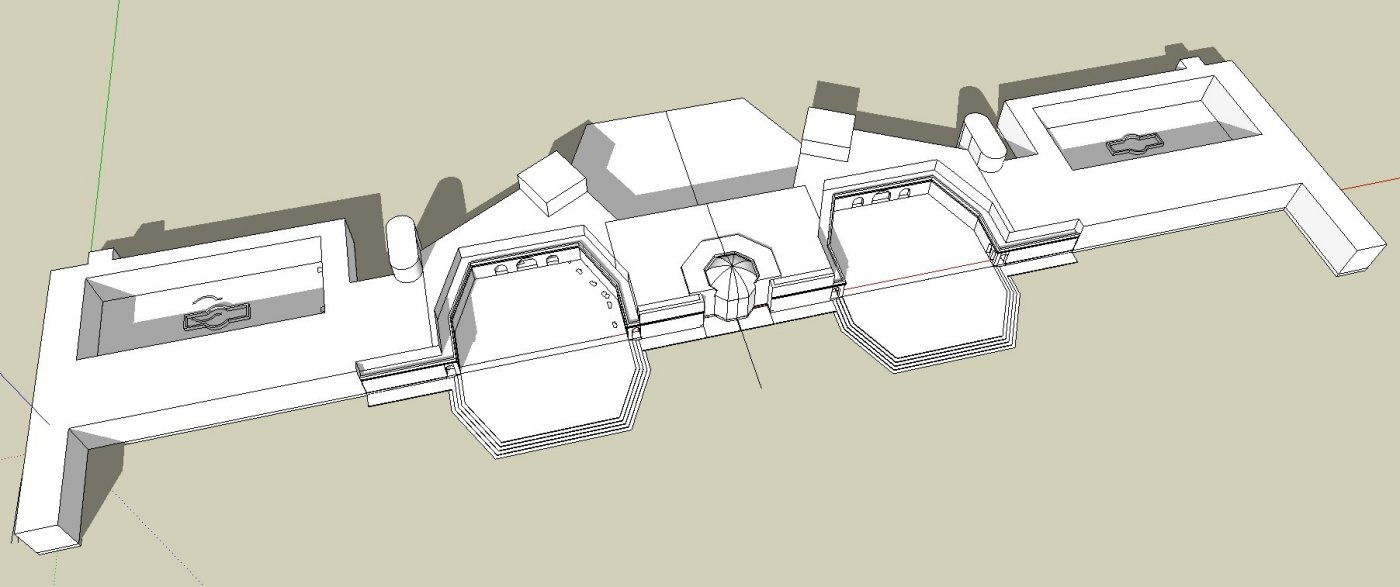
Ok, I started playing with the wing of the Domus Aurea on the Oppio hill ... I'll need to think it over, it's not easy ... The plan is known, more or less, there might be other bits and pieces.
-
Ok, this is what I got now. I took in account most of the archaeological evidence I found ...
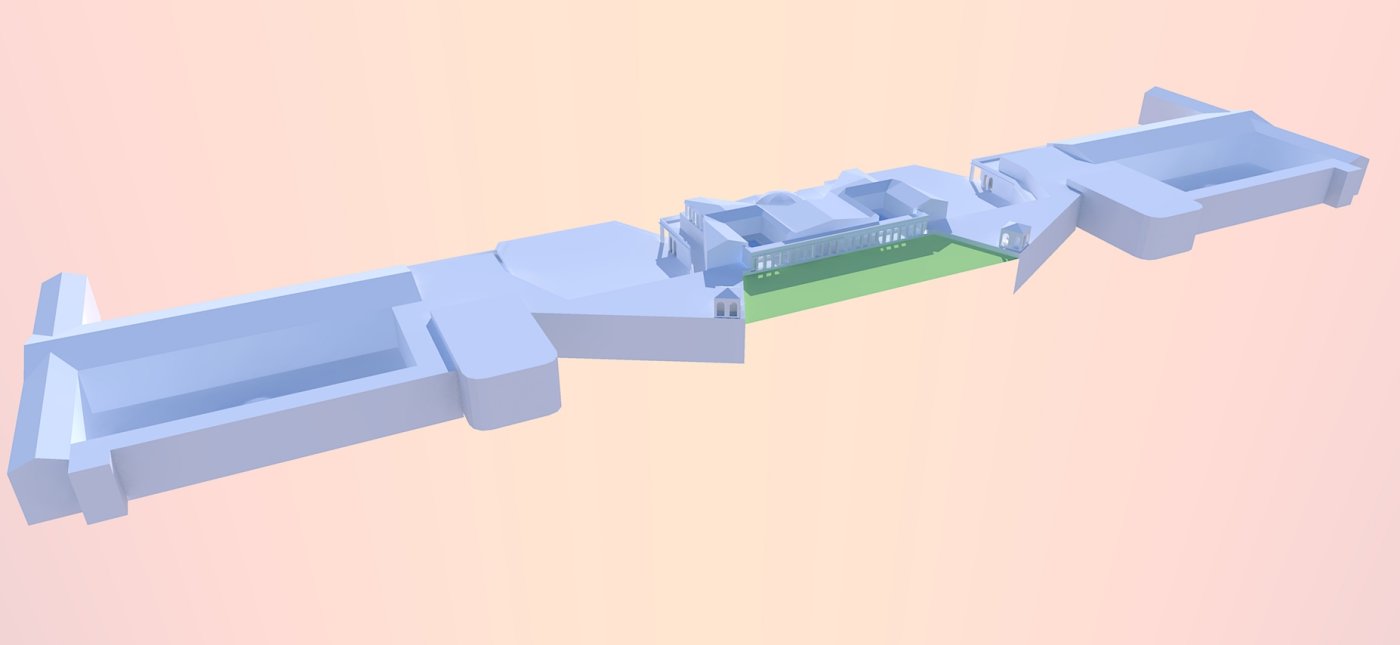
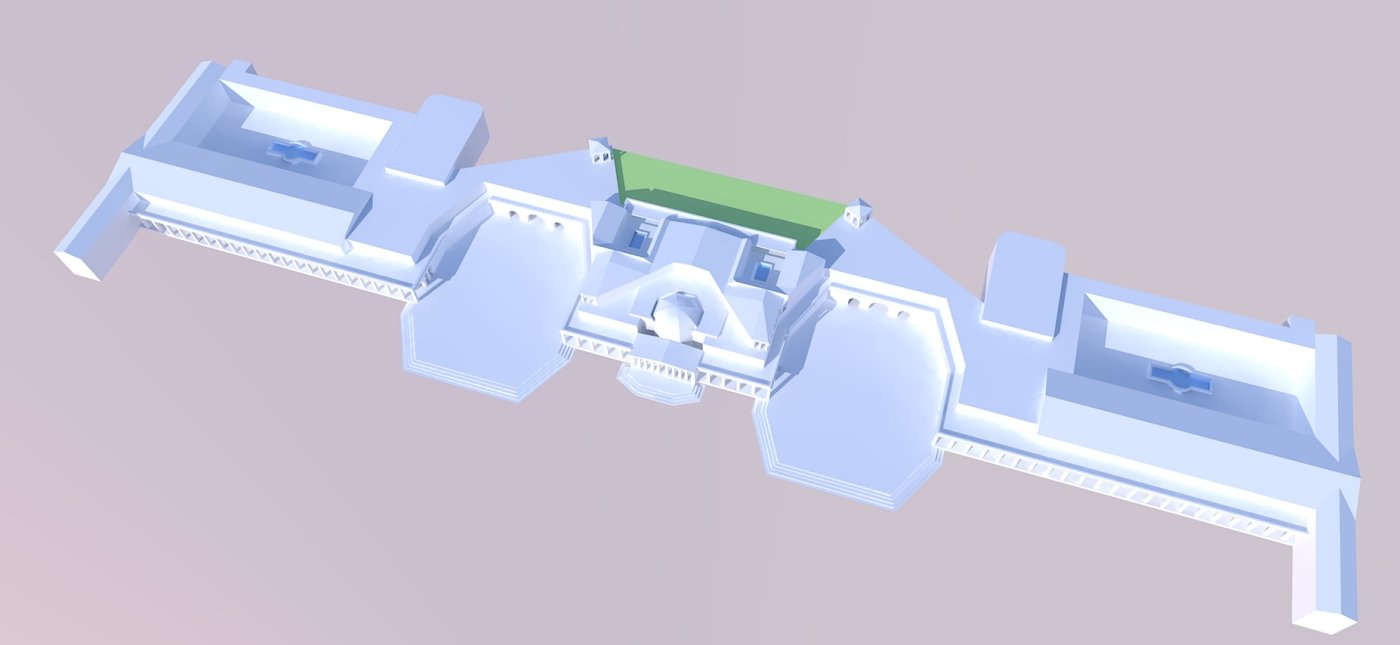
-
Some comments (only regarding modelling)
- you still use groups for the columns instead of components (where you group at all - see below)
- Many of the columns are not even groups - anything that is repetitive should be made components
- What's worse, the above groups are not even copies of the same group definition (which would allow quick transformation into components) but made independently.
- The whole structure seems to be perfectly symmetrical. In this case you could make one half into a component and only model that and mirror the whole half onto the other side.
- I can still see some back faces but of course they can easily be fixed with Tomasz' plugin
- If you used components, Kerkythea could (I think) handle them as "instances" which would allow faster rendering, too. Not a big deal at the moment but with more complex geometry, the difference could already be noticeable
Nice model however.
-
Thanks, Csaba.
I've been using the plug ins for backfaces and mirroring that you gave me, and they are very useful. Of course I built only half and then mirrored. I am still trying to figure out exactly how components and groups work, I promise I'll take my time and go through the tutorials again ... -
Here is a more than an hour presentation about groups and components (SketchUp 3D BaseCamp video from 2008). I would suggest it not even to "newbies" but everyone.
YouTube - Hooray for Groups and Components
[flash=640,380:m3diuzzb]http://www.youtube.com/v/Au5VhCoLVE8?fs=1&hl=hu_HU[/flash:m3diuzzb] -
Thanks, I'll look at it. Here goes a version with components, at least for the front columns ...
-
Yes, much better.
As for progressing, I would even group elements together (like the walls, roof etc. of one particular building etc.) With such models growing, this can help with organising/managing the whole model.
-
Marco, you can also try and place some simple textures on your model, rather than an all white look, it makes it easier to understand what are walls roofs or floors, and with the correct texturing even some very simple models can look deceivingly complex.
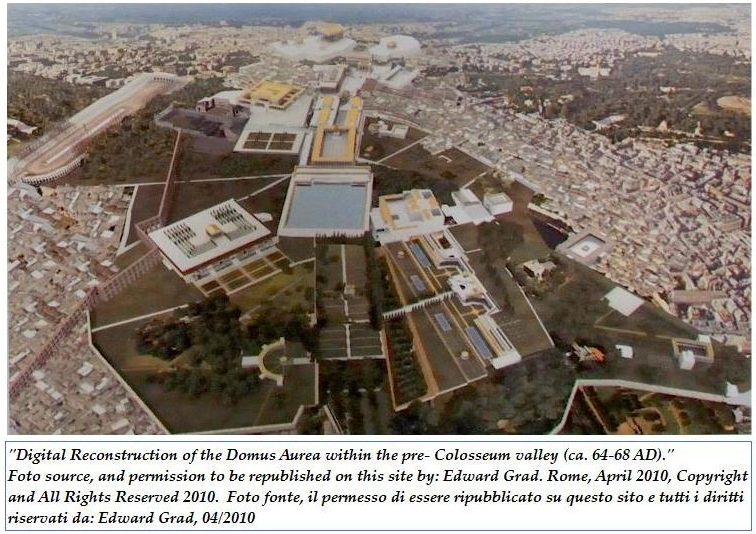
Are you going to include the Neronian structures of the Domus Aurea on the Palatine Hill, like the recently found rotating room mentioned by Suetonius? Is this structure aligned with the center of the Atrium later the temple of Venus and Rome?
-
Hi Pedro,
Long time no see (or have you been just lurking lately?)
-
Hi, the image you post is from two bright young fellows, coordinated by prof. Viscogliosi, with whom we did some things a couple of years ago. They are good with interiors, and did a great job with the Claudianus, but the general view is not up to standard. The acqueduct jutting from the Domus Aurea is out of place, for instance.
We are trying to get our hands on the plans of the round room, I don't have them yet. As for textures, I am thinking about that, but what I have in mind is mainly the sequence, the evolution of the area through time: one scene with the situation before the fire of 64 aD, second scene Nero, third scene Flavians and so on, so that you can see how things change through time. And I think that with a dinamic vision like that a neutral color works better, not sure though ...
Hello! It looks like you're interested in this conversation, but you don't have an account yet.
Getting fed up of having to scroll through the same posts each visit? When you register for an account, you'll always come back to exactly where you were before, and choose to be notified of new replies (either via email, or push notification). You'll also be able to save bookmarks and upvote posts to show your appreciation to other community members.
With your input, this post could be even better 💗
Register LoginAdvertisement


