Various rendering choices? -- Challenge!
-
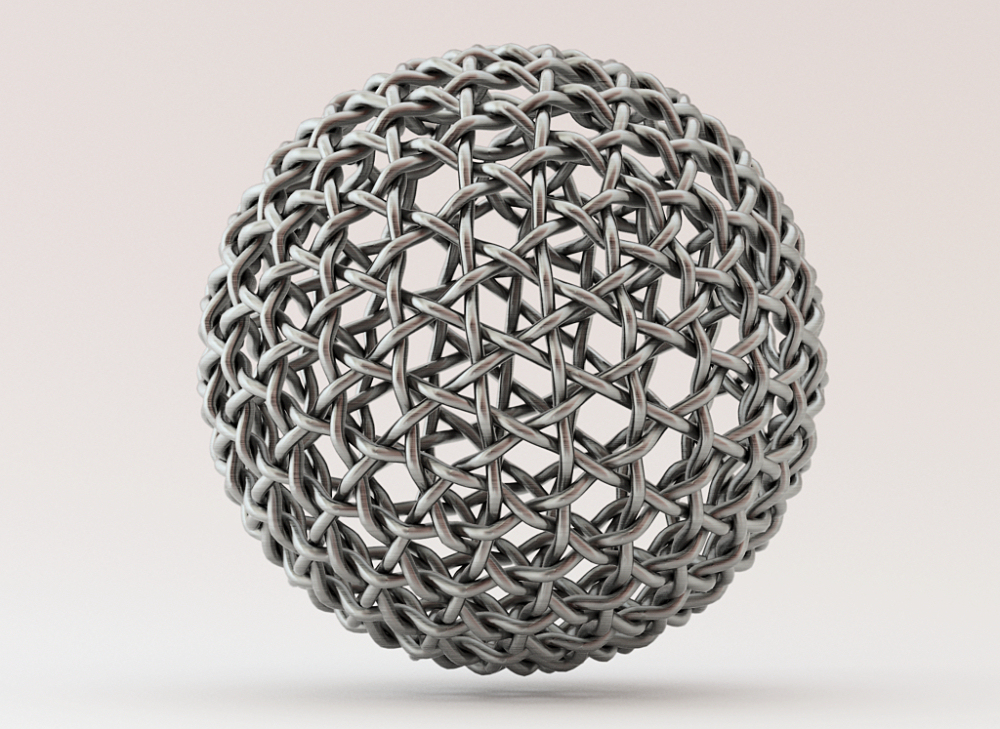
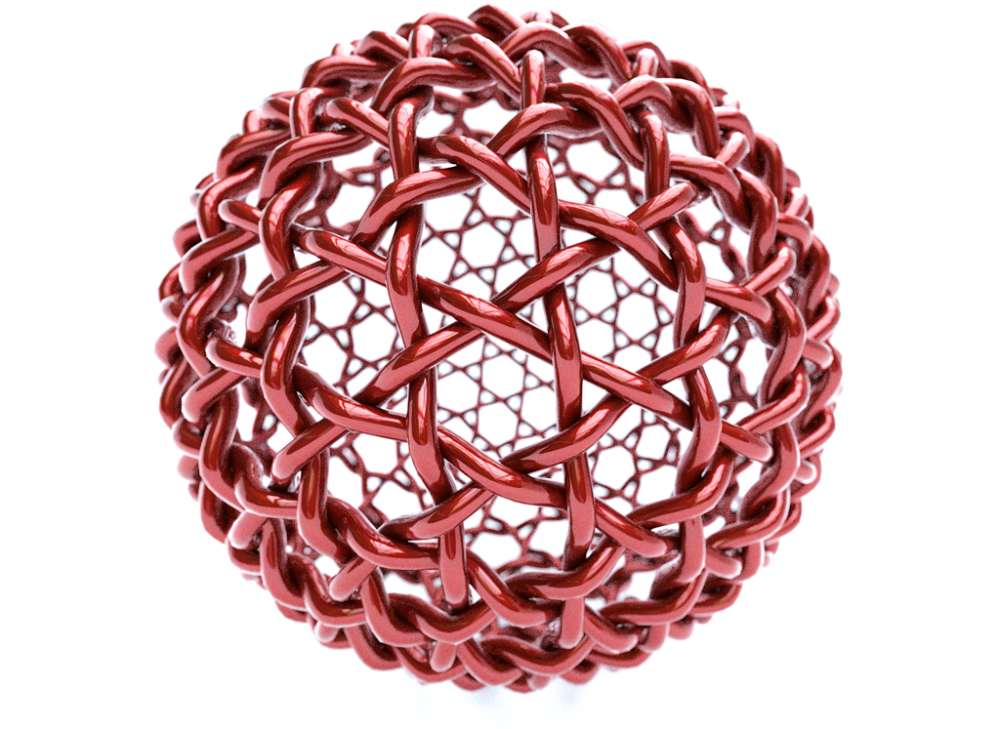
Taffgoch, I overlayed the SU lines (exploded) hence the joins are visible.
Another quick play.
-
nice renders here.
Gaieus is right, you don't strictly need the smoky glass/fog materials. just use the depth render and play with different blending modes....overlay and multiply can be used to emphasize foreground/darken background. also try inverting your depth render to change what is/isn't in focus etc if you are using it as a depth mask (for DOF)
will have a go at this soon hopefully, nice model

-
Although a little difficult to carve out of Jade, I'm sure there is a Chinese Master carver out there who would be tempted.
Thea, IBL,SSS,TR1,1Hr 10 Min

-
Every good photographer takes advantage of the depth-of-field, for sharp/blur and close/distant distortion. I used to be okay at it, back when I was in college. Your latest renders, solo, really demonstrate the extremes.
I just have to get used to the Kerkythea settings. I only wish I had more time to play with KT.
Without these effects, the distinction between close and distant elements "gets lost."
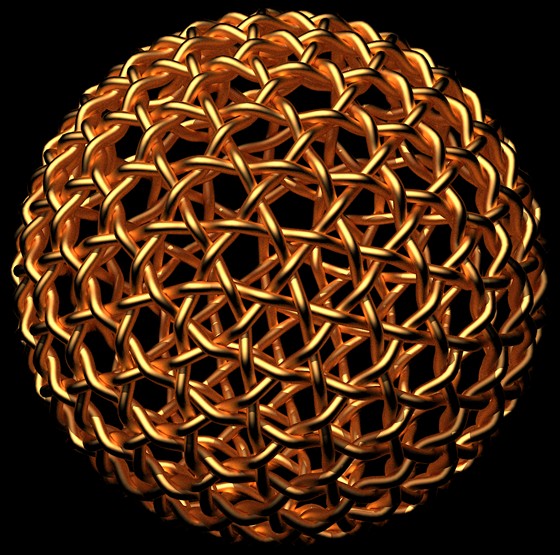
With DOF blurring & darkening, the depth is more apparent:
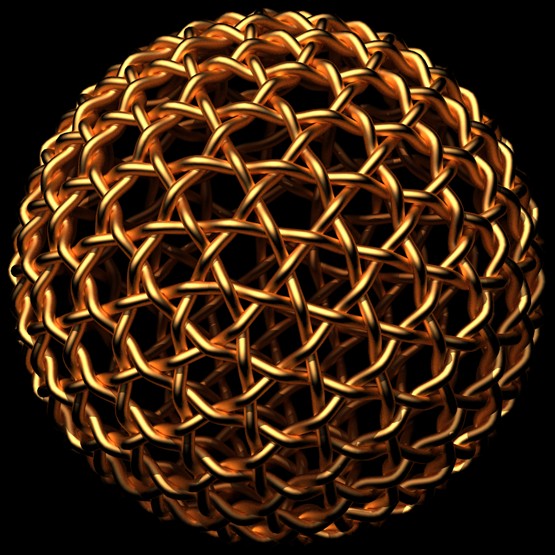
-Taff
-
dale,
I was thinking of, eventually, trying a sub-surface-scattering jade render, with a centrally-positioned light-source globe, about half the diameter of the weave.
I've got to go back to the SSS discussion, and experiment some. If someone else is quicker at it than I, it would be most appreciated if you could please share the KT parameters you used.
-Taff
-
Taff
I was never able to get very good SSS in Kerkythea, and am still just fumbling and experimenting in Thea. I though I could export a file over to Kerkythea and have a look at the base settings, but realized that I have altered everything, and I'm trying a new rendering of your model. (Which is so much fun to play with by the way, Thanks) I'm not exactly sure if that would have worked anyway.
I have seen some really nice SSS work done in Kerkythea though, and I'm sure someone will come forward with some insights.
I'm really enjoying the dof discussion, as it is another area I really don't know much about.
Great challenge. -
Great model - I imagine we'll see it turn up as an ornament in many interior renders, or even as a piece of garden sculpture.
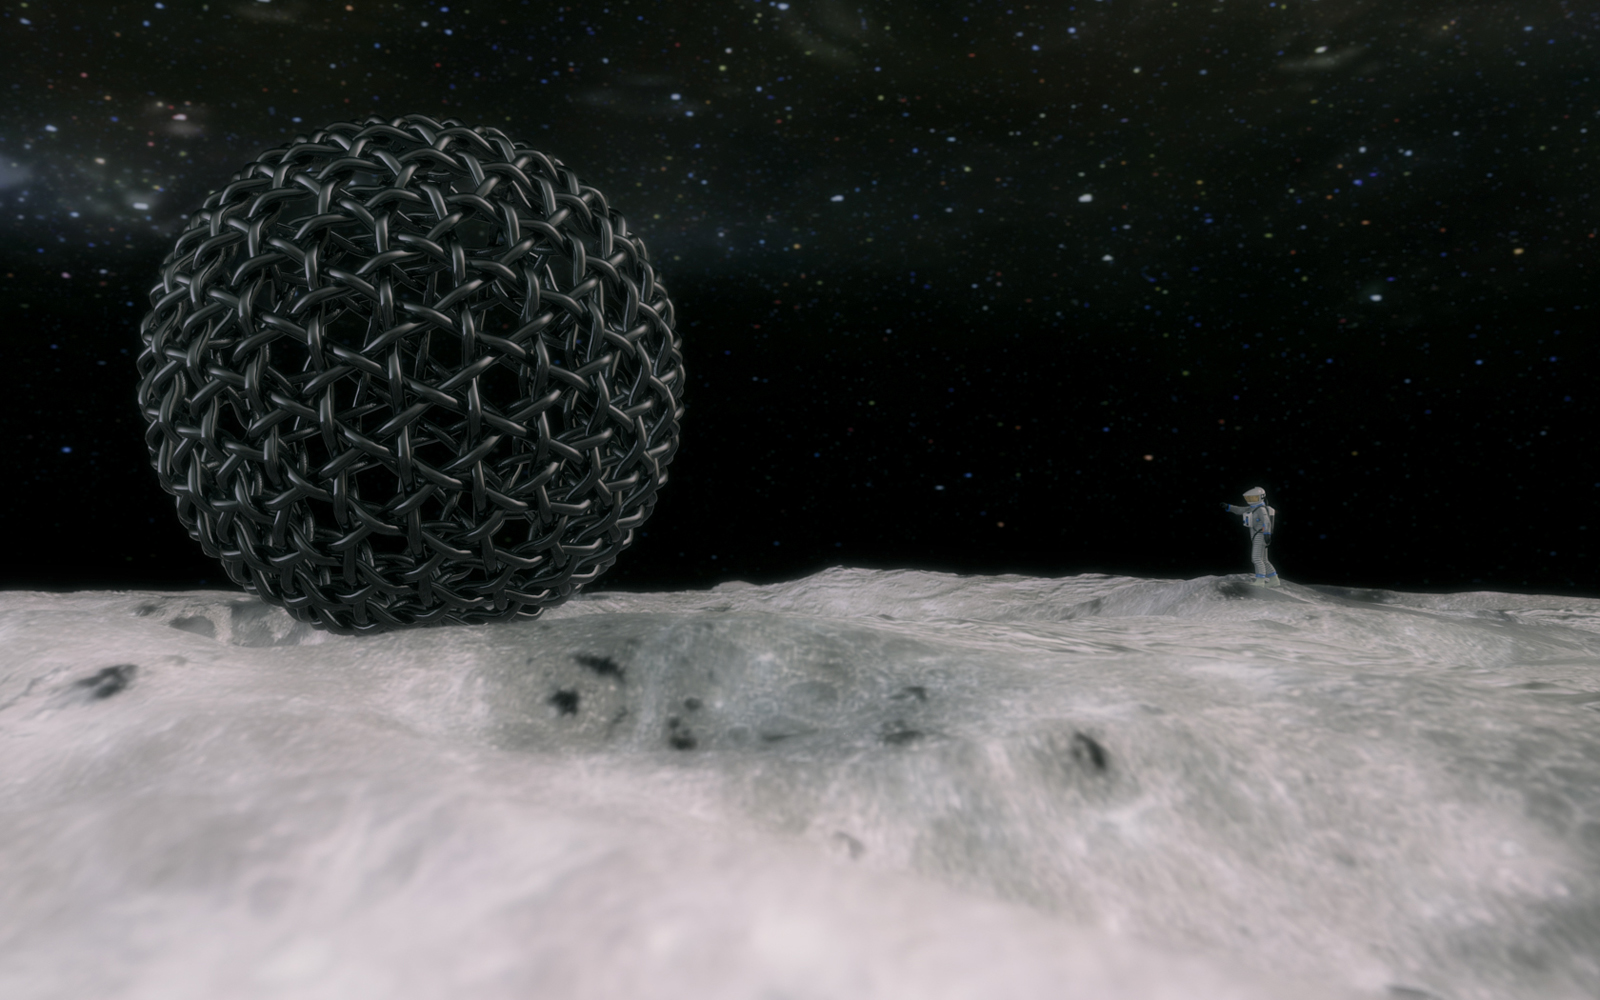
Here's just a bit of sci-fi fun:
-
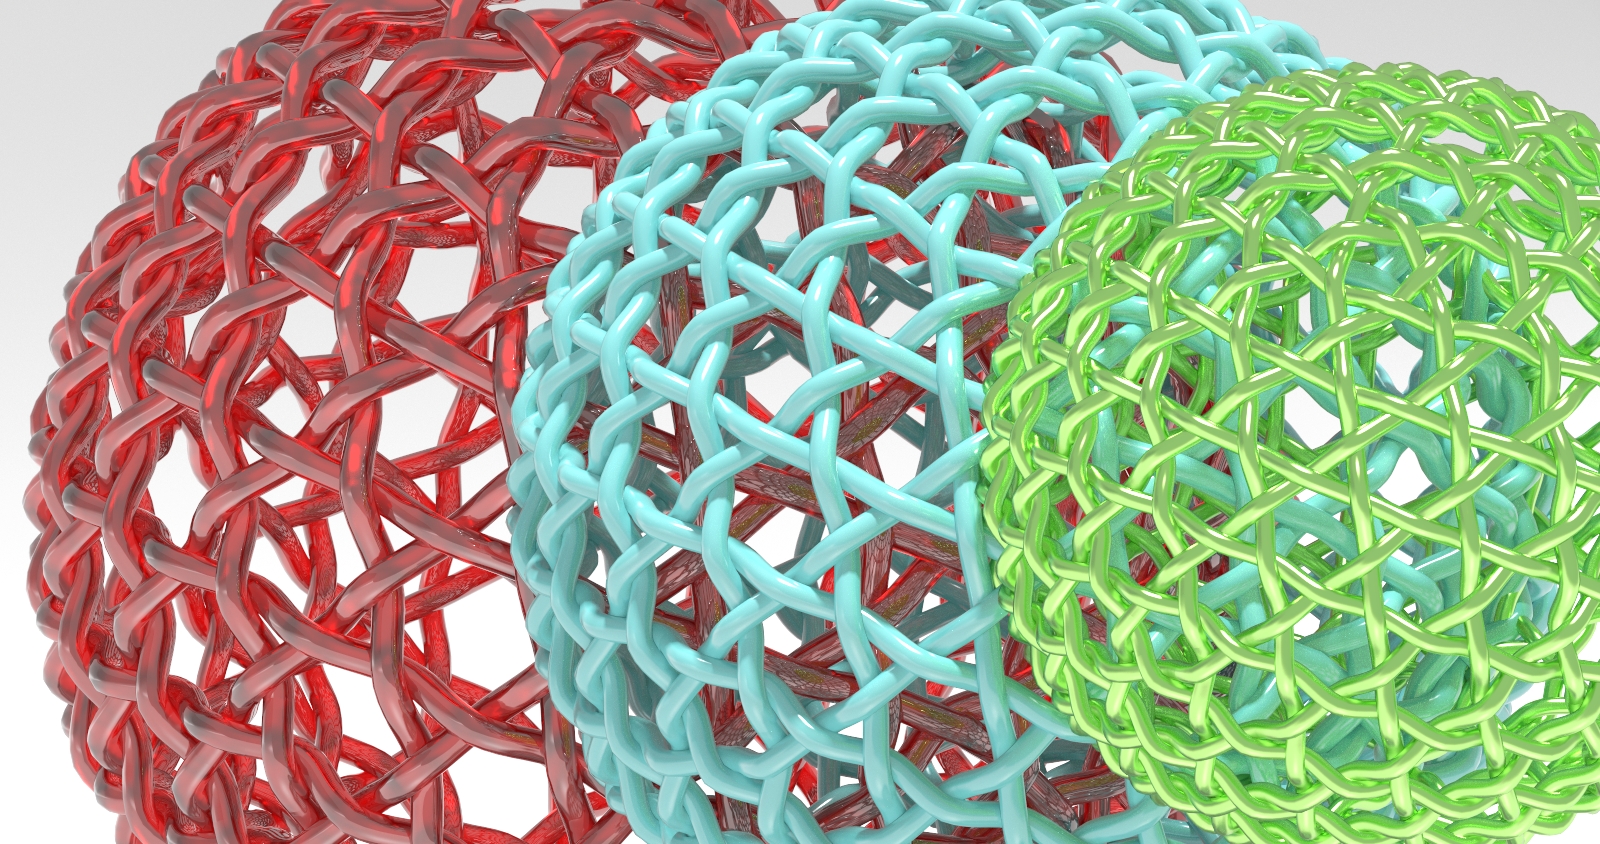
i did one for fun here. Looks like candy.
-
Octane render (Geforce 470) 10:01, but I don't see the difference after 5 min.:
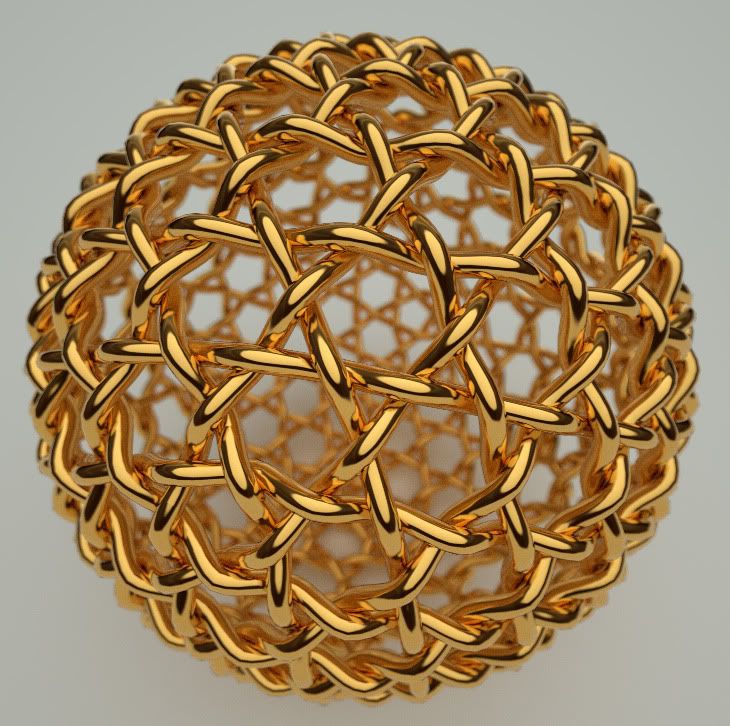
I haven't really played with Octane that much yet, but it's fast

-
I left it for 20:01 min now:
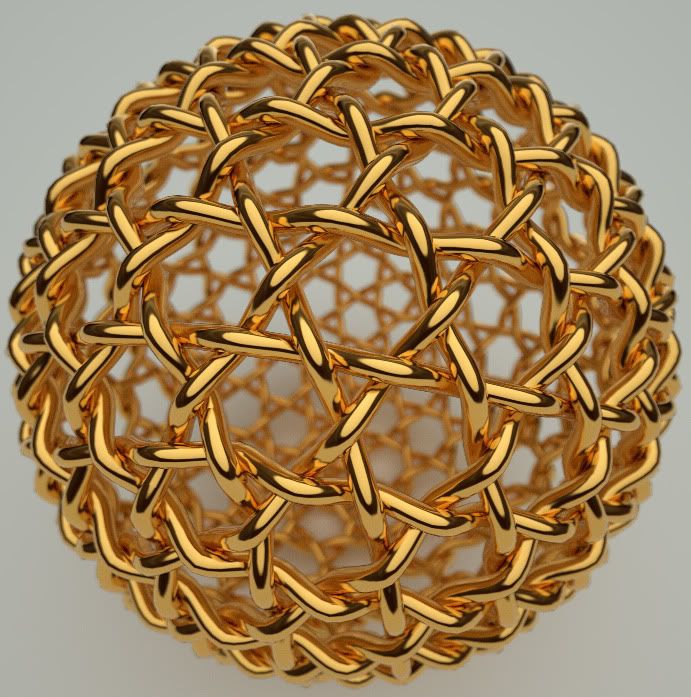
I do see the difference
-
@hieru said:
Great model - I imagine we'll see it turn up as an ornament in many interior renders, or even as a piece of garden sculpture.
I think it's already popping up


-
@unknownuser said:
i did one for fun here. Looks like candy.
Yum!
I like the variations produced by transparent materials, having a moderate internal index-of-refraction,...
...and really shiny materials with all the "self" reflections (like those in the renders posted by remon_v.)
Hieru,
Soccer? Really?
...sepak takraw, maybe...
...but, soccer ??

-Taff
-
I thought they both looked rather surprised

-
Hi Guys,
%(#0000FF)[Sorry for disturbing with my digression (no render in the pocket
 )]
)]
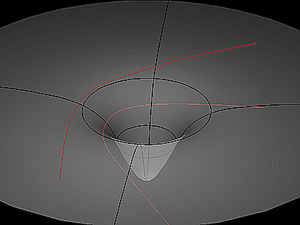
First I have searched to know what notion was covering " a geodesic"! " A geodesic is a generalization of the notion of a "straight line" to "curved spaces". In the presence of a metric, geodesics are defined to be (locally) the shortest path between points in the space." (may be better explain in the french wiki )
)

Your drawing dear Taff Gosh (Taff: The Trans-Atlantic Fan Fund, also known as TAFF, was created in 1953 for the purpose of providing funds to bring well-known and popular members of science fiction fandom familiar to fans on both sides of the ocean, across the Atlantic(>>3D Basecamp 2010!!!!!).Goch (archaic spelling: Gog) is a town in the district of Kleve, in North Rhine-Westphalia, Germany.
Your drawing reminds me an exercise I wanted to suggest some month ago and had forgotten under the pile..
this was: " HOW TO DRAW A PARISIAN FENCE ? "
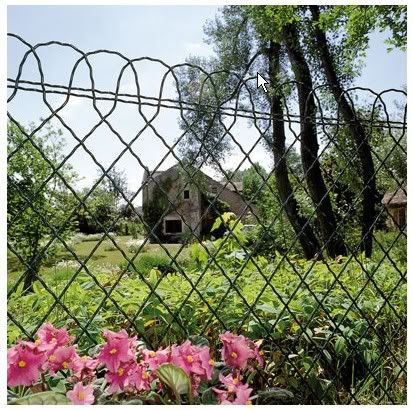
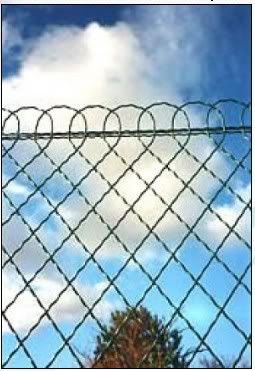
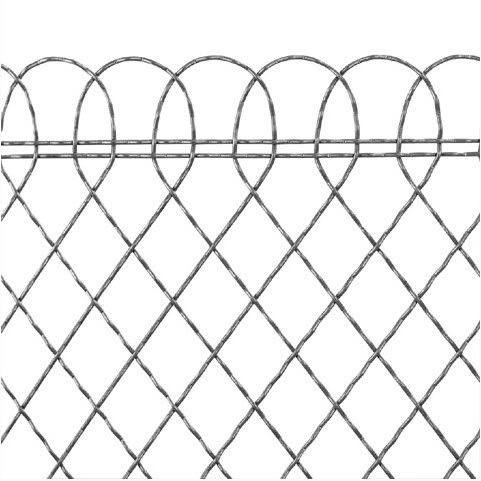
In my mind the problem was "how to draw a sinusoid following the path of one element (component) and matching the good crossover at the various meeting points?"
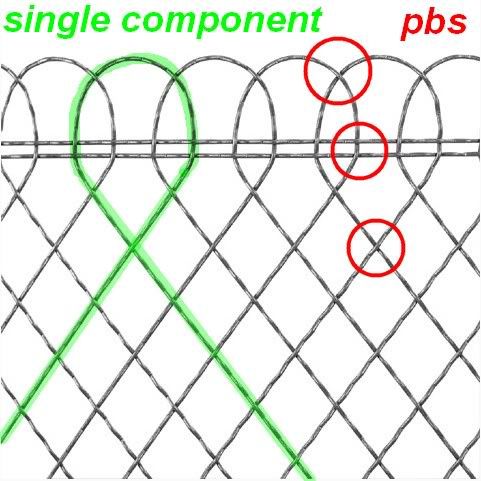
The solution you had applied to your geodesic weave sphere opens to me some idea to achieve this..
-one element of answer is that each component goes with a neighbor mirrored one.
clic to enlarge
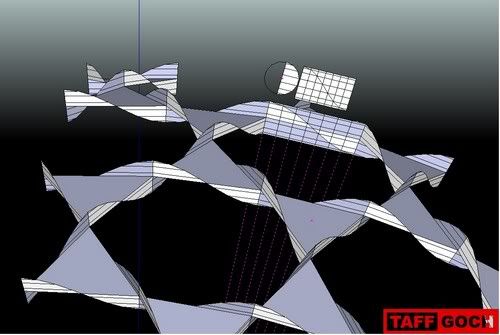
But it remains a difficult exercise I guess

 simon
simon
PS: I'm completely found of your warehouse geodesic collection -
A couple or tries with IRendernXt


-
-
Good renders people, given it a try in Shaderlight for SketchUp

Martin
-
Martin,
I was shooting for "jade" last night (and missed.) What I got is similar to yours, in green, rather than red.
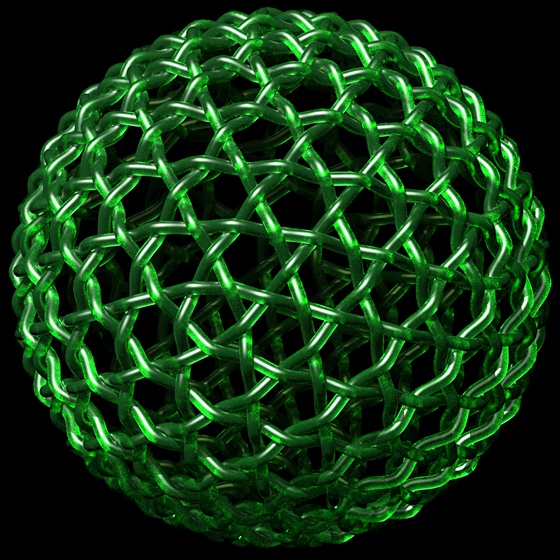
-Taff -
@simon le bon said:
But it remains a difficult exercise I guess

Simon,
Tedious, yes! -- Difficult, not so much.
Technically, the concept is simple. Scaling the sine wave lengthwise, to fit each straight line segment, is all that's required (while keeping the wave height constant.) It just takes some time to do each segment. If you need another example, here's a "flat" weave that employs the same technique:
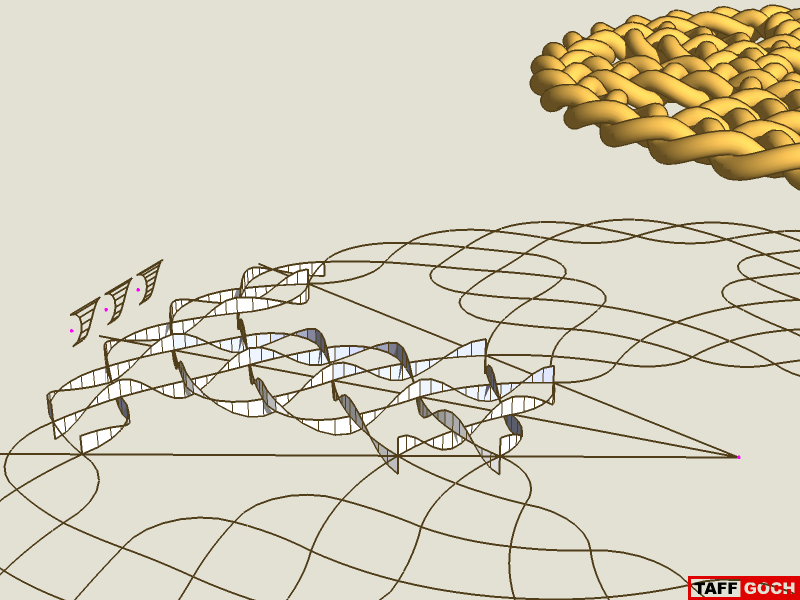
If it had not been for the radial symmetries in both of the weave models, I would not have attempted them. With symmetries and component-copying, the modeling becomes (almost) trivial. Actually, the flat weave was more troubling than the sphere!Taff (Welsh nickname, for Dave) Goch (Welsh, for "red")
-
that will look nice on my Christmas tree this year.
Hello! It looks like you're interested in this conversation, but you don't have an account yet.
Getting fed up of having to scroll through the same posts each visit? When you register for an account, you'll always come back to exactly where you were before, and choose to be notified of new replies (either via email, or push notification). You'll also be able to save bookmarks and upvote posts to show your appreciation to other community members.
With your input, this post could be even better 💗
Register LoginAdvertisement


