Disco ball
-
Someone asked me how to make the disco ball in this thread: http://forums.sketchucation.com/viewtopic.php?f=81&t=23889&hilit=Disco+Ball#p204067 and I typed up a step by step to send to them. Figured if I'm going to do so, I might as well share it so if anyone else happens to search for it they can see it too.
1 - Create a sphere with enough segments to make the number of mirrors you want, I think I used 50. Make sure you use life-size dimensions! The ball I made is maybe 1.2' dia.
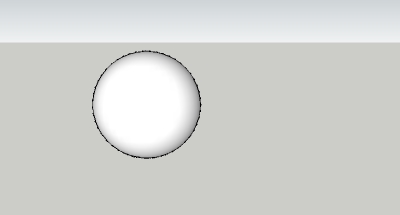
2 - Paint the sphere any color
3 - copy the sphere
4 - place a construction point at the top of each sphere, there will be a circle there, use "set center point" plugin to place it in the exact center of the sphere's vertical axis
5 - paint sphere #2 a different color
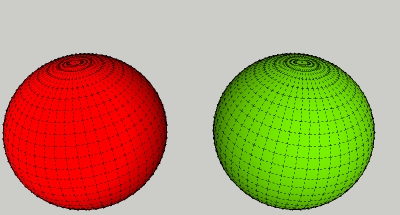
6 - group each sphere independently, sphere #1 is going to be your "mirror", sphere #2 your glass. Make sure to include the construction point. I just noticed that "protrude" deletes the color. Select all and re-apply the color.
7 - View hidden geometry. Select all of sphere #2. Use the protrude plugin on sphere #2, make the glass a realistic thickness - no more than 1/4" thick. I.e. Offset: 0, Height: 0.2, Taper: 0. The protrude plugin will extrude the faces and remove the original face; you want this to happen, otherwise you wind up having to remove the original faces yourself.
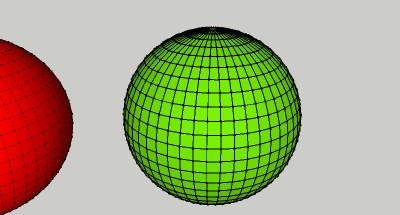
8 - You now have one sphere that is the glass (#2) and one that is your mirror (#1). Grab either sphere by the construction point and snap it to the construction point of the other sphere, they should line up perfectly. Sphere #1 becomes the backing for extruded parts of sphere #2. They are colored differently so that you can apply a dielectric glass to the color you applied to sphere #2, and you'll need to play with the textures in kerky to get a mirror texture for sphere #1. The basic pack > silver with the shininess bumped up to 200 is a good start.

Hello! It looks like you're interested in this conversation, but you don't have an account yet.
Getting fed up of having to scroll through the same posts each visit? When you register for an account, you'll always come back to exactly where you were before, and choose to be notified of new replies (either via email, or push notification). You'll also be able to save bookmarks and upvote posts to show your appreciation to other community members.
With your input, this post could be even better 💗
Register Login


Advertisement