My hypershot interiors
-
let me make this as the place for my hypershot interiors. love to see them in one place.
-
Sweeeet! Good composition. But I thought you were a vray guru?
-
Oli, Nomer is not a guru....Nomer is T H E _ P R O F E S S O R.
Nomer, when I had the demo version, I have never dreamed that Hypershot will "do" interiors....never ever!
I think it's pretty darn good. Congrats! -
verrry nice ,mate
I've tried the hypershot , but wasn't able to get interior scene...how can i do this? how can I adjust interior camera? does it support su scenes? or there is something that i've missed? -
Perfection

hypershot? -
@olishea said:
Sweeeet! Good composition. But I thought you were a vray guru?
hehehehe. i wish.. but still need to eat a lot of pasta and rice.
-
@stefanq said:
Oli, Nomer is not a guru....Nomer is T H E _ P R O F E S S O R.
Nomer, when I had the demo version, I have never dreamed that Hypershot will "do" interiors....never ever!
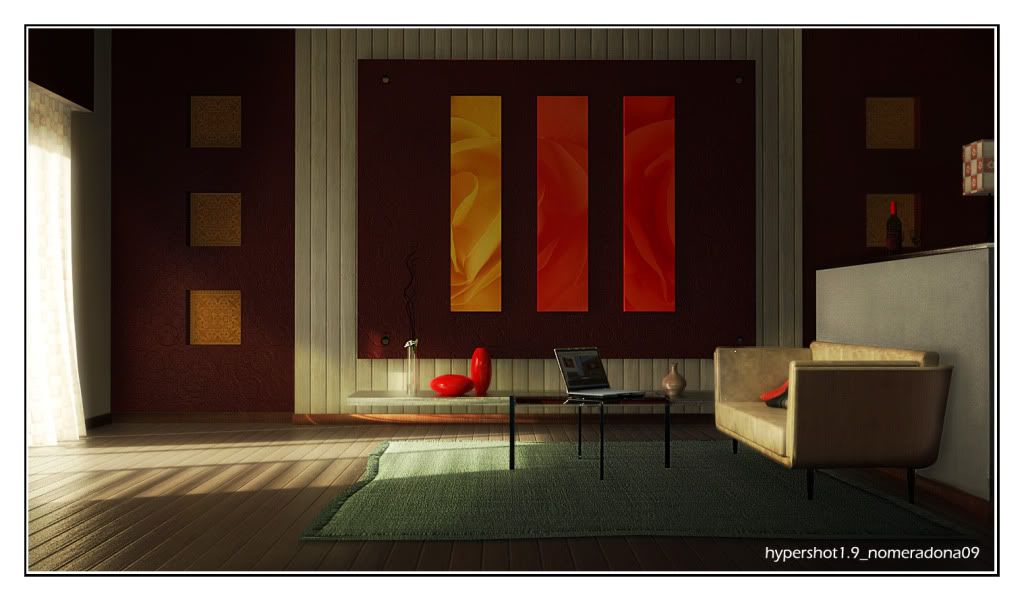
I think it's pretty darn good. Congrats!its still limited stefan for the interior. my approach with hypershot is the same like when i am just using sunlight in podium.. you need to punch some holes from the walls behind the camera.. then adjusting the intenisty of the hdri and gamma. I still remember last time you gave me an idea of the backplate and raising the intenisty way up high.. that's exactly what i do.m to have contrast in shadow i then lower the gamma... I think its still ok. but for night view still having difficulty. here is a try with telying on hdr and refelectnace material with diffuse map.
-
@unknownuser said:
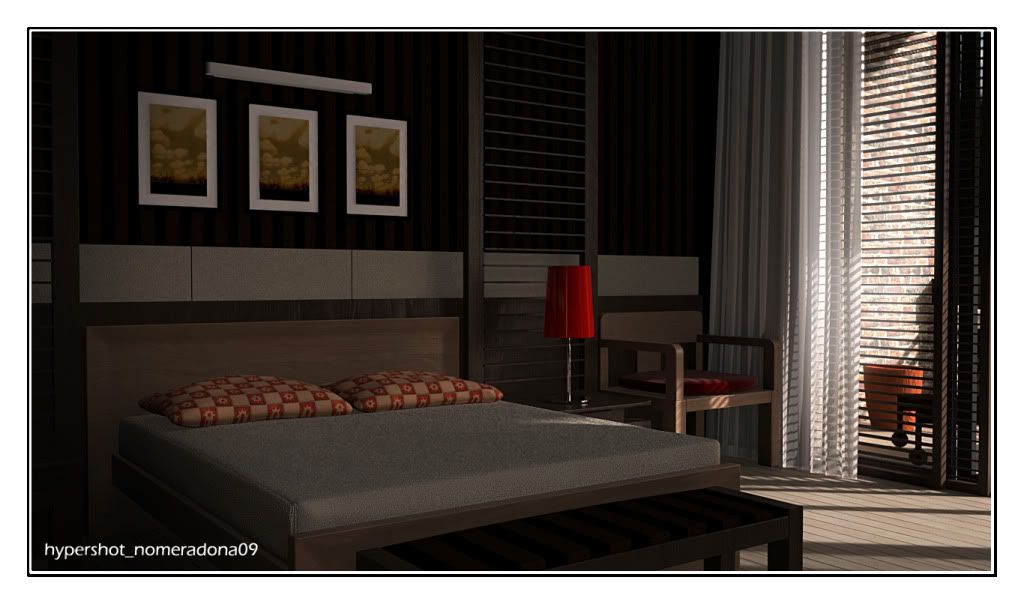
Lighting created by the blinds, window...texture near by on the floor...really very attractive.
thanks modelhead. i always like that kind of effect too. specially using blinds.
-
@majid said:
verrry nice ,mate
I've tried the hypershot , but wasn't able to get interior scene...how can i do this? how can I adjust interior camera? does it support su scenes? or there is something that i've missed?you can adjust the field of view, location of the hypershot camera.. its like an SU camera. it doesnot support SU scenes. take note of the center of the rotation of your camera and also use the type in box (camera) for your field of view.
-
@michaliszissiou said:
Perfection
hypershot?i think you will agree with me here mike.. as an artist we love pushing the limits of softwares especially when they are branded.. they cant do this they cant do that. and happiness always comes after discoveries.
-
thank you... now I must give it a try.... but I haven't seen any light also, does it support emitter materials?
-
@majid said:
thank you... now I must give it a try.... but I haven't seen any light also, does it support emitter materials?
no light just emitter. there is a tutorial in bunkspeed how to do that material which you will apply to an object.
-
-
@unknownuser said:
@unknownuser said:
you need to punch some holes from the walls behind the camera
Tricky

but effective.

-
adding overlayer light yellow to the rendered image in PS.
-in PS a light yelow fill with overlay as blending mode
then add a mask to remove some areas were i dont want the effect. this te same technique i used in the third interior.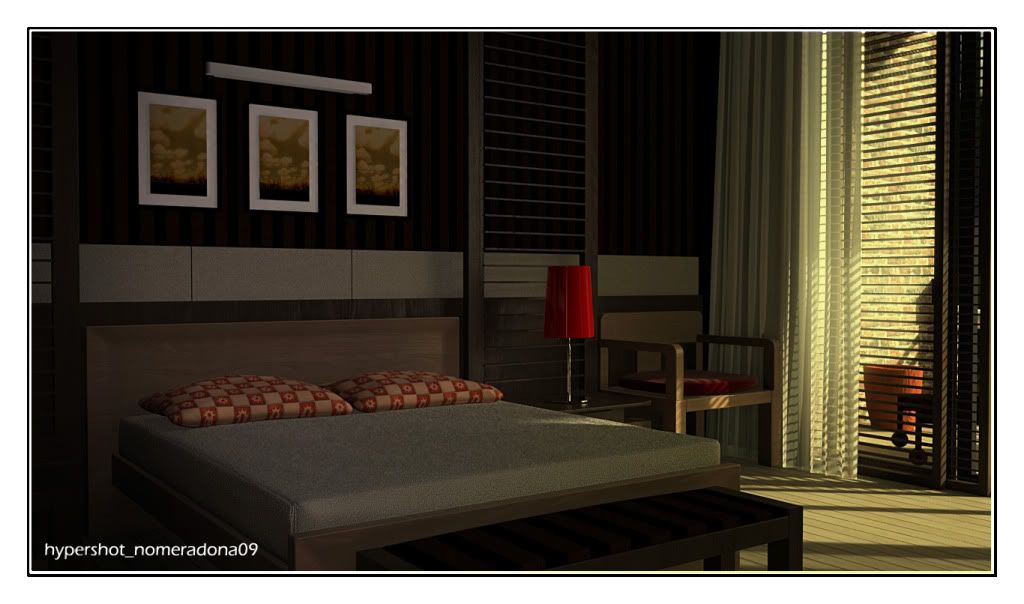
-
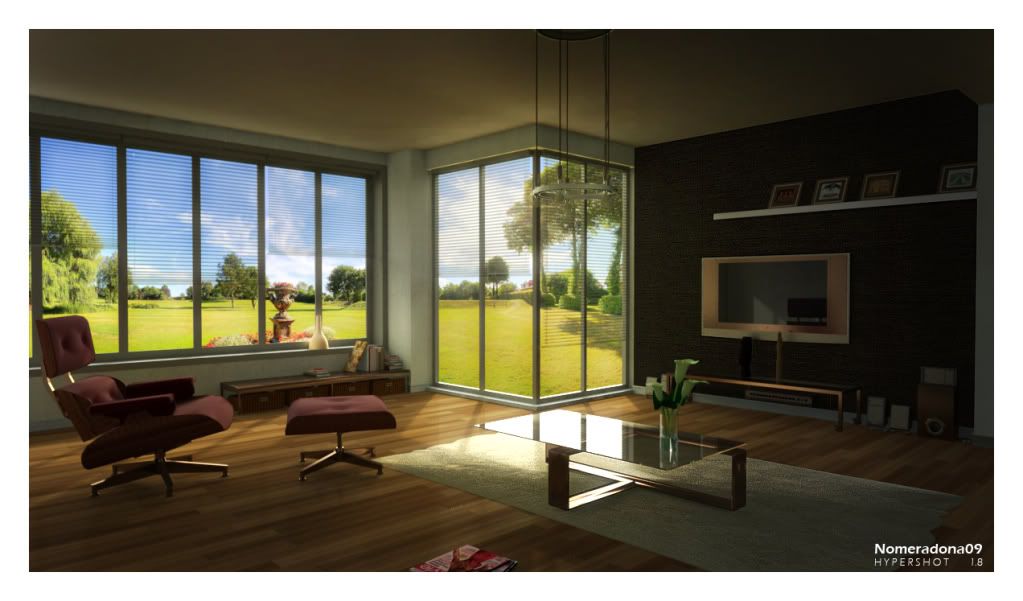
I love this window nomer. So perfect and so peaceful.
About textures, it looks like a UV mapping. What app have you used? -
@michaliszissiou said:
I love this window nomer. So perfect and so peaceful.
About textures, it looks like a UV mapping. What app have you used?michalis.. hypershot including uv mapping. hypershot has uv mapping but i think the cylindrical and spherical are still in beta stage. but it detect first the uv mapping from other modelling apps like su or others if you are rea ttaching the texture you use with SU or other application.
-
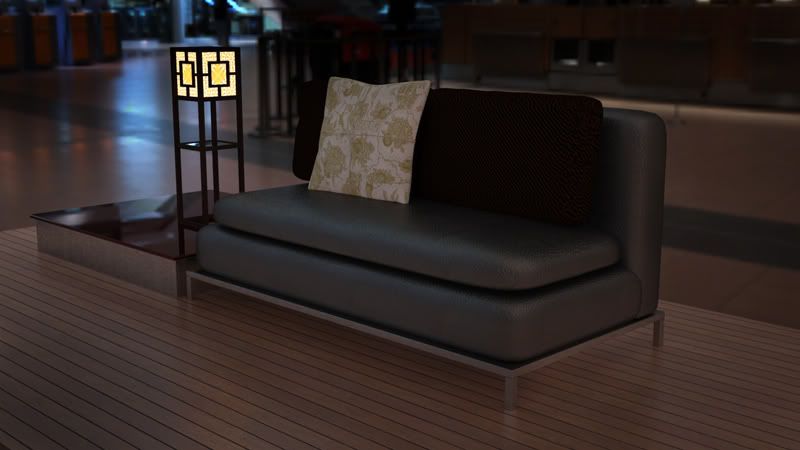
just dof from hypershot again.. love it.

-
Yes, it's beautyful.....and very easy to do, as far as I remember.
I just don't get it....WAY WAY all the apps has to be brilliant just a half....I love vray, but I love mental ray materials as well....I love hypershot for product rendering, and I love rhino for his curves, and sketchup for being so easy to use....I love modo because it fitting like a glove for a real modeler...
Ooh...well
-
@stefanq said:
Yes, it's beautyful.....and very easy to do, as far as I remember.
I just don't get it....WAY WAY all the apps has to be brilliant just a half....I love vray, but I love mental ray materials as well....I love hypershot for product rendering, and I love rhino for his curves, and sketchup for being so easy to use....I love modo because it fitting like a glove for a real modeler...
Ooh...well
hahhaa that was nice... me i will push this hypershot in interior. i think i begin to understand things which i dont before. hope i could write a tutorial that focus with interior...
Hello! It looks like you're interested in this conversation, but you don't have an account yet.
Getting fed up of having to scroll through the same posts each visit? When you register for an account, you'll always come back to exactly where you were before, and choose to be notified of new replies (either via email, or push notification). You'll also be able to save bookmarks and upvote posts to show your appreciation to other community members.
With your input, this post could be even better 💗
Register Login


Advertisement