My hypershot interiors
-
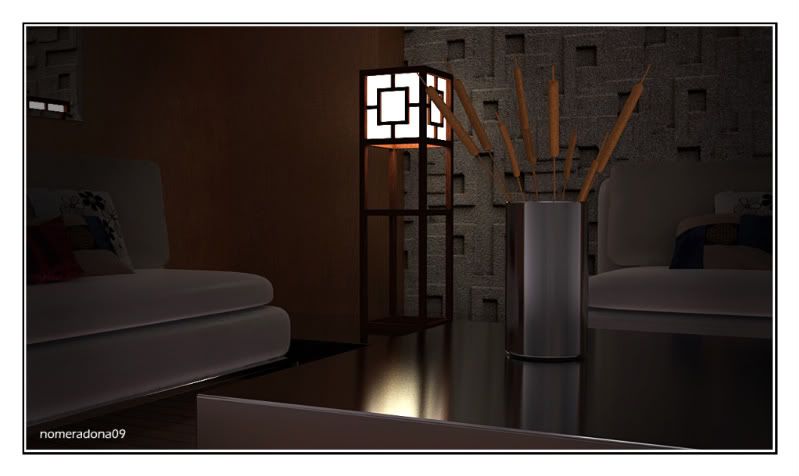
trying to explore emissive lighting for night time render.
this one i decided to use photshop
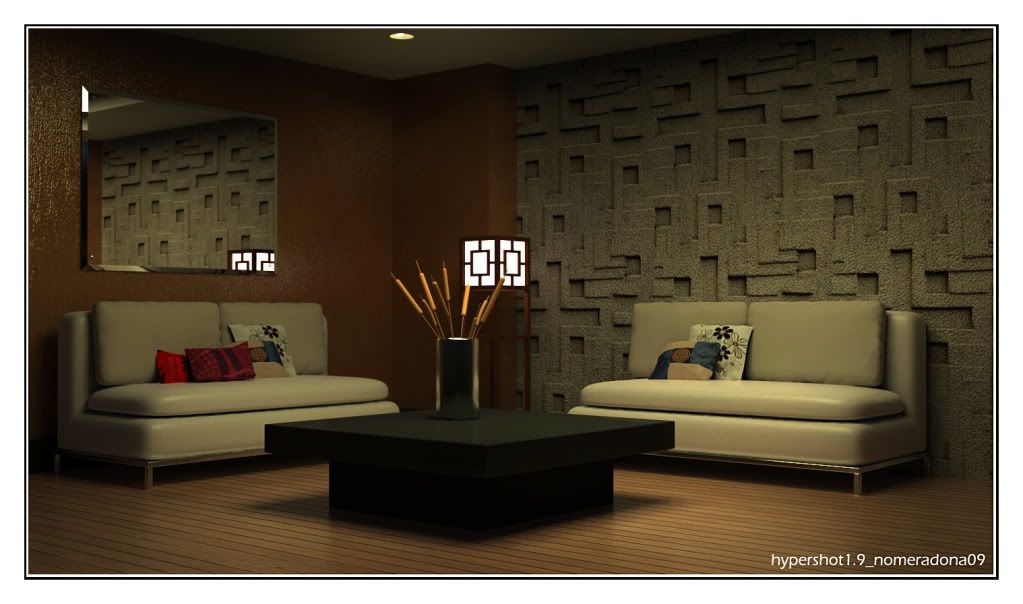
here is the original hypershot output. but without shoting much of the ambient box.
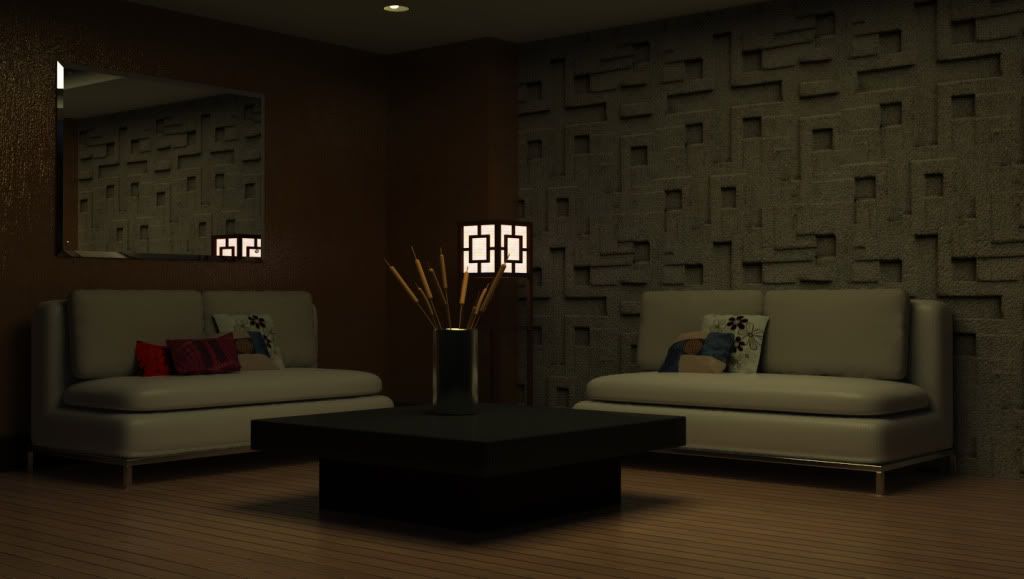
-
it seems that using only emissive lighting is not really advisable for hypershot. i was rendering last night just 800px width its ok but too grainy. the graininess definitely could just be corrected using alot of samples and bounces. in the end you will end up long rendering time. which i definitelty hate. i guess the best really is to use the combo of the hdri lighting as environment to become the ambient light and simulate the light using emmissive lighting, later Ps can still play an important role. having a seperate point light really would be a much better solution.
-
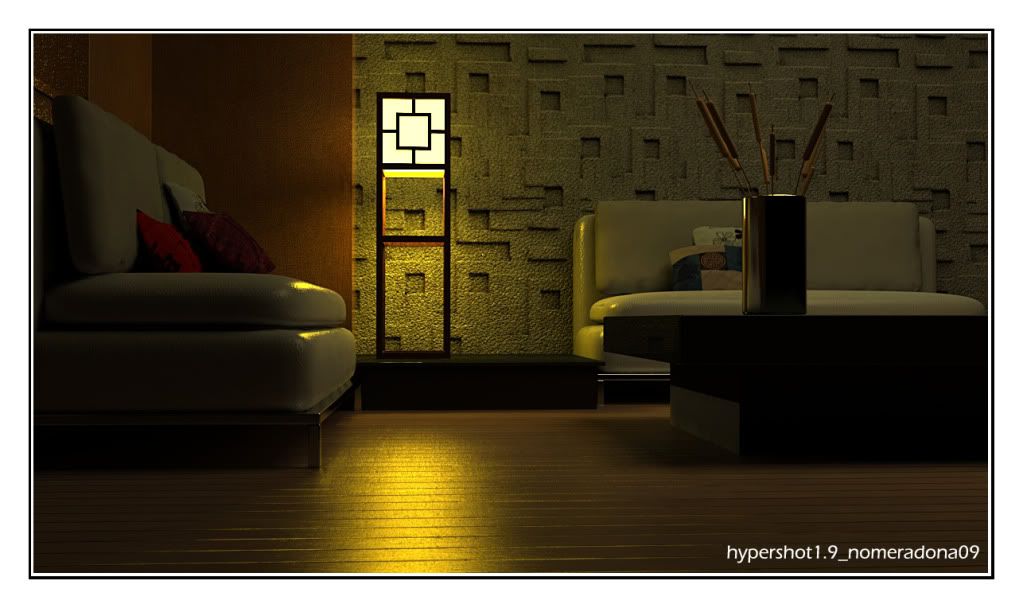
interior lightied by only emissive lighting no photoshop.
-
Here is a small tuotirial how to create an emissive material in hypershot using photoshop
emissive material is done using hdr material and here is how to do this is photoshop.
- create new image 512x512 pixel.. any pixel will do
- convert it into 32 bit/channels (image/mode)
- double click the white color on the color picker, then an intensity color picker will appear..
- select the color picker and adjust the luminance. (the higer the luminance the stronger the emissive light)
- editr/fill or just hit F5, then apply the color that you have chosen.
- save as radiance (hdr)
note: . if you chose with color, the light effect will be the color of that radiance map
-
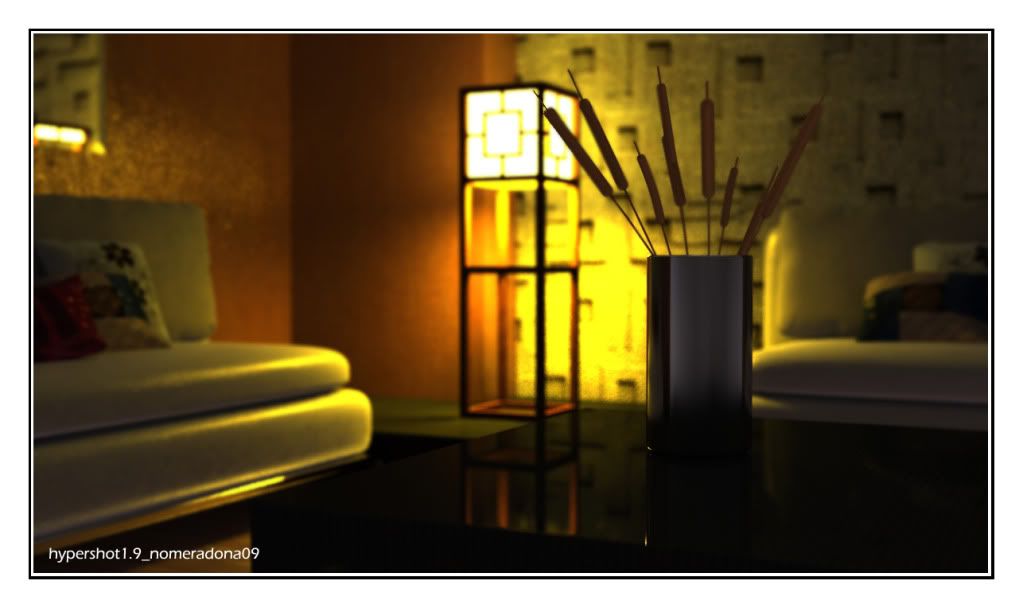
another depth of field using camera fstop of 1.4
-
Hey Nomer...great stuff as always. Curious, are you using the render button for these, or letting the realtime preview run and using the screenshot? Thanks for the tips about HDRI for emmissive materials...always wondered why mine would never cast light. I have an interior scene I am building for practice....you make me want to try it in Hypershot!!
I also have a question about the new "MAP" button at the bottom of the material window. Are those all bump map settings, or does the UV stuff control all textures? Also, if you choose "normal map mode", which height adjustments to you use....the one in the "MAP" rollout window, or the one in the main material window? The new features are a little confusing. Can't wait to see what they do in the new 2.0.
-
@earthmover said:
Hey Nomer...great stuff as always. Curious, are you using the render button for these, or letting the realtime preview run and using the screenshot? Thanks for the tips about HDRI for emmissive materials...always wondered why mine would never cast light. I have an interior scene I am building for practice....you make me want to try it in Hypershot!!
I also have a question about the new "MAP" button at the bottom of the material window. Are those all bump map settings, or does the UV stuff control all textures? Also, if you choose "normal map mode", which height adjustments to you use....the one in the "MAP" rollout window, or the one in the main material window? The new features are a little confusing. Can't wait to see what they do in the new 2.0.
hi buddy! first of all if you want a much effective interior openings are really necessary e.g. to the roof and to the walls. as we know hypershot relies heavily on the hdri environment. as i have said this is the common approach also i do for podium. its faster in rendering and also it adds ambient lighting. so preparing the model in sketchup and going back and forth is necessary. as you know architectural interior is still difficult with hypesrshot but i think from 1.8, the shadow and also the use of emissive lighting has improved tremendously. but the greatest improvement is the texturing. honestly texturing is my favorite and IMHO better than vray, whilst i am sticking for the meantime with this soft.
as for your queries:
i am using the render button. no screenshots.-
for general material that map button is for map, and you can adjust everything using the bump height. reverse bump can be corrected using negative values. i wont advise that. i have used two bumps for my carpet
on for normal one another usign that MAP below.. man it took long time to render. i wont do it again... -
I definitely like the plastic material... it has MAP for both bump and diffuse. most of my materials (wood, leather etc) are using just plastic.. i guess i will jsut be using this material over and over.
if you use normal map.. it works the same as black and white bump, adjust the bump using the height option..
-
-
last image for this interior...again pure hypershot output with only the watermark and frame added in photoshop.
Advertisement


