Monopod to cane conversion
-

I have an occasional need for a cane and an occasional need for a photographers monopod. I decided I could make a passable conversion to serve both purposes.
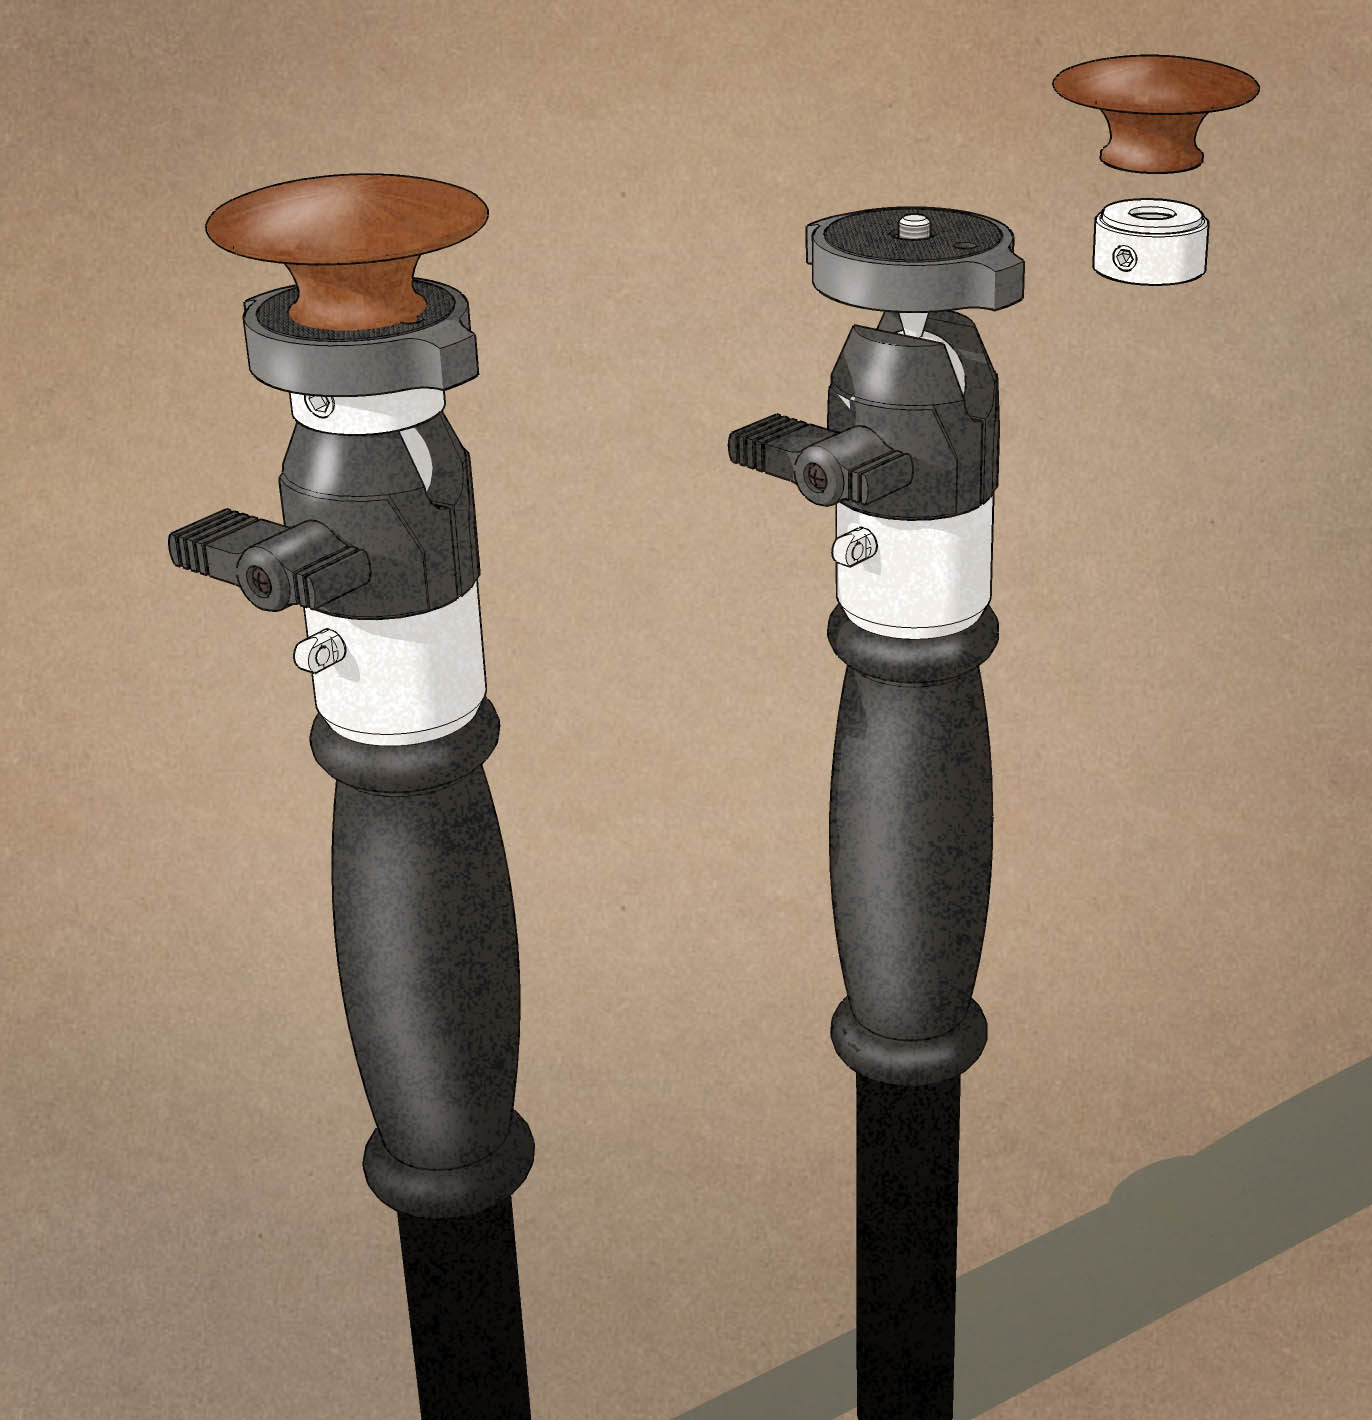
On the left is the cane version. On the right is a monopod and the parts need for conversion. First of all you need an ergonomic grip that fits the palm of your hand and covers the camera screw. For now I am using a large drawer pull that has been drilled out to accept a threaded nylon sleeve held in place with super glue. The pull is not ideal but works for now. Eventually I will find or make something like an egg shaped doorknob to provide better grip. Second the ball head on the monopod was designed for a small digital SLR camera and not the weight of someone who is 6'1" and 230 pounds. Under this weight the camera support always moves even when the tightening lever is fully clamped.
I bought a washer and a pipe collar and super glued them together. Inside the pipe collar, I inserted some plastic tubing to make a snug fit on the screw emanating from the monopod ball. I slip this gadget over the camera screw and top it off by screwing on the camera platform. This configuration shims the camera platform onto the leg of the monopod and takes all pressure off of the ball.
As soon as I collect the needed textures and bump maps I will render in Kerkythea. My base platform was the second cheapest monopod available and it turned out to be well engineered. I did some tests with my camera pointed at a laser dot from 22 ft. using a 300mm digital lens (the equivalent of a 450mm lens on a 35mm film SLR). With my foot planted on the monopod's foot bracket the result was almost as sharp as tripod mounted test (with the tripod, you could see reflected rings from machining inside the laser housing projected on the target). With the monopod, but not using the foot bracket, the motion blur was still only about .25 degrees of arc.
Before testing, I was going to discard the foot bracket because I could not see how it worked. However the tests showed that the bracket removes rotation around the axis of the monopod, a factor I had not considered.
-
Roger,
Get a patent fast .... there might be demand! http://forums.steves-digicams.com/tripods-heads/52613-monopod-walking-cane.html
Then the next step has to be the Dragon's Den

Mike
PS: Cancel that! I read the total link and saw this http://www.trek-tech.com/products/trekpods.html
-
The trek thing listed for about $400. My monopod was under $30 and that included the drawer pull, nylon insert, washer, and pipe collar. I am not convinced by the quasi tripod base of the Trek unit. Forget sharpness for a second, I don't think I want to put a $1,000 camera on a support with that small of a footprint. Also it would not work on uneven or soft surfaces.
I was hesitant to go for the low price unit (DMKphoto) but it was a pleasant surprise in terms of solidity.
-
I'll probably go for something like this in the near future, too. For "walk & shoot" photo sessions you don't need a big tripod but a monopod like this might come handy. Also, I've just bought a small laser meter (to measure buildings and such) and a monopod with a known length would be much more handy to put the meter on then creeping on the ground to measure the height of a building.
As for the "handle"; I also have some practice in that. My best and most favourite umbrella in my life had a broken handle and I also inserted a drawer pull to substitute it. I still have the umbrella although I don't use it any more. These are the greatest "tweaks" to these everyday objects.
-
Gaeius, do you have any thoughts on the accuracy of models made via photomatch? Have you done any tests? Also there is a company out there that peddles photo measurement software. They also sell magnetic and sticky backed yardsticks that create a known distance in your photos.
-
I don't really use photomatch to tell the truth. In my "original" (and still "favourite") field, reconstructing archaeological finds, you cannot really take a photo of what's been destroyed for centuries. Sometimes however, it could be nice to start from a photo of the ruins (often just foundations) "similar" to photomatch and in a final presentation (video for instance or slide show transition) show the ruins and what they could have looked like "back then". I'm currently trying to experiment with this but it's very hard without a real vertical line of the building (since there are practically no walls at all).
When modelling existing buildings, it's again the problem for me to find a good angle to shoot from. My city is built in with houses attached to each other along the streets so I cannot really get a "classical" PM angle (the corner with two façades showing). Like here; how could you PM any of the buildings (not to speak about the fact that there are no right angles anywhere at all for the PM axes)

But then I have the dwg plan for the whole city (that's for 2D and I now have the laser meter for the heights) so I don't even need PM

But in any case I'd consider it to be much easier and faster to model with the help of a couple of measurements than with PM although certainly it can have the advantages and use; showing a "before and after" effect, installing a design into some existing context etc. Like here; http://www.sketchucation.com/forums/scf/viewtopic.php?f=81&t=19245 - great modelling and adjusting the rendered image to the original. -
@unknownuser said:
do you have any thoughts on the accuracy of models made via photomatch? Have you done any tests?
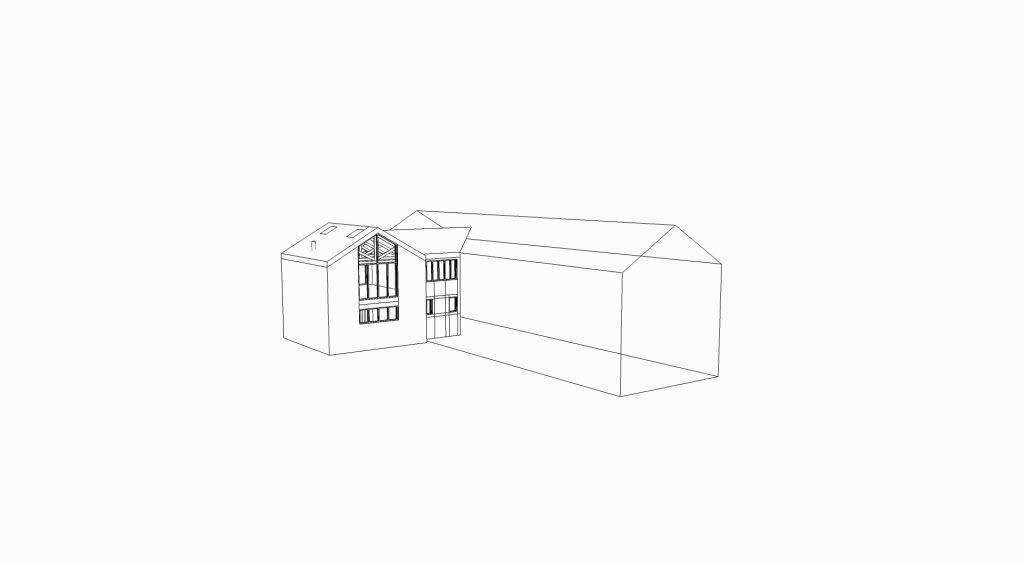
If the original photo you are working from is high resolution and has a very defined x and y axis then photomatch can be super accurate. I use it all the time for building proposals. You can get even more accuracy if you make wireframes of adjacent buildings/landmark/objects (from plans/elevations/sections etc) and then line them up with the photo like this:


You just need to make sure your verticals line up right and your origin is in the right place. If there are no parallel and perpendicular lines in the photo then setting up the photomatch is very difficult.
-
Olishea, can you be more specific as to how you define super accurate? If I was going to use photomatch in front of a legal jury, how could I explain what factors effect accuracy and what to expect from a photomatch created model?
-
Basically.....
If the lines in your photograph are not parallel and there are no EXACTLY perpendicular faces then the photomatch cannot be accurate.
I have never modeled anything FROM a photomatch in 'sketch over' mode, rather I have model something first then matched it to the photo, not the other way round.
The higher the resolution of your photo....the more accurate you can match the perspective as the lines are clearer and more defined.
How accurate this method is compared to others-I do not know, but it works for me.
I'm not sure that SU models could be seen as evidence (if thats what u need it for), it could be regarded as conjecture I think. You would need an expert witness I'm guessing.
-
@gaieus said:
I don't really use photomatch to tell the truth. In my "original" (and still "favourite") field, reconstructing archaeological finds, you cannot really take a photo of what's been destroyed for centuries. Sometimes however, it could be nice to start from a photo of the ruins (often just foundations) "similar" to photomatch and in a final presentation (video for instance or slide show transition) show the ruins and what they could have looked like "back then". I'm currently trying to experiment with this but it's very hard without a real vertical line of the building (since there are practically no walls at all).
When modelling existing buildings, it's again the problem for me to find a good angle to shoot from. My city is built in with houses attached to each other along the streets so I cannot really get a "classical" PM angle (the corner with two façades showing). Like here; how could you PM any of the buildings (not to speak about the fact that there are no right angles anywhere at all for the PM axes)

Is your laser rangefinder a Bosch unit? I really want one. I find the biggest potential for time savings is in the collection of accurate measurements where existing objects are involved.
Regarding modeling the facades in your home city. I know what great work you do and how much experience you have accumulated, but have you overlooked that to establish the vanishing points, the parallel lines do not have to be just in the building. For example, you can pick two lines from the building facade and the other vanishing point can be established from the street cobbles. Or lets say the street cobbles did not exist, two loops of bright string marked off in 3/4/5 proportions could establish your street plane right angles and vanishing point. I would do one facade at a time and consider each building a component for assembly in a final layout.
Does this make sense to you or am I being impractical?
-
@roger said:
Is your laser rangefinder a Bosch unit? I really want one.
Yup, A Bosch PLR 30. Not the latest model but does what I need it for and it was also on sale

Well, as for the cobbles in that particular street; they run in all directions but at right angles.

As (I think) I said above, I have the city plan in dwg and I certainly find it much easier to model from that file (plus the vertical measurements with the Bosch unit) than with PM. However I do realise its potentials (have you seen what Olishea posted - again?) just not for this particular task.
Advertisement


