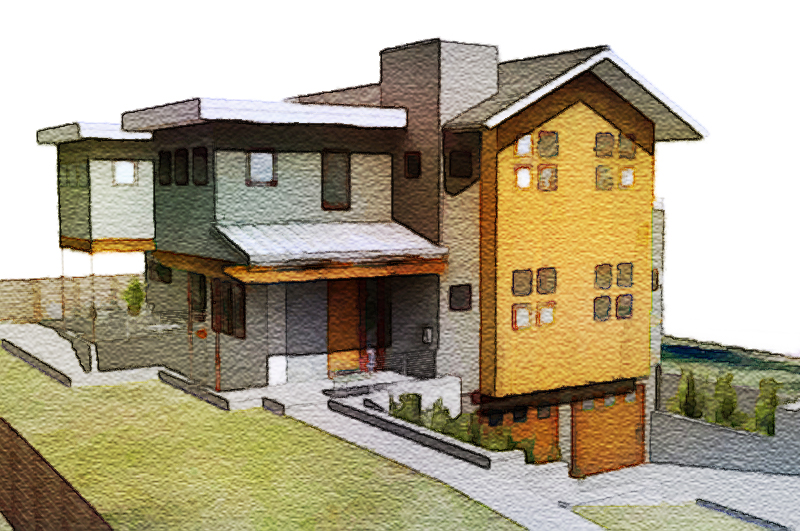
Easy digital watercolor
-
ok , good job . now try this way : pure SU textured (no shadow)layer below , apply clay render of the same view from KT as luminosity layer over it , merge layers , apply ripple filter as : 50% medium over merged layers . add line layer over it as multiply layer , have fun
-
can't get your action to work - running ps 4.0. could you post your steps in ps that comprise your action?
this was done with basic ps techniques - took 5 min.jb

-
the main idea is: copy tha fist su exported layer( a gussian blur /and then (unsharpen mask) layer) over the first layer as overlay (+ curves midified) then using anothercopied layer and posterized/then gussian blured for more color as mutiply and then overlayed over first layer . and a spatterd layer for watercolor effect over them . then merged together . u may improve the technique

-
Canoek,
I will post Majid's actions for PhotoShop. You may need PhotoShop 6 or greater for these actions to work, I'm not sure. He actually has two actions, both are a little more involved than what he describes.
I will post some images of before and after. The second action I will post in a separate reply.Majid's Photoshop Action 1:
-Copy Background Layer ("Background Copy")
-Gaussian blur 11.5
-Image/Adjustment/Posterize 16
-Glass/Frosted, 14,11,100%
-Set current Layer Style: Overlay, Opacity 100%
-Copy Background Layer ("Background Copy 2")
-Gaussian blur 5.4
-Image/Adjustment/Posterize 12
-Set current Layer Style: Multiply, Opacity 100%
-Image/Adjustment/Brightness +55, Contrast -90
-Make a New adjustment Layer (Levels 1)
-Image/Adjustment/Levels: RGB Input 0,1.83,255; Output 0,255
-Select Layer "Background Copy 2"
-Gaussian Blur 3.2

.")
-
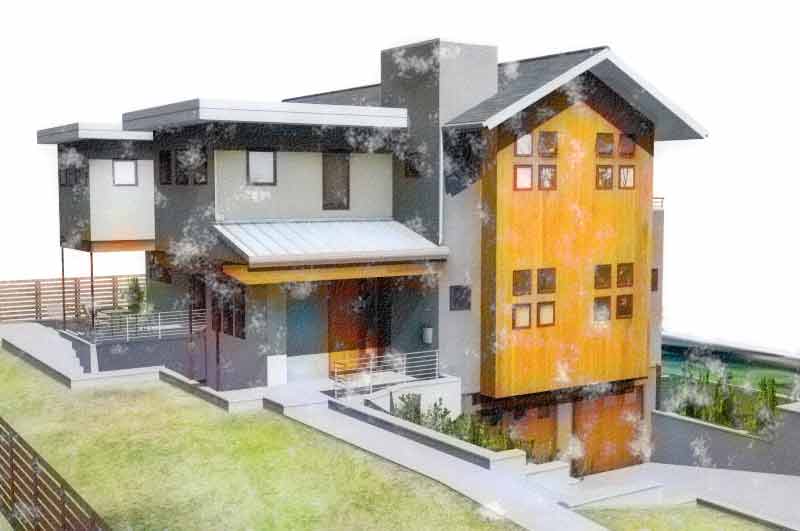
here is my 2nd generation and 3rd generation of watercolor action ( specially for pure SU output , not renders ). i used it over the image that PKast send . the main idea is combination of filters to make strong edges like watercolor and spreading color to near areas .
-
Canoek,
Here is Majid's 2nd action for PhotoShop. This action is longer than the first.
Majid's Photoshop Action 2:
-Copy Background Layer ("Background Copy")
-Gaussian blur 11.5
-Image/Adjustment/Posterize 16
-Glass/Frosted, 14,11,100%
-Set current Layer Style: Overlay, Opacity 100%
-Gaussian blur 5.4
-Image/Adjustment/Posterize 12
-Set current Layer Style: Multiply, Opacity 100%
-Image/Adjustment/Brightness +55, Contrast -90
-Make a New adjustment Layer (Levels 1)
-Image/Adjustment/Levels: RGB Input 0,1.83,255; Output 0,255
-Select Layer "Background Copy 2"
-Gaussian Blur 3.2
-Colored Pencil 24,7,42
-Edit/Fade 50%, Normal
-CutOut 8,5,3
-Edit/Fade 24% Normal
-Texturizer/Canvas 170%, 3
-Spatter 6,5
-Texturizer/Sandstone 170%, 3Thanks Majid. I think you use some interesting techniques in your style, a little bit different from the others. I learned a lot by studying your actions. I also like the idea of using actions to quickly get through the tedium of repetitive tasks.
Best PKast
")

-
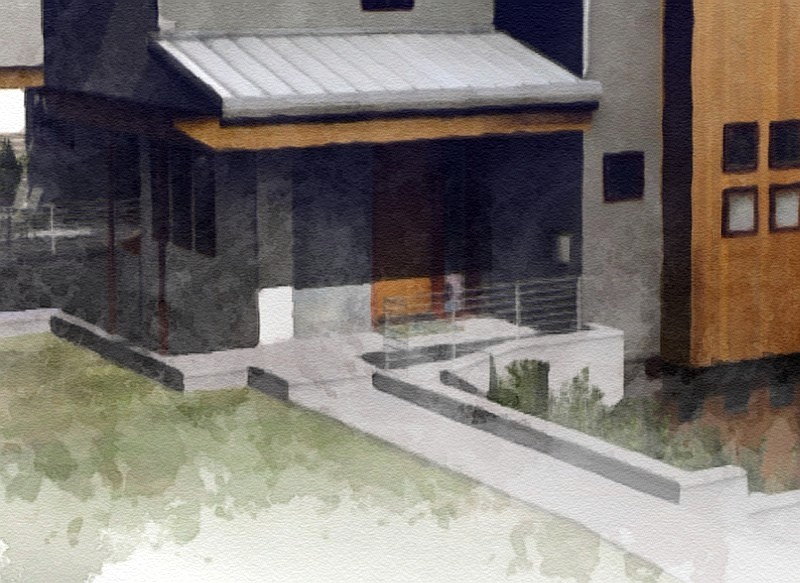
thanks PKcast for listing the steps in Majid's actions. i tried them both, but i don't think either one is effective in creating a DWC. it has been my experience that if you want to create realistic DWC there isn't a one button filter or action that will do it for you. you must play with ps filters and adjust to taste.
here is my DWC of your skippy utilizing basic ps techniques.
jb
-
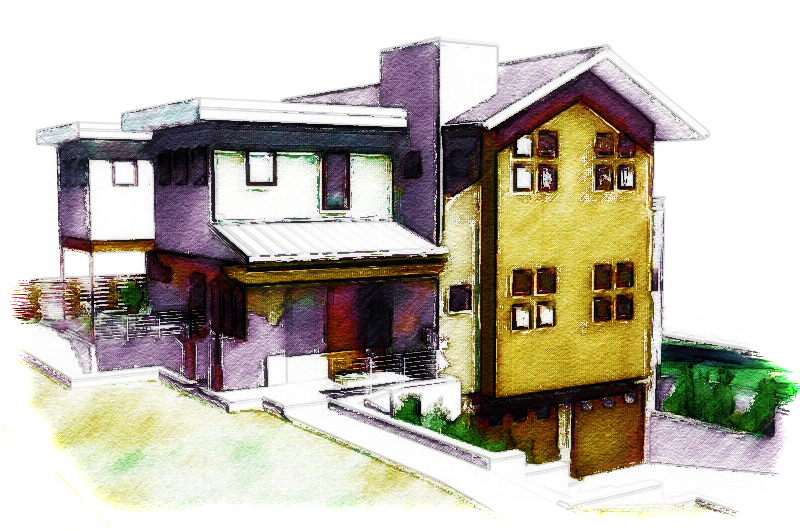
I couldn't resist playing with PKast's original image and trying to turn it into a digital watercolour. I tend to agree with Canoek's comments regarding needing to look at each image and adjust. The tweaking needed suggests creating an 'action' might not be suited. My own technique isn't done in Photoshop. I use Xara Xtreme Pro vector illustration software. In it I do use PhotoShop-compatible filters. For this image I used 'KPT Pyramid Paint', a 'jiggle' filter and a bunch of Xara transparency features. Early I also combined the image with another bitmap to get in the mottled colours and to wash out the foreground.
If I had had a line only export to add to the mix I think I could have had a better result. Overall the technique I use is easy enough I tend not to think in terms of automating it.
Regards, Ross
-
i 've tried to make an action that works over pure su exports not renders . i've tried to simulate watercolor loose and nonuniform color surfaces ... and put enough adjusting layers over the result to enable you to simulate watercolor . also it simulates semi realastic render . you can see my weblog for more samples . or if it is possible give me one of your su pure outputs to see the result . BTW i agree that having a good DWC needs experience and also working whit your digital software . plz see : http://art-yeganegi.blogspot.com/2008/02/digi-watercolors.html
-
I still think Majid came up with some new and interesting uses of PS filters, that are not commonly used in Dennis' or Grant's techniques or in the Sketchup PDF about watercolor effects on Skippy files. I do agree that these actions by themselves would only be a starting point in the DWC process, not as an end result.
Ross, I do think what you were able to do with a jpg is quite remarkable. That looks pretty good to my eye. You may spike a sales upsurge of Xara Xtreme
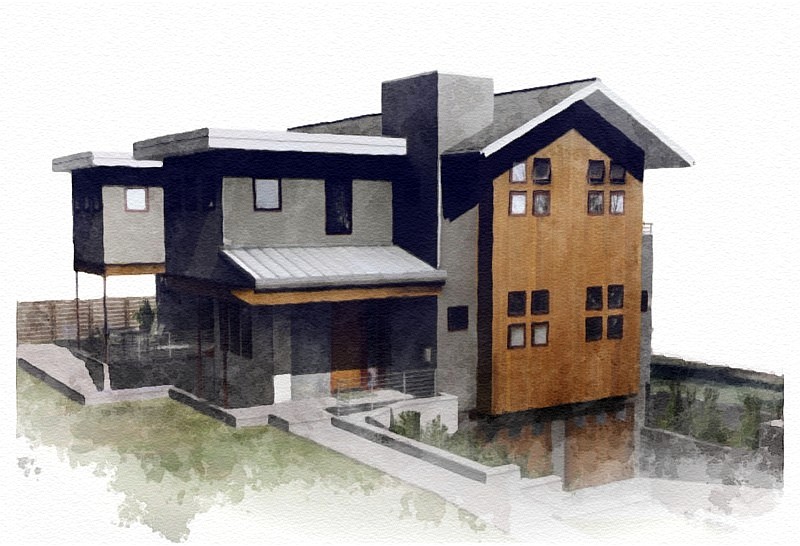
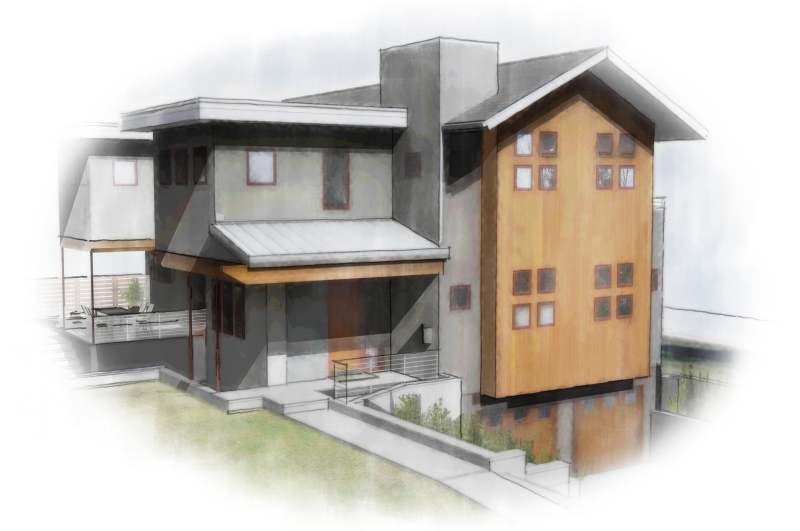
Here is a result using Majid's actions as a starting point.
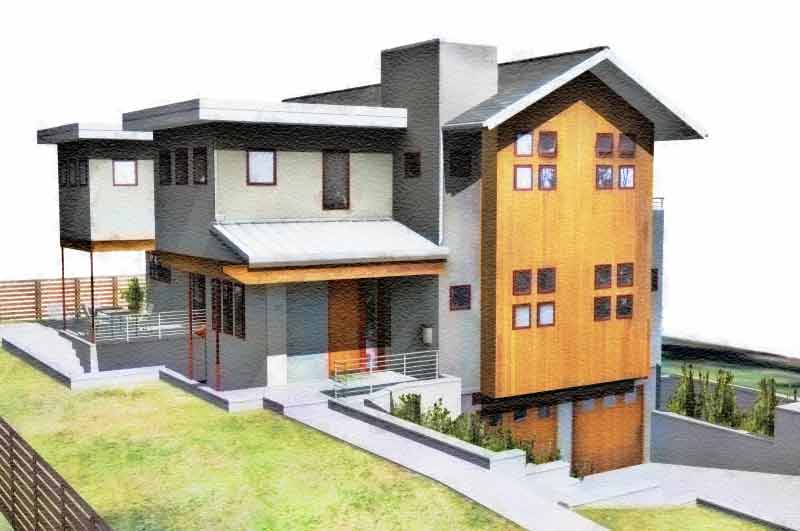
By the way the skippy used here was created by VaST Architecture in Colorada and downloaded from the 3d Warehouse only for illustrative purposes here in this post.
Best, PKast
-
I'm sorry but much of the discussion about actions goes over my head since I'm not a Photoshop user. I do have a basic understanding of them and wonder about an alternate approach to using them. My thought is perhaps seperate actions could be created that would process the various SketchUp exported images that make up a digital watercolour. Typically I find I'll export a colour only (no lines & no shadows); a lines only; and a shadow only (I do that using a style I developed for just that - available at FormFonts - it is Called "Lonely Shadow"). My technique process involves processing each of those images in their own fairly typical method - ones that I'm suggesting could be actions - and then visually merging them using transparency effects. It is that visual merge that I'm suggesting might be better left to a manual approach that brings 'judgement' into the process. I just find the settings I use when trying to visually merge the various layers will vary from one digital watercolour to another. They are affected by the particular colours used and where I want to add visual focus. In other words, the visual combining part is the artistic stage perhaps best not left to an action. I do see that actions could speed up the preliminary portion.
One digital watercolour tip I'd like to share (besides the one about the 'Lonely Shadows' style) is to remember you can use the individual imports more than once. For instance, take the colours-only layer. I typically process copies a few different ways and then bring them together with the visual merging. On one copy I might strongly adjust the levels so all the highlights are powered up, midtones powered down, and shadows ramped up. When overlayed with transparency over other differently-processed versions you'll find it can greatly add to the tonal variations in the resulting image. Similarly I find I will typically process at least two versions of the lines-only layer for merging into the final rendering. Same for that shadows only layer.
Regards, Ross
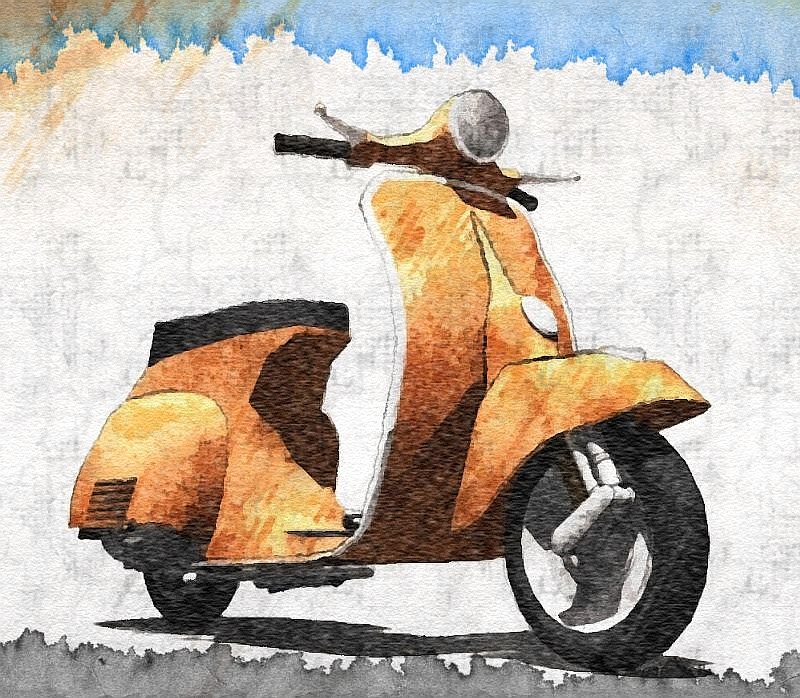
I attach a digital watercolour made from pure sketchup exports. It features the Vespa modelled by Allister for FormFonts. The rendering was done in a series of experiments where I was trying to develop my techniques. I do think the vespa rendering is overworked but a reasonably successful experiment.
-
Further to Ross --
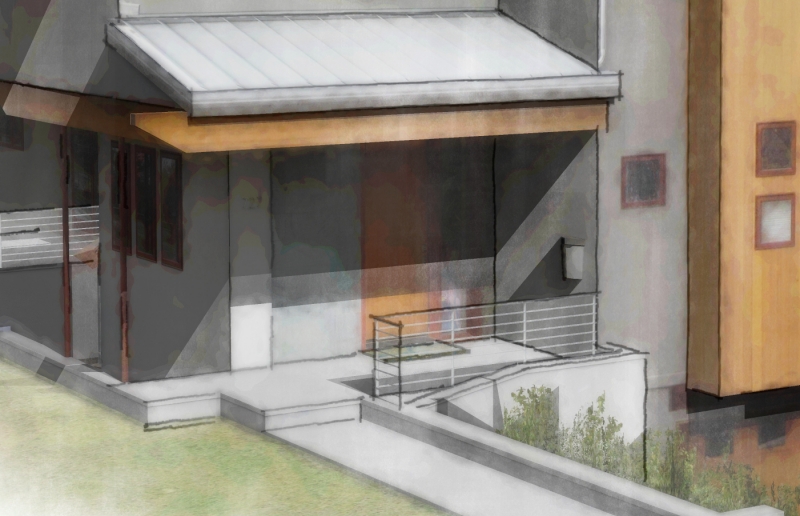
I've tried several times to use PS actions* but have not had any results that compare favorably to the tried-and-true Dennis, Grant Marshall, or Worncall methods. They all involve multiple exports from SU (line, shadows, color/texture) and layering in Pshop plus the various filters and plug-ins.Here's a very quick application of Grant Marshall method (without the benefit of multiple exports from SU which would make a much better result). Grant's method is still the best (in my book) for getting a watercolor feel.
*I do use actions, but in multiple sets on various layers as Ross suggested.
-
it sounds great !! and what are the steps to reach this, plz?
-
@majid said:
it sounds great !! and what are the steps to reach this, plz?
majid, are you asking PKast, Ross, or me?
-
yes i mean you plz
-
majid,
I have sent you a PM. -
I've been trying to achive watercolor look in photoshop and here is some thoughts of mine:
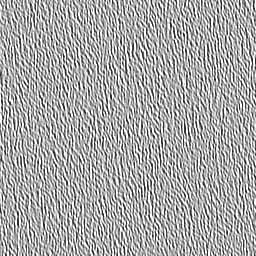
First, I haven't yet seen any of you actually use a watercolor paper texture with the right grain. To me it look like either burlap or canvas.
I also think anything believeable must contain human mistakes and simplifications.
Study how the colors in a watercolor painting is usally brighter/lighter than in a photo.
A central part of watercolor paintings is the way water affects the different color pigments. (I dont know the correct english words for the different effects.) Like blooming and edgebite and so on.
Here is a photograph I turned into a watercolor painting in Photoshop.
What do you think?

-
Most Excellent!
Do you have the paper texture in a format you can share?
Regards, Ross
-
Its a small jpg. Here you go. Open in PS and Edit define pattern then use the paint bucket with the pattern on a new layer and set blend mode to. Linear burn. Try scaling it up to 200-400% for "bigger bumps".
Not always 100% opacity for that layer. Experiment. But dont stop at just using a paper texture. Look at paintings and try different PS brushes. There are some great for spatter and such.

-
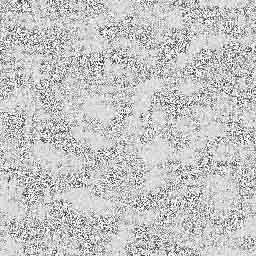
here r other .hope u njoy


Advertisement