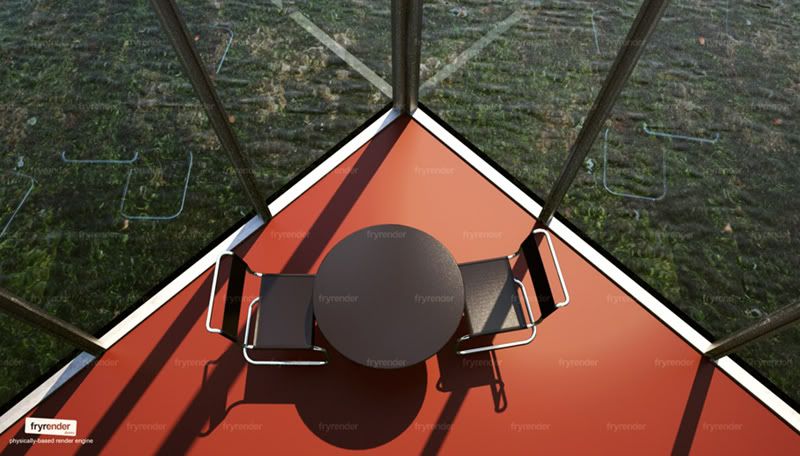
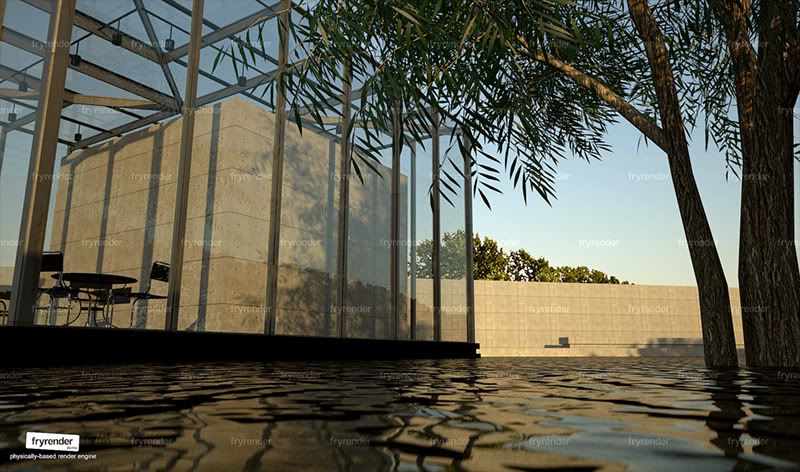
Exterior : vizdepot model [update page 3]
-
Thanks very much for posting that, very generous, can't wait to try this out. As a relative newbie to "standard" render progs (I'm a bit of an old hand at Vue, but it's material editor is very much self-contained including a bump map generator (which doesn't export
 )) one of the things I struggle with is creating and finding seamless bump maps. Obviously wood floors, tiles, bricks, etc are pretty easy to desaturate and edit in Photoshop, but I'm a bit stuck on how to produce waves, ripples, window deflection bump maps, grass, etc. Any tips re: bump maps? Sorry for picking your brains like this, but most VRay forums I've seen are predominately concerned with render settings (which perversely I find reasonably easy in VRay) and not so much with materials.
Thanks in advance,
-
Amazing images,thanks for sharing.
-
Thanks Mateo and Modelhead.

-
Last one.....I am done with this scene.
Thanks for watching.
-
And I will be first of the last to comment. Amazing renders. The Fryrender really loves you, no doubt. Beautiful images.
-
Thank you Sid...Your comments are always appreciated

-
wonderfull..
i thought i almost saw some fish swimming in the water.
looks good biebel, can you show more how you did it ??? -
@alexander said:
looks good biebel, can you show more how you did it ???
Thanks Alexander.
That's a difficult question to answer.Basically I use Fryrender in following steps:
- open the Fry toolbar
- select the SU material (in SU material browser) and click on the 'paint bucket' button of Fry toolbar to start editing the material...From now on a corresponding Fry material is created.
- push the 'A' button (fry toolbar) and click on the viewport to set the cameras focus point.
- push the 'environment' button (fry toolbar) to setup the sky and sun. Beware that the sun does not match the SU sun so you need to experiment.
- push the 'camera' button (the left one) to setup your camera settings. For exteriors I mostly use following settings: iso 200, shutterspeed 1/250, fstop 12
- push 'render settings' to setup the image width/height
- 'export as 3d' in file menu to render. Most of the time I uncheck 'export all cameras' as it often causes a crash. See to it that 'export all geometry' is checked.
About the water: there are 2 planes: 1 water plane which is basically a (ghost) glass material with a water bump applied and 1 surface below that (app. 50 cm) containg a moss texture I downloaded from http://www.cgtextures.com.
Cheers,
Kwistenbiebel -
biebel, i notice you render using fryrender. what was your workflow from skp file to fryrender.
-
Nomeradona,
In answer to your question, read the post above yours. :ewink:
-
thnaks jackson, the above is talking about the how the material and sun has been set up inside the fryrender already. my quick question if kwisten imported the file, open an su file or what. basically from Skp file going to fry.
-
Hi Nomer,
Fryrender works completely within Sketchup (like Podium and Vray).
After all the materials and light are set , you choose 'export as 3d model' in the file menu and the rendering will start automatically (= a new Fry window will open and starts the rendering).Cheers,
Kwistenbiebel -
Nomeradona,
I believe he's using the FryRender plugin for SketchUp (hence he said "Open up the Fry toolbar"- I'm assuming this is a plugin toolbar in SU, same as most render plugins) and his last tip covered the export setup.
@kwistenbiebel said:
- 'export as 3d' in file menu to render. Most of the time I uncheck 'export all cameras' as it often causes a crash. See to it that 'export all geometry' is checked.
-
wow that is somethin if it works inside SU. because last time they said they don't even a plan for sketchup. it was really a surprise to find out that its now working inside SU. thanks for the update. too slow about new things with fry. worthwhile visitng fry again. ive used it before but, rendering time is a bit slow for me.
-
Thanks for sharing this series with us Kwistenbiebel. It is great to see how it is progressing.
One little thing on the old car. The main material on the wheels (other than the rubber) is wood. It would most likely look like oak with a shellacked finished. Sometimes they are painted - probably because maintaing a good shallack finish was probably difficult. If I'm not mistaken all the metal work on the car would be brass (or nickle-plated brass). I'd suggest that metal might look more real in a matt finish and not so polished. Early tires were white rubber.
Model T's were not the cars of the rich so they were very utilitarian. For many years they were only sold with black bodies and the paint would not have been as glossy as modern car paint. Henry Ford said something like "you can get one in any colour you want -- as long as its black". If you want to be accurate you should find out what year your model is and use a colour offered in that year. It's liikely most owners today have them restored to an original colour.
Regarding the car if it is in the foreground...
An idea might be to put some cleaning products around. Like some polishing rags, a can of Turtle Wax, and some Brasso.
Regards, Ross
-
Thanks Jackson for the explanation.
@Ross,
Indeed the car is no where near the real thing as it comes to material use.
Thanks for pointing that out.
Maybe I'll re-render some day with correct mats.cheers,
Kwistenbiebel
Advertisement


