Contemporary settee
-
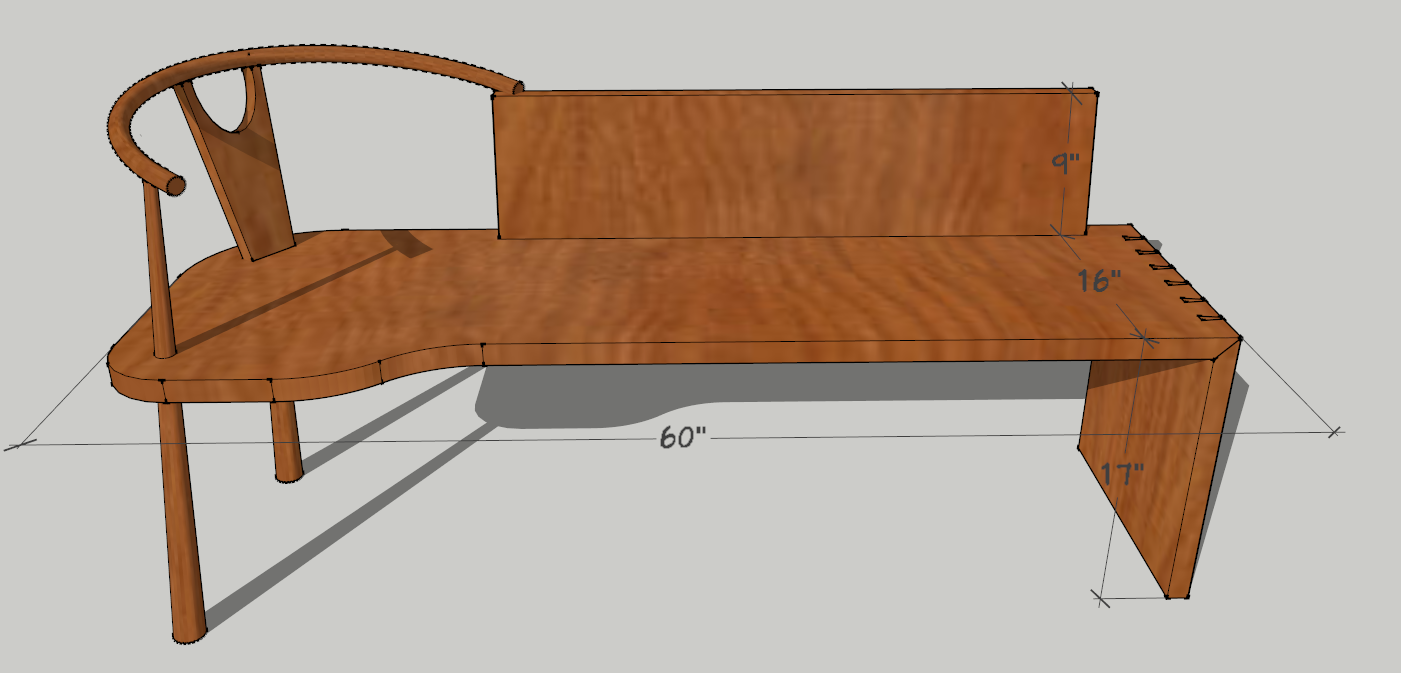
Saw this in a model home, done all in zebrawood. Liked it so much I modeled it from the photos I took.
It is up on the 3D Warehouse as "Settee." Should be easy to find.
It needs to be improved and I do not have the tools or skills to do a key part, that being making the wishbone back slat under the center of the crest rail more organically rounded. Give me my tools and the wood, and I can do it, but in Sketchup I am lost.
Its back side has a tapered coopered surface, convex at its foot, tapering to no convex at top where it has the wishbone split. The wishbone top is to transition to 5/8" dia. dowels socketed into the crest rail. All arrises are fully rounded.
Willing to help do this and give me back my modified model?
-
Gene,
Cool model.
Here's one way to shape the wishbone back, using the native SketchUp tools:
Think about how you would make the piece in the shop: Probably cooper a blank, then bandsaw the shape. The SketchUp routine is similar, but since there's no bandsaw tool in SketchUp you'll intersect two shapes and erase the parts you don't need.
Begin by drawing the wishbone shape at its maximum thickness. It will be easier if you do this so the shape aligns with the red and blue axes. Make the shape a component. Then use the 2-point arc tool to draw the curve. Do this on the side of the wishbone shape, making sure the wishbone shape is not open for editing. Use Push/Pull to push the curve shape through the wishbone. Double-click the curve shape, go to edit>cut. Double click the wishbone shape and go to edit>paste in place. Single-click the component, copy it, and use the scale tool to enlarge the copy 100 times. Now, work on the giant copy. Double-click it, select everything, then go to edit>intersect faces>with selection. Erase all the waste. You should be left with a curved and tapered wishbone. Delete the giant copy and use the zoom extents tool to get back to the original component. Now you can rotate it into position on the model.
Hope this helps.
dh
Hello! It looks like you're interested in this conversation, but you don't have an account yet.
Getting fed up of having to scroll through the same posts each visit? When you register for an account, you'll always come back to exactly where you were before, and choose to be notified of new replies (either via email, or push notification). You'll also be able to save bookmarks and upvote posts to show your appreciation to other community members.
With your input, this post could be even better 💗
Register Login


Advertisement