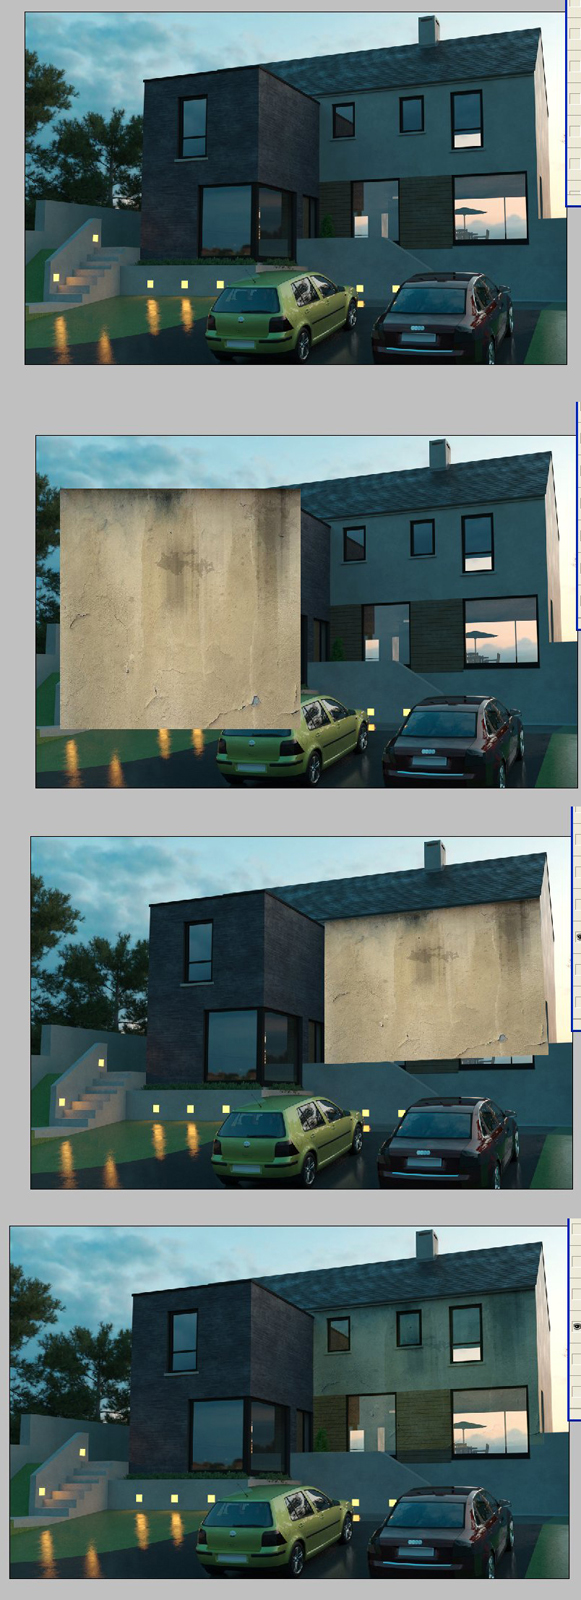
Adding dirt maps
-
A very simple step by step for adding dirt maps
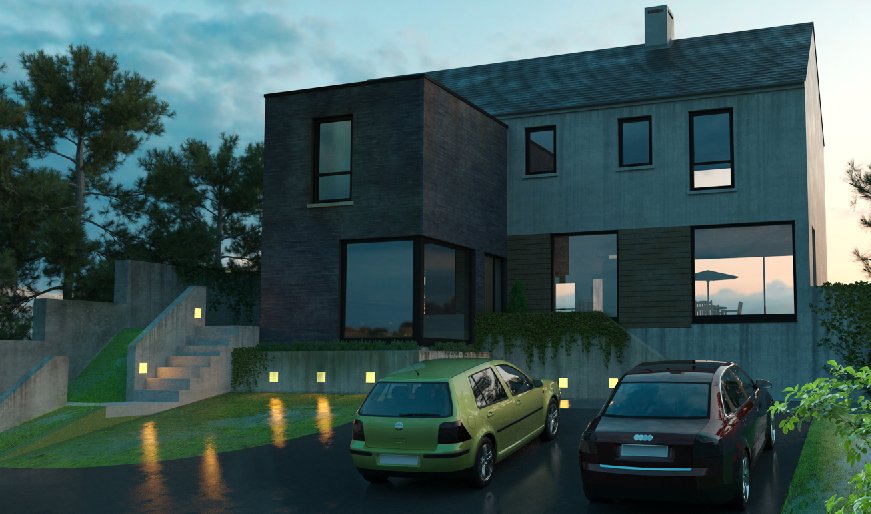
1.Open your raw render.
2.copy and paste the dirt map you want to use
3.distort the dirt map image so it aligns with the wall edges
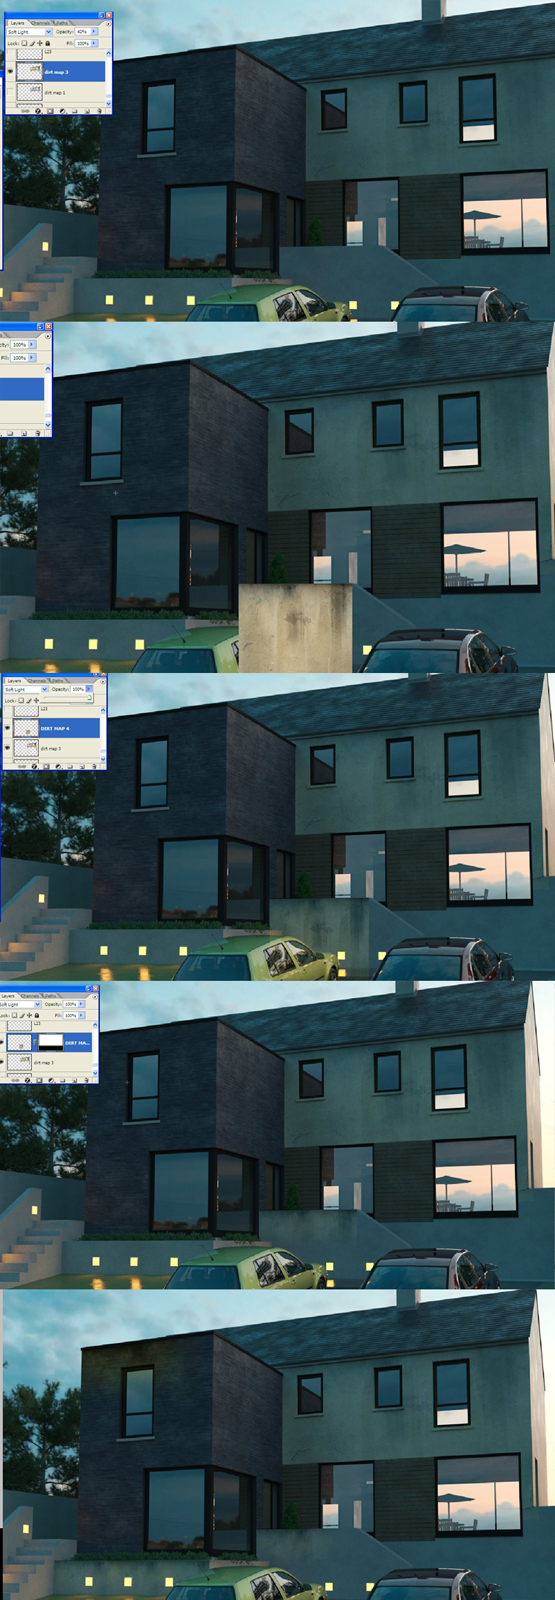
4.use "SOFT LIGHT" blend set at 70 -80%,you will now see the staining coming thru.
5.delete the dirt map on areas where it wouldn't normally appear i.e. windows and doors
6.Add a layer mask to the dirt map and using the gradient tool,pull downwards.This has the effect of feathering out the bottom of the staining.If the staining is not strong enough duplicate the dirt map layer.
7.Add dirt maps/staining elsewhere by copying back in the original dirt map and scaling to suit.Again its good to add the layer mask/gradient so the staining is more pronounced at the top of the wall.
8.You can copy this layer around and add colour variations such as red to indicate rust staining,or green to indicate plant run off.Its also a good idea to add a couple of different dirt maps to add variety.
There are some photoshop grunge brushes available for down load but I always find this method quicker.
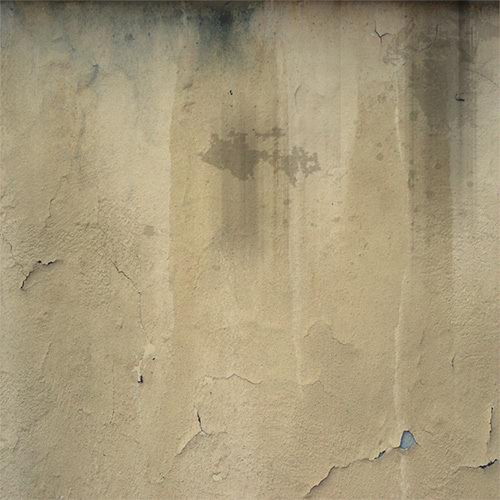
(The dirt map used in this image is attached here)So thats it.This wil be the last tip until after Christmas,so nothing left to add except Merry Christmas to all.


-
have a good time with your beloved ones in your holidays, david.

-
Again, thank you very much and enjoy your holidays!
-
Super tutorial, many thanks and a very merry christmas.

-
Thank you David, enjoying all of your posts, including the Beautiful Lake series. Merry Christmas.
Peter
Hello! It looks like you're interested in this conversation, but you don't have an account yet.
Getting fed up of having to scroll through the same posts each visit? When you register for an account, you'll always come back to exactly where you were before, and choose to be notified of new replies (either via email, or push notification). You'll also be able to save bookmarks and upvote posts to show your appreciation to other community members.
With your input, this post could be even better 💗
Register LoginAdvertisement


