Hollander House
-
Well, this post was over a year in coming and I am pleased to finally get to release this story to the general public.
I have started a blog OTB Designworks here that will, over the course of the next few months, take you through the journey of an incredible home/sculpture we are constructing.
All the design work, from concepting to final blueprinting was done with Sketchup and Layout, and I will go quite in depth about techniques and workflows as I get to certain portions of the story. To whet your appetite a bit, there will be satellite draped vector based topography, panoramic mapped cylinders to show the views, ridiculously complex woodworking (35' tapered octagonal bastard valleys, anyone?), and HD animations.
My plan is for the blog to provide an environment of inspiration, as well to be educational experience, and I know all of you will really enjoy what we have going on here in Montana.
Oh, did I mention that we are fabricating in Montana and shipping to New York?
So, please take a few minutes and click over and check it out; I am sure you will find it worth your time. And, of course, I welcome all comments, suggestions, and dialogue, so don't hesitate to comment or ask questions.
I look forward to further discussions and I will update this thread as I add posts to the blog.
-
A couple of images to get the ball rolling:
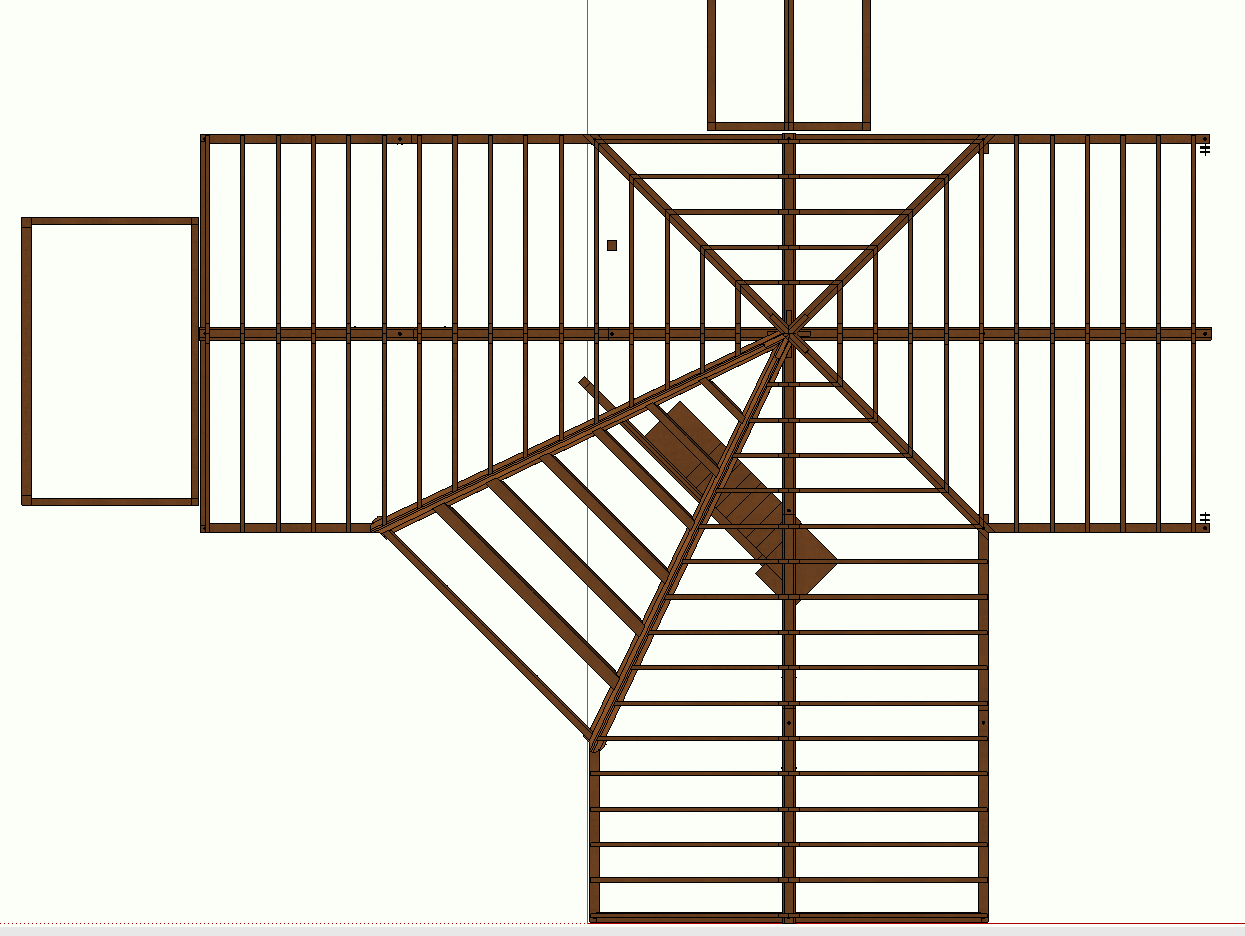
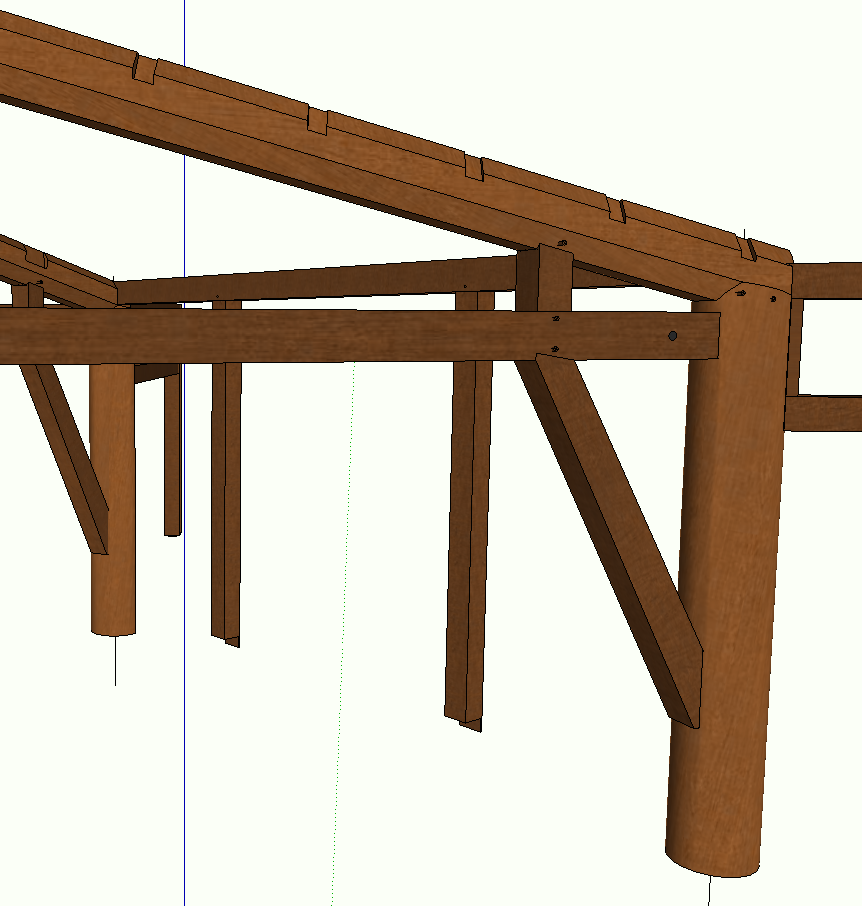
-
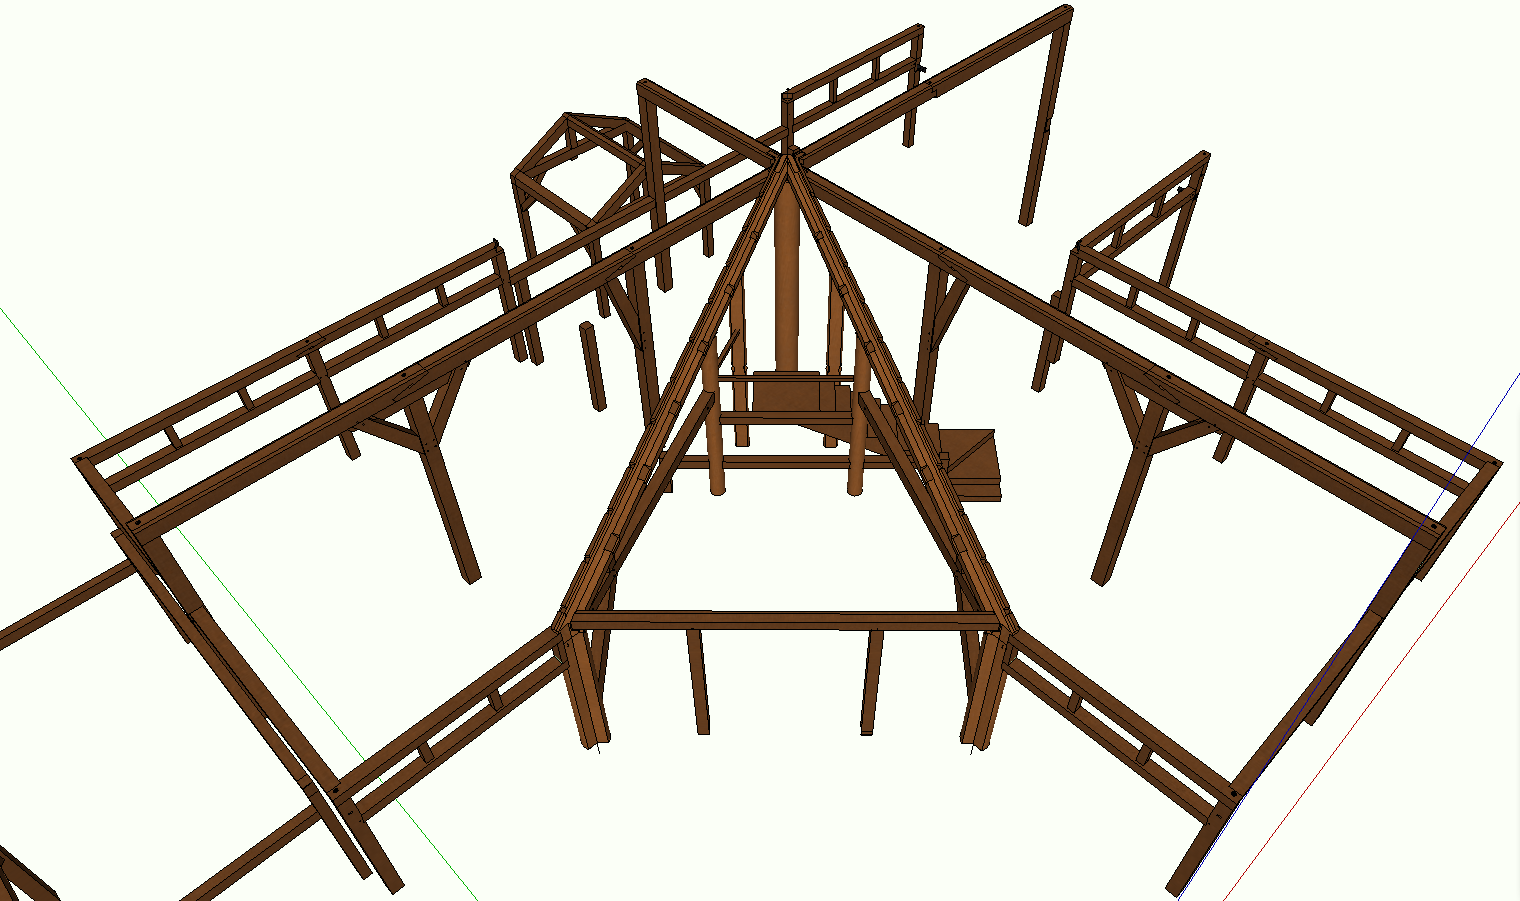
And a couple more:
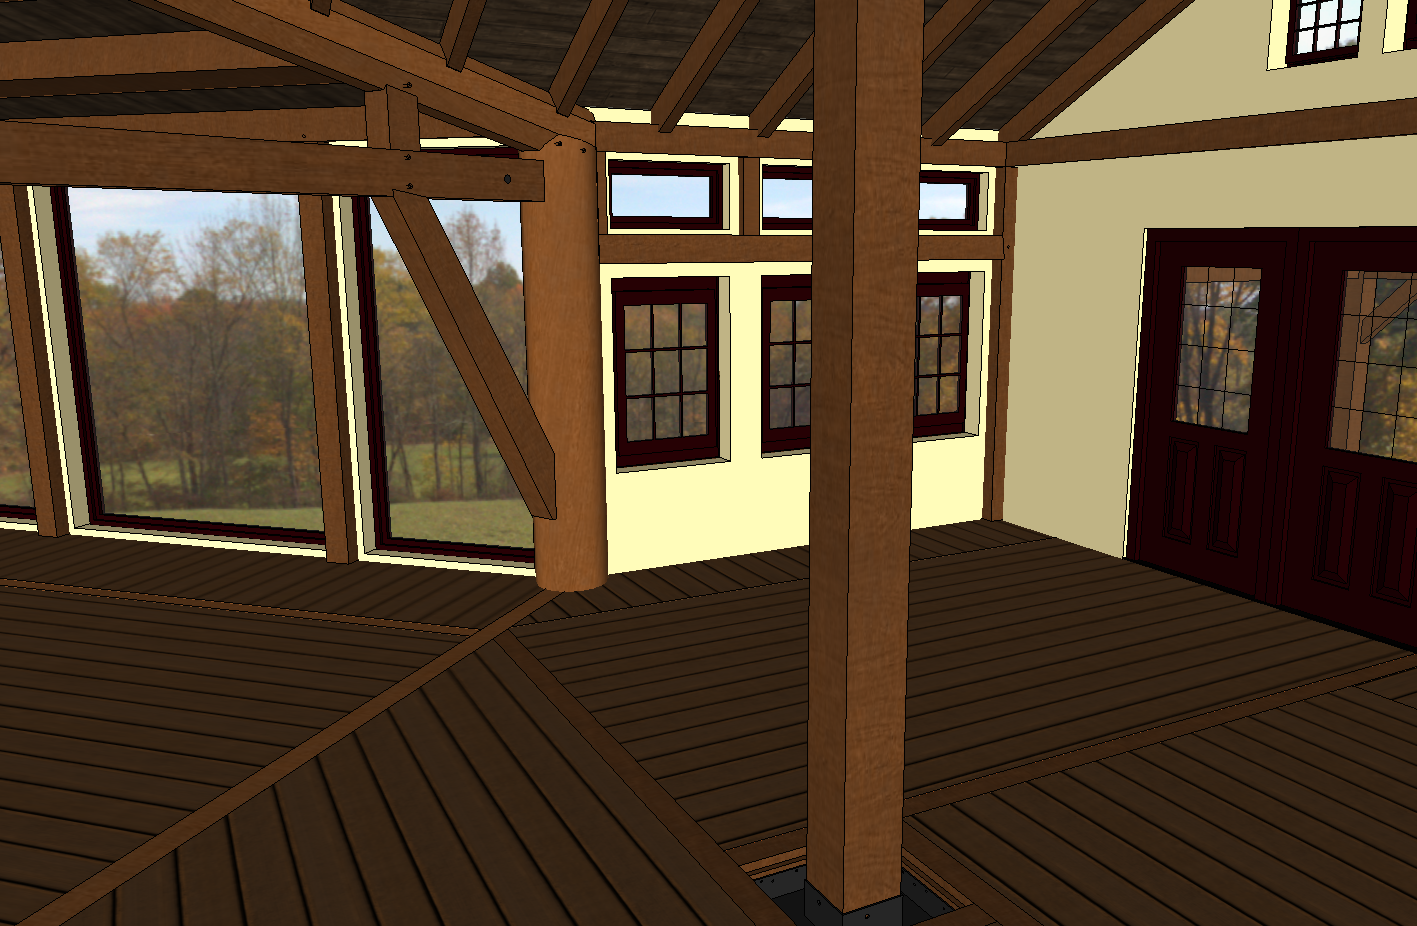
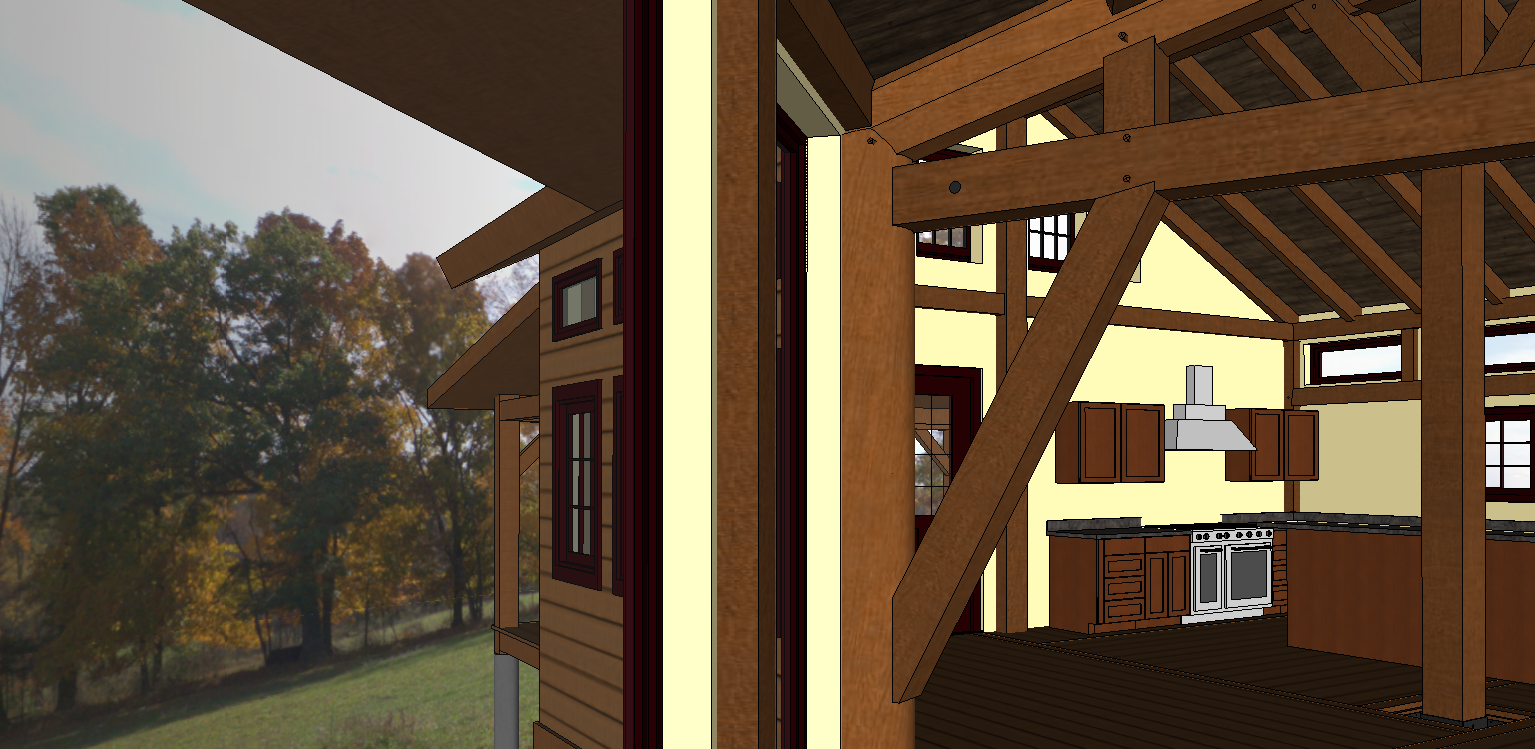
-
Nice blog and nice images Chuck. I look forward to seeing more.
-
Thanks for your kind words and interest! Plenty more to come, I promise.
-
looks promising... whence the name?
as a true Hollander myself, I see mainly lots of concrete around here...


-
-
I just posted the initial floorplan up on the blog. While the final version would be significantly bigger, the overall configuration will change little over the course of the design development.
-
Here are some videos to take in; I have in depth descriptions on the blog.
[flash=853,505:34lbbzqw]http://www.youtube.com/v/DIMHsczWsbk&fs=1[/flash:34lbbzqw]
[flash=853,505:34lbbzqw]http://www.youtube.com/v/B7QE3FB7sJY&fs=1[/flash:34lbbzqw]
[flash=853,505:34lbbzqw]http://www.youtube.com/v/QQlJdCb1knA&fs=1[/flash:34lbbzqw]
-
This was the first formal proposal we made to the Hollanders. As you can see, we have not even addressed the timber frame yet, as we are still nailing down the footprint and square footages.
The main roof is 6:12 and the central "crotch" is a very low slung 2 11/16:12. These pitches would propagate through the design revisions and would remain unchanged from here on out.
This animation also shows the correct site topography and how the house, with its walk out basement, would integrate with the site. The topography was constructed by tracing over a topo map with a vector software, bringing the vector topo loops into Sketchup, pulling them to the correct height and then skinning the whole thing with the sandbox tools. Last step is to apply a high resolution satellite image to the mesh.
[flash=853,505:1pb8hwbh]http://www.youtube.com/v/yxHCuvfNuVg&fs=1[/flash:1pb8hwbh]
-
This is the final configuration for the Hollander House, with the timber frame design finalized.
I highly recommend choosing the 720p HD version of the video if your internet connection is quick.
[flash=853,505:18n3glhd]http://www.youtube.com/v/hFKIJCHeJsg&fs=1[/flash:18n3glhd]
-
Here is the completed main floor timber frame. As you can see, it is virtually identical to the model.
[flash=853,505:3t1i0lnz]http://www.youtube.com/v/A4y-FVhnM6g&fs=1[/flash:3t1i0lnz]
-
Well, even though it feels like I am talking to myself here, which is a bit surprising since I thought everyone liked to see real world projects that came from a Sketchup model, but, oh well, I shall continue to forge forward.
These videos show the Kitchen Ridge System for the Hollander House. Since this house was designed around a mathematical grid that mirrors itself around the center of the bressumer beam, the Bedroom Ridge System is identical to the Kitchen system. This helps speed up the fabrication, as well as letting us remember fewer numbers of truth.
Each Ridge System is comprised of 4 posts, 3 ridges, 3 knee braces, and one capital.
[flash=853,505:2ib7ydvj]http://www.youtube.com/v/jhiVPAHAM8U&fs=1[/flash:2ib7ydvj]
[flash=853,505:2ib7ydvj]http://www.youtube.com/v/_y5ROI0fj38&fs=1[/flash:2ib7ydvj]
-
No Chuck, I am following this topic with interest - however as I am not an architect/constructor myself, I really do not have much valuable to add.
There have more than 600 views of the topic though so I guess others are also listening. -
Hi Gaieus, thanks for taking the time to post. And I highly doubt that you have nothing valuable to add

You know, it takes a lot of time and energy to compile all of these clips, get them uploaded, compose the posts, etc etc, and, sometimes, a small note of encouragement goes a long way towards making it all worth it.
-
OK then, please, feel encouraged to go on with them!

-
Yes! Keep posting, I am following keenly (and on your blog as well)!

-
Hey Dozer, thanks for the kind words. I will, of course, continue with the story.
The bastard valley system is the next subject I will be discussing.
-
We are now moving on to fabricating the bastard valley bent systems, of which we need two, mirror-imaged.
I go into some detail about how we fabricated the system on the blog, of anyone is interested how we go from a computer model of truth (theoretical perfect, or theo) to actually putting wood together correctly so that these systems integrate with all of the other systems we are fabricating before any complete assembly happens.
The bastard valleys connect the 6:12 main roofs with the 2 11/16:12 pitch between the two bastard bents (where the purlins are). THe bastard valley itself is a 35' long tapered octagon, going from 15" to 12" diameter at the peak, and it sits on 5 different bearing points, which, if anyone has ever cut a beam to sit on three bearing points can attest, any deviation from height on nony of the 5 points would cause significant problems throughout the build.
Please note how we have 10 timbers all integrating with each other and sitting on one post; yes, we are gluttons for punishment as the precision necessary to ensure that everything fit together was off the chart. There was no margin for error, and I am talking about 1/32"'s over 35' long timbers.
I hope you enjoy!
[flash=853,505:361xs8y3]http://www.youtube.com/v/Yf-TBiEQJHo&fs=1[/flash:361xs8y3]
[flash=853,505:361xs8y3]http://www.youtube.com/v/PSMpVwOnqjQ&fs=1[/flash:361xs8y3]
-
Have to admire the precision of the work.
Advertisement


